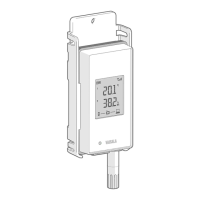
6.3 Verifying operation of RFL100
1. Open the battery cover of the data logger.
2. Move the power switch to the On position.
3. Look at the display and verify that:
• Battery indicator shows full batteries .
• Display shows measurement readings instead of dashes or error codes.
If measurement readings are not shown after a few seconds, check that the probe is
properly connected. It is possible to disconnect the probe by pulling on the probe with
the battery cover open.
4. Move the power switch to the O position.
5. Close the battery cover of the data logger. Push the latch down until you hear a click. If
the cover does not close easily, push the probe (or extension cable) in and try again.
6.4
Downloading data using service port
• Computer with a free USB port and an operating system that supports the
Media Transfer Protocol (MTP). For example, Windowsâ 7 and newer.
• USB connection cable (USB 2.0 type A - micro-B, Vaisala cable 244961). You
can also use a generic cable that has all pins connected (not just power).
1. Open the plug that covers the service port.
2. Connect the USB cable between your computer and the service port of the RFL100 data
logger. When the computer detects the RFL100, it is available for file transfer.
3. Navigate to the \Data\Log folder on the RFL100.
4. Copy the following files from the folder to retrieve the data:
Filename
Content
Log_1h.txt Measurement data from the past hour.
Log_24h.txt Measurement data from the past 24 hours.
Log_30d.txt Measurement data from the past 30 days.
5. Disconnect the USB cable and close the plug over the service port.
6.5
Performing a factory reset
• Pen or a small flat head screwdriver
Chapter 6 – Troubleshooting
59
 Loading...