To light the fire (Electronic ignition).
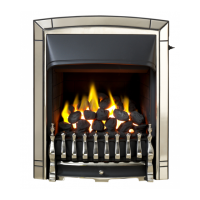
The control is shown in figure 2.
Depress the control knob slightly and turn anticlockwise towards the 1/IGN
position. Do not apply too much pressure as this will cause resistance to be felt.
Depress the control knob. Sparks should be generated at the pilot. The sparks should
ignite the pilot. If the pilot does not light, turn the control knob back to the ‘OFF’
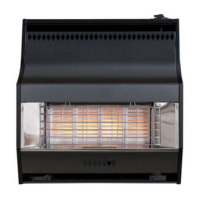
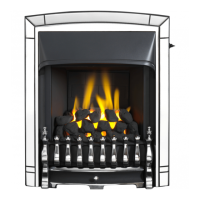
position and try again. The pilot flame can be seen through the opening immediately
below the right hand centre radiant (See figure 3).
If no sparks are generated at the pilot the battery may have no power. The battery
can be replaced as shown later in this guide.
In the unlikely event of failure of the ignition mechanism or where a replacement
battery is not available the pilot can be lit with a long match or taper – See next
page.
When the pilot has lit keep the control knob depressed for about ten seconds to
allow the flame sensing probe to warm up.
The control knob can then be set to your preferred heat level.
To turn off partially depress the knob and turn clockwise to off. Wait at least three
minutes before attempting to relight.
Lighting with a match or taper
Manual ignition: Depress the control knob and turn anticlockwise towards the 1/IGN
position.
Electronic ignition: Depress the control knob slightly and turn anticlockwise towards
the 1/IGN position.
While keeping the knob depressed, light the pilot by inserting a long match or taper
into the opening as in figure 3.
When the pilot is alight, keep the knob depressed for about ten seconds to allow the
flame sensing probe to warm up before setting to your preferred heat level.
For your own convenience, have the heater serviced as soon as possible.
CLEANING YOUR FIRE
Turn the fire off and allow it to cool before attempting any cleaning.
Normally the fire will only need dusting. The bright metal trims may be cleaned with a
damp cloth and dried with a soft duster. Obstinate marks can be removed from the
guard and trims using soapy water. Never use abrasive cleaners.
The radiants can be cleaned with a soft brush - see the following section for removing
the radiants.
OWNER GUIDE
© Baxi Heating U.K. Limited 2008.
Page 33