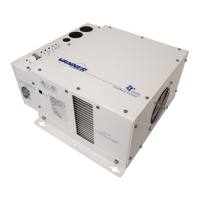
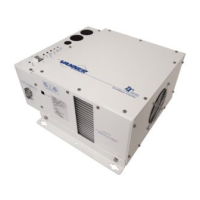
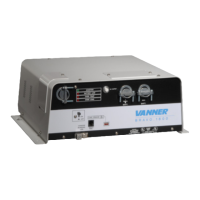
Installation
- 20 - IQ SERIES OWNERS MANUAL
shore power when the charger output amps are lower. Read the Automatic Power Management
section in this manual which applies only to AC1. If desired, use the optional Remote Automatic
Power Management (APM) Panel, Vanner part number D07934, to reduce the maximum AC
input amps the charger can draw.
AC2 Secondary (and optional) 30 amp AC input circuit which is used only for pass-through to AC3.
This allows the full 30 amps input on AC1 to be used for battery charging. AC2 accepts input
power only when AC1 is receiving AC input power.
Caution: AC power supplied to AC2 MUST BE IN-PHASE with the AC power supplied to
AC1. (When two circuits are in-phase there will be zero AC volts between AC1 hot and AC2
hot.) The transfer switch components will be destroyed if AC1 input and AC2 input are not
in-phase. (If not in-phase the multi-meter would show 240vac between AC1 hot and AC2
hot.)
AC3 AC output circuit protected by 30 amp circuit breaker CB3. (On charger models, the built-in GFCI
receptacle receives its power from AC3 via CB2.)
Notice:
1. When the inverter/charger is connected to an external power source, the internal circuit
breakers (CB1, CB2 and CB3) are considered supplemental and do not qualify as “branch rated”
circuit breakers. External AC circuits carrying power to and from the unit must conform to
National Electric Code and any other applicable codes.
2. The Automatic Power Transfer Switch switches both hot and neutral. For safety purposes the
inverter output neutral (terminal #8) is connected to the inverter chassis ground only when the
unit is in inverter mode. This is a requirement of the National Electric Code for all systems of this
type that neutral should be connected to ground only at the source of AC power, which is the
inverter when in inverter mode. When an external AC input (shore power, generator) is available,
the IQC Transfer Switch system breaks the connection between neutral and inverter chassis
ground. The neutral-to-ground connection for pass-through power is then provided by the AC
input source.
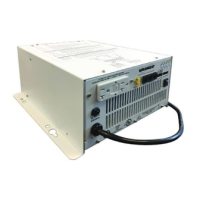
2.20 (20) DC INPUT WIRING COMPARTMENT
All Models
The DC wiring enclosure is located on the top right side of the inverter and contains 5/16 “
diameter studs to permit connection of two cables from the battery.
BE AWARE that, as a large number of capacitors become charged upon completion of the DC
circuit, THERE WILL BE A LARGE SPARK when the last battery connection is made. The spark
is normal and will occur every time the batteries are connected.
2.21 (21) GROUND WIRING LUG
All Models
This is a compression type terminal requiring only a flat blade screwdriver to make the
connection. This terminal has been provided for safety to prevent possible shock hazards.
Connect a #8 AWG minimum size wire to this terminal and then to the vehicle chassis ground or
to earth ground.