Installation
IQ SERIES OWNERS MANUAL - 21 -
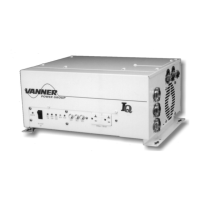
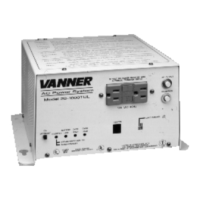
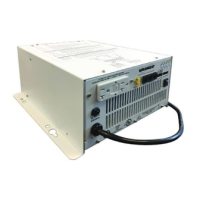
2.22 (22) MOUNTING BRACKETS
All Models
The IQ Series utilizes detachable mounting brackets, which offer a variety of mounting
configurations.
WARNING: Do not remove the plastic mounting feet. All units requires 3/4" space minimum
under the unit to allow air flow for proper cooling.
2.23 (23) COOLING FAN
All Models
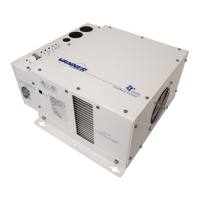
The cooling fan exhausts air out through the cooling fan opening. Cool air is drawn in from the
bottom and left sides of the unit. Obstruction of the intake or exhaust air flow will create
overheating problems, which will diminish the performance of the unit.
3 INSTALLATION
3.1 Unpacking the Inverter
Inspect the shipping container and equipment for loose or damaged parts. If any damage is
found, immediately notify the freight carrier.
3.2 Inverter Installation Considerations
The wiring of your inverter installation should conform to the National Electric Code (NEC) and
any other state or local codes in effect at the time of installation. These codes have been written
for your protection and their requirements should be followed.
Mounting
Locate a secure, dry, flat horizontal or vertical surface large enough to mount the inverter. The
location should be as close to the battery as possible without being in the same compartment and
should provide adequate ventilation to maintain room temperature while the inverter is operating.
The location must allow unobstructed cooling air flow at sides and bottom of the unit, and the
location must be free from road spray, dripping water or other moisture contamination. A
recommended minimum clearance of 4 inches (102 mm) should be maintained on all sides of the
unit.
3.3 DC Wiring Considerations
BE AWARE that, as a large number of capacitors become charged upon completion of the DC
circuit, THERE WILL BE A LARGE SPARK when the last battery connection is made. The spark
is normal and will occur every time the batteries are connected.
1. The DC cables should be as short as possible. It is more electrically efficient to run the lower
current AC wiring longer distances (see battery cable sizing table for proper size)



 To Next Page