Ventis™ MX4 Product Manual
© 2014 Industrial Scientific Corporation
30
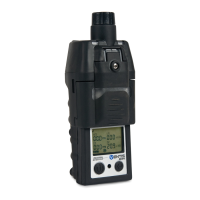
Calibration Failed Screen*
Gas readings display for all successfully calibrated
sensors and an “F” displays for any failed sensors. A
system level alarm turns on. The warning icon and gas
cylinder display to indicate a sensor calibration failure.
Any failed sensor stays in alarm until it passes a
calibration or is replaced.
Press ON/OFF/MODE to repeat calibration.
* During the standard calibration or standard bump test process, a series of apply gas, in-progress, and results screens show for EACH sensor as it
is calibrated or tested.
Bump Test Process
Display and Options Instructions
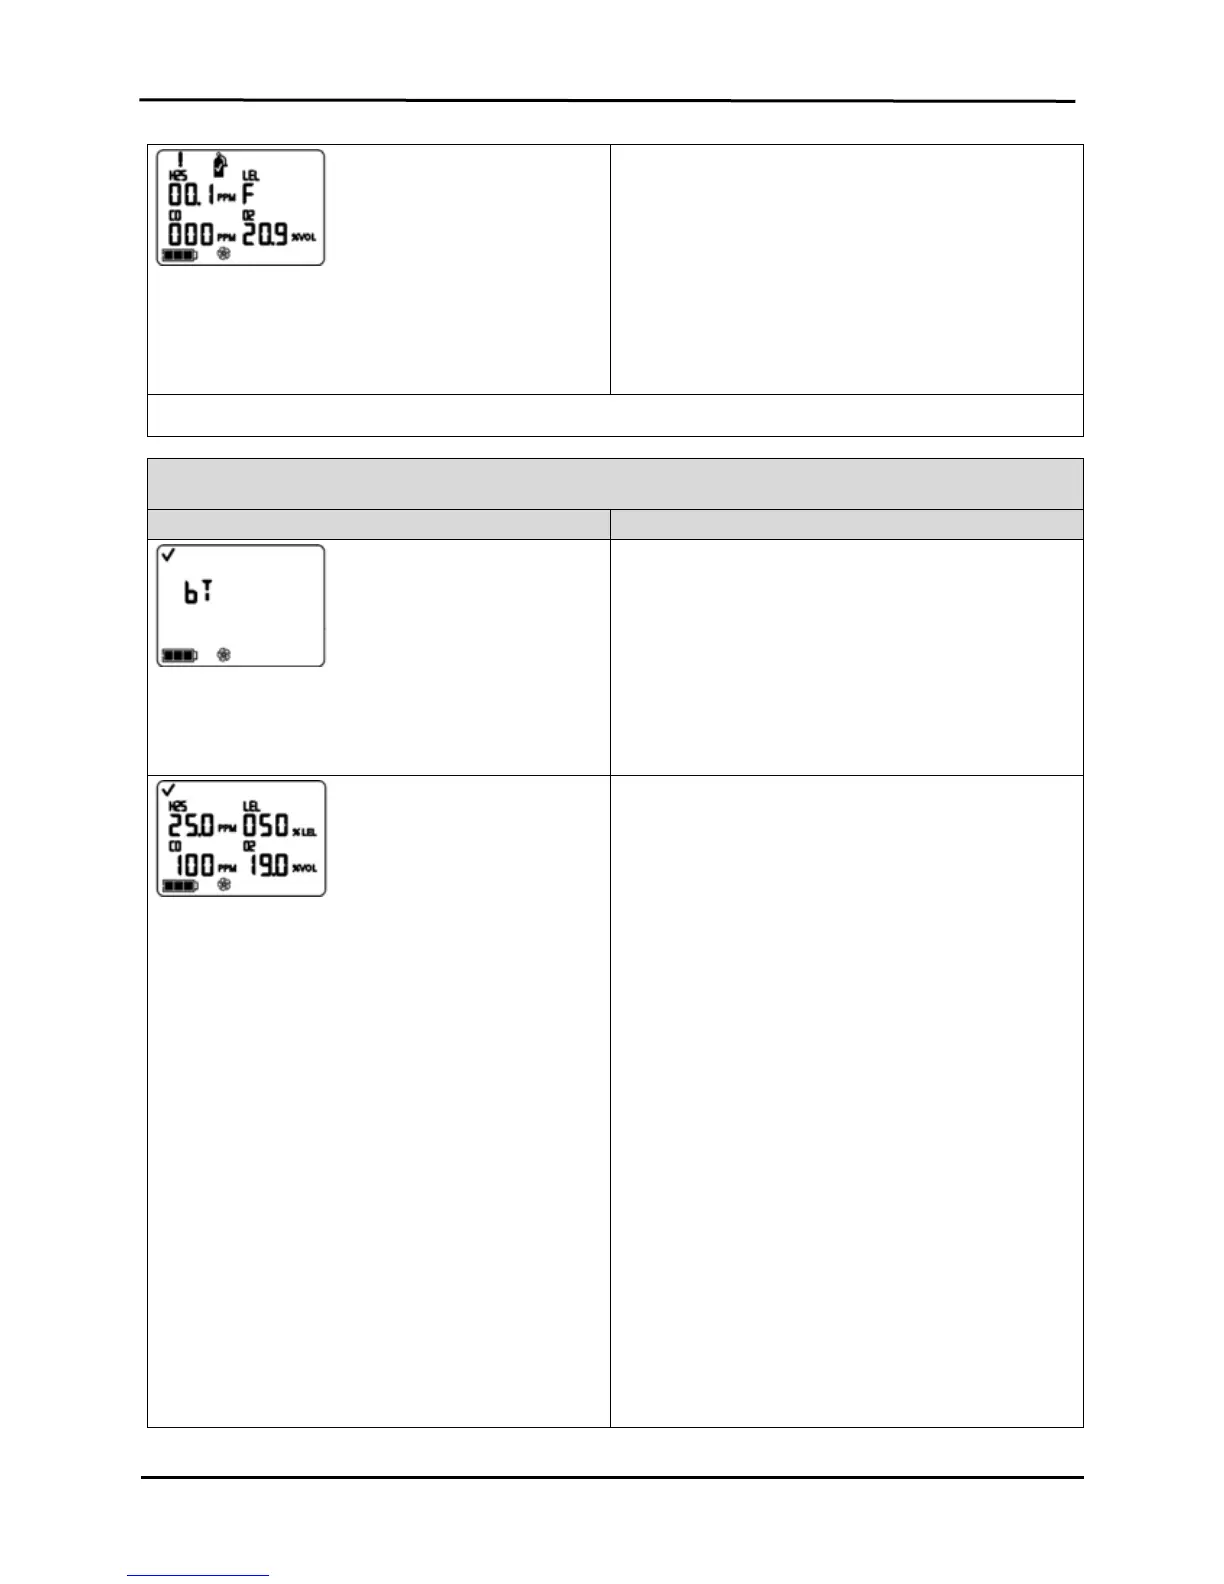
Bump Test Initiate Screen
Options
Begin process
Bypass process
Press ON/OFF/MODE to bypass the bump test process
and advance to the Peak Readings Screen.
Press ENTER to begin the bump test process.
Bump Test Apply Gas Screen
Displays the bump test gas concentrations the monitor
is expecting to receive. The monitor waits up to five
minutes to successfully sense the gas.
If gas is sensed, the user advances to the Bump
Test In-progress Screen.
If gas is NOT sensed, a failed bump test occurs
and the user advances to the Bump Test Results
Screen displays.
To Terminate
Press ON/OFF/MODE while the gas cylinder icon flashes
to terminate the quick bump test process (or to skip a
sensor’s testing in standard bump testing). The user
returns to the Gas Monitoring Screen.
To Bump Test
From the already prepared gas cylinder, start the flow of
gas as noted below for the monitor/regulator combination
in use.
For an aspirated monitor with a demand flow
regulator, complete the tubing connection from the
regulator to the pump inlet.
For an aspirated monitor with a positive flow
regulator, turn (counterclockwise) the regulator’s
knob.
For a diffusion monitor with a positive flow
regulator:
Place the calibration cup over the upper portion
of the monitor’s case top (front of monitor). To
attach properly, complete or observe the
following.
o The cup fully covers the sensor ports.
o The monitor’s display and buttons are not
covered.
o The cup’s side arms fit securely in the
grooves on the sides of the monitor.
The Ventis MX4 name on the calibration