Liebert PCW - UM - 273895 - 04.10.2018 F - 3
Enclosure F - Infrared Humidier
9. Wrap the lead wires once around the new lamp’s metal ends. This will support the lamp and allow for thermal expansion.
Insert the lead wires into the junction block and torque the screws
10. Reassemble by reversing Steps 1 through 9.
F.4.3 - Changing Humidier air lters
1. Disconnect power from the unit.
2. Pull out the cover from humidier.
3. Replace humidier air lters with new ones
4. Reassemble humidier cover.
F.4.4 - Periodical checks
1. Check drain lines and trap for clogs
2. Check/clean pan for mineral deposits
3. Clean reector
4. Check water make- up valve for leaks
5. Check humidier lamps (replace if burnt out)
6. Check wire connections (inside humidier box)
7. Check status of humidier air lters
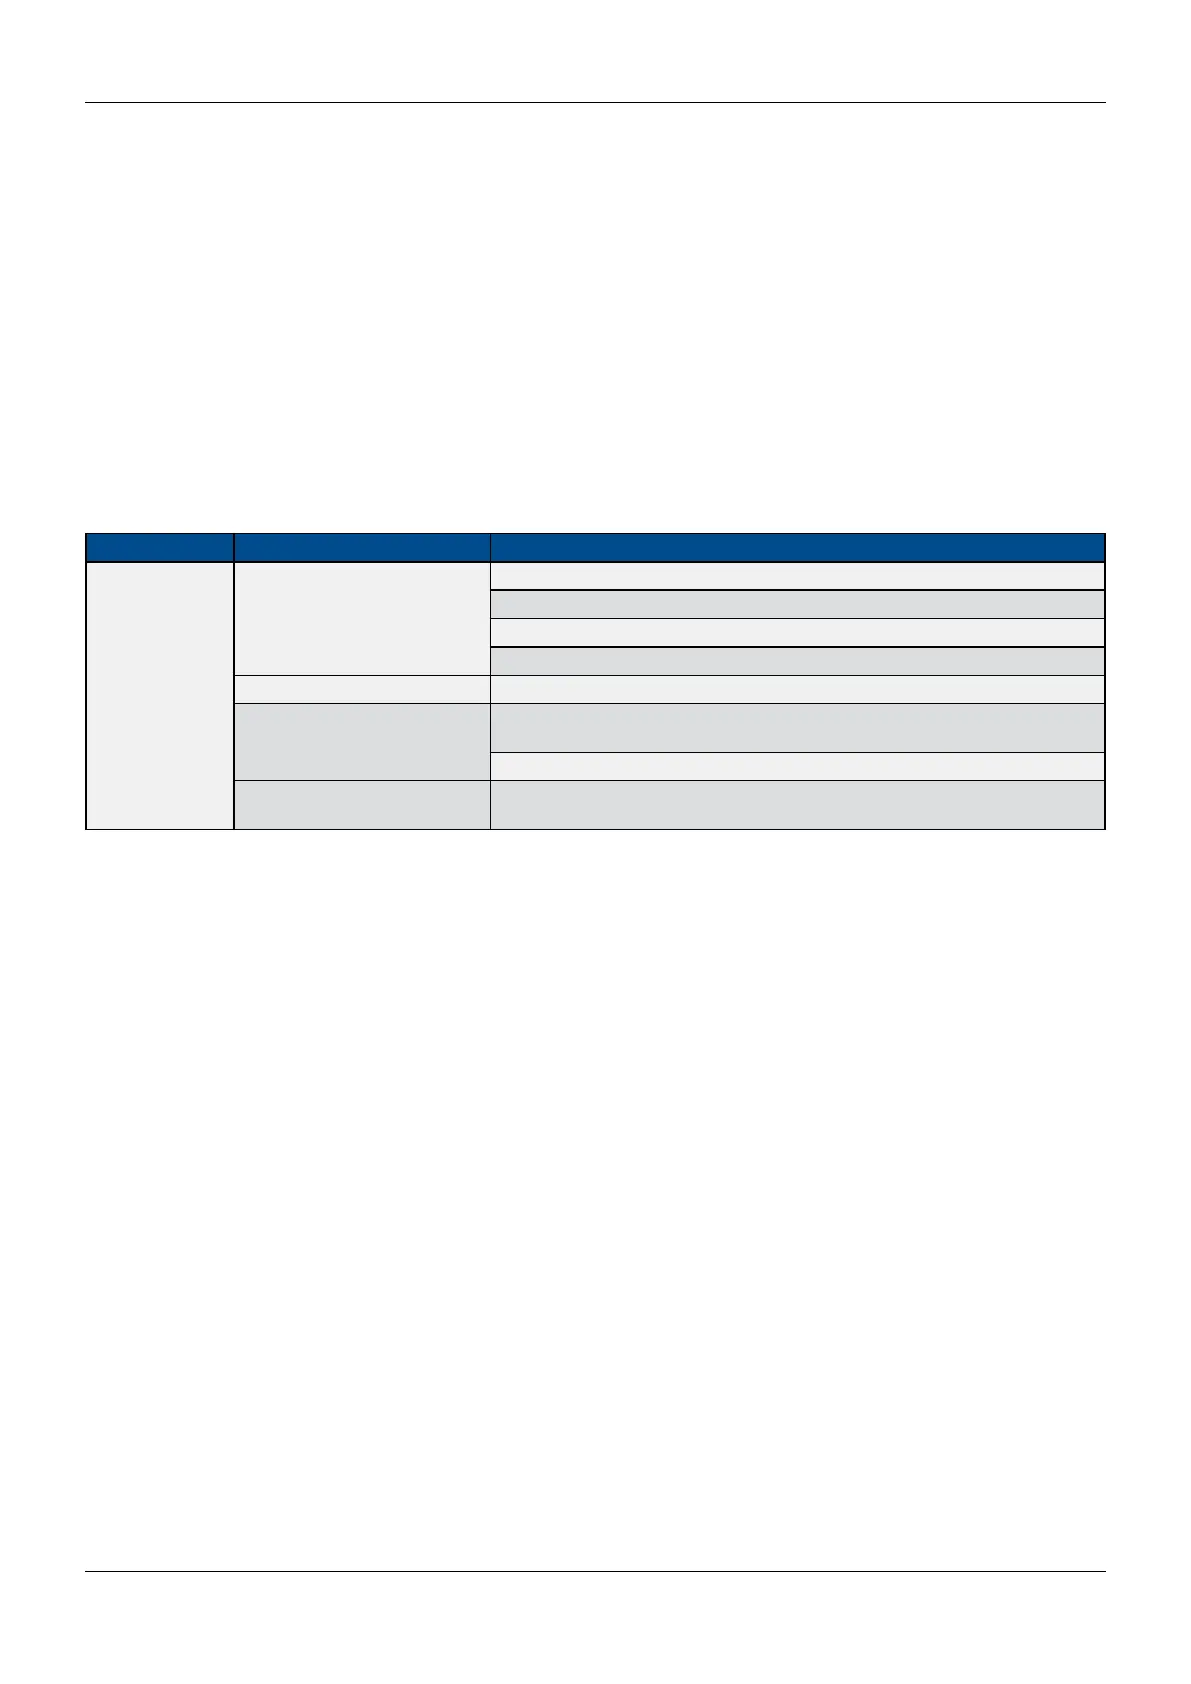
Tab. 2 - Infrared Humidier-troubleshooting
Symptom Possible Cause Check or Remedy
No humidication
Humidier pan not lling
Check water supply.
Check ll valve operation
Check drain stand pipe adjustment
Check for clogged waterline
Control not calling for humidity Check monitor status
Humidity contact not pulling in
Check visually. If contact is made, check line voltage after con- tactor and fuses
or CBs.
Check for open humidier safety stat
Humidier bulb burned out
Replace bulb. Loosen lead on old bulb. Trim excess lead length on new bulb to
avoid shorts.