Liebert PCW - UM - 273895 - 04.10.2018 F - 2
Enclosure F - Infrared Humidier
F.3 - Start - up and operation
F.3.1 - Start - up
Before using the humidier, check the following:
• Supply and drain connections.
• That the cut- o tap is open.
• All wiring.
• Earthing.
To start the humidier simply switch on the air conditioner, which will in turn automatically start and stop the humidier as required. The
(adjustable) parameters which determine humidier operation have already been factory- preset (see iCOM manual).
F.3.2 - Operation
During normal humidier operation, deposits of mineral solids will collect in the humidier pan and on the oat switch. These must be
cleaned periodically to ensure proper operation. Frequency of cleaning must be locally established because it depends on humidier
usage and local water quality.
A spare pan is recommended to reduce maintenance time at unit. The Liebert autoush system can greatly increase the time between
cleanings, but does not eliminate the need for periodic checks and maintenance.
F.4 - Maintenance
Important: the humidier components may be hot. Let it cool down before touching it or use protective gloves.
The infrared humidier contain live electrical components and hot surfaces, and therefore all service and/or maintenance operations must
be performed by expert and qualied personnel, who are aware of the necessary precautions.
Before performing any operations, check that the humidier is disconnected from the power supply; carefully read and follow the instruc-
tions contained in the manual.
F.4.1 - Cleaning Humidier Pan and Float Switch
Before turning o unit:
1. With the unit operating, remove call for humidication at the Liebert iCOM control.
2. Let the blower operate 5 minutes to allow the humidier and water to cool.
3. If the unit has a condensate pump, turn the unit O at the Liebert iCOM control.
4. Pull out the cover from humidier.
5. Pull out the humidier standpipe in pan.
6. Inspect the O- ring (replace if necessary).
7. Let the pan drain and the condensate pump operate (if applicable).
8. Disconnect power from the unit.
9. Disconnect the drain coupling from the bottom of the pan.
10. Remove the thermostat from the bottom of the pan and retaining screws from sides of pan.
11. Slide pan out.
12. Loosen scale on the side and bottom of the pan with a sti nylon brush or plastic scraper.
13. Flush with water.
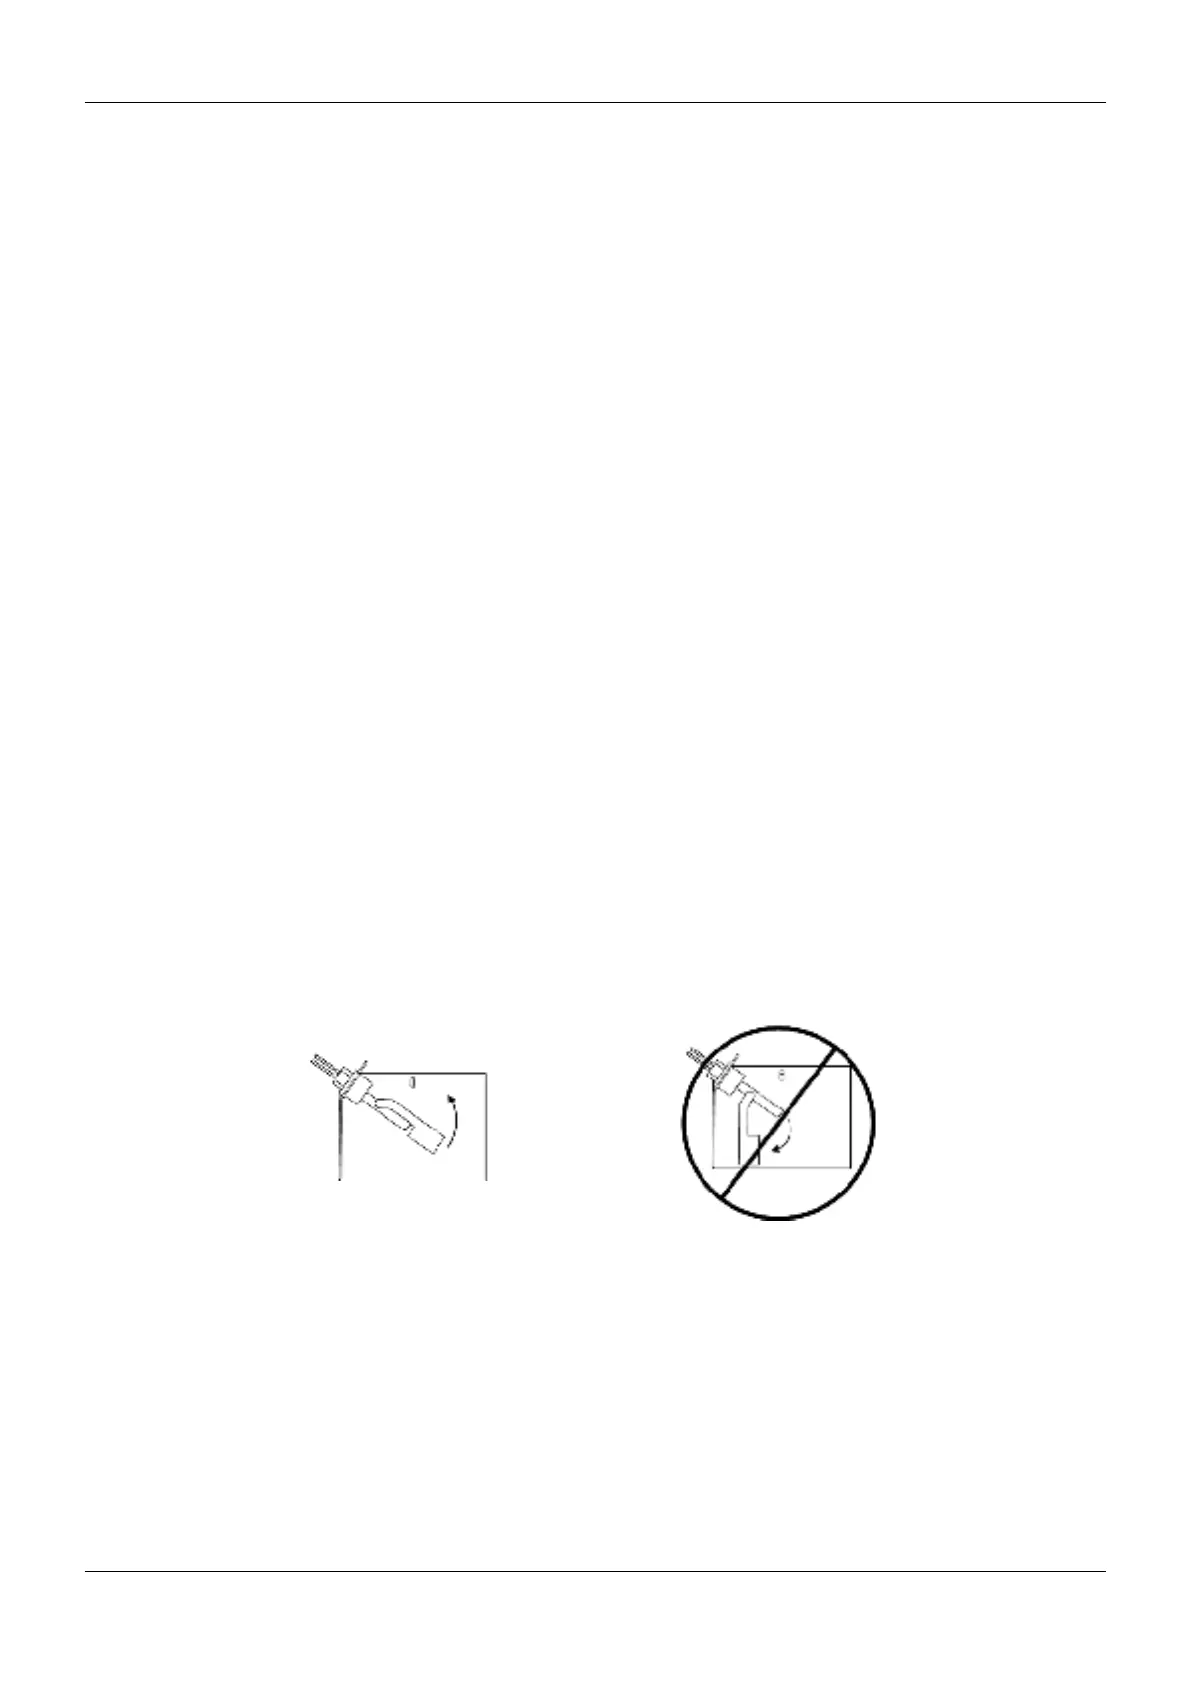
14. Carefully clean the scale from the oat switch (make sure to reinstall correctly; see Figure 2).
15. Reinstall the pan, thermostat, standpipe, drain coupling, cover and screws into the humidier.
16. Operate the humidier and check for leaks.
Fig. 2 - Correct orientation of oat switch
F.4.2 - Changing Humidier Lamps
Important: Touching quartz lamps with bare hands will severely shorten bulb life. Skin oils create hot spots on lamp surface.
Wear clean cotton gloves when handling lamps.
1. Remove the humidier pan (see F.4.1 - Cleaning Humidier Pan and Float Switch, Steps 1 through 11).
2. Disconnect power from the unit.
3. At the humidier, remove the screws and cover from the high- voltage compartment.
4. Disconnect one end of the purple jumper wires.
5. Using a continuity meter, locate the burned- out lamp.
6. Remove the lamp brackets under the lamps.
7. Loosen the two screws securing the lamp lead wires to the junction block.
8. Pull the bulb straight down and discard it.
Correct Switch Orientation Incorrect Switch Orientation