10 2 Installation
Vertiv™ | Liebert® PSI5 120V Input / 120V Output & 208V lnput / 208V Output Installer/User Guide
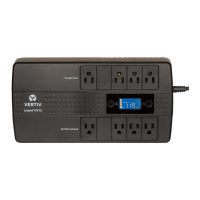
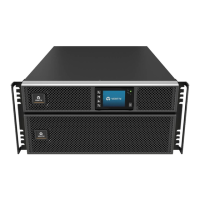
MT models
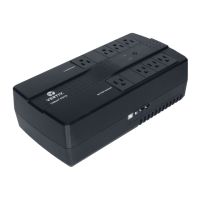
• UPS
• Quick installation guide
• Safety and regulatory statements
• USB type A to B cable
2.2 Unpacking and Inspection
Unpack the UPS and conduct the following checks:
• Inspect the UPS for shipping damage. If any shipping damage is found, report it to the carrier
and your local dealer or your Vertiv™ representative immediately.
• Check the accessories included in the packing list. If there is any discrepancy, contact your local
dealer or Vertiv representative immediately.
2.3 Preparation for installation
2.3.1 Installation Environment
• Install the UPS indoors in a controlled environment where it cannot be accidentally turned o.
The installation environment should meet the conditions listed Specications on page 31.
• Place it in an area of unrestricted airow around the unit, away from water, ammable liquids,
gases, corrosives and conductive contaminants. Avoid direct sunlight.
• The socket outlet should be nearby and easily accessible.
NOTE: Operating the UPS in temperatures above 77°F (25°C) reduces battery life.
2.3.2 Installation Clearances
Maintain at least 4 in. (100 mm) clearance in the front and rear. Do not obstruct the air inlets on the front
panel and rear panel. Blocking the air inlets reduces ventilation and heat dissipation, shortening the service
life of the UPS.
2.4 Installing the UPS
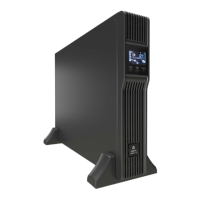
2.4.1 Installing a 2U Model
The 2U UPS and optional battery cabinets may be installed in a tower or rack conguration. The 2ULI
models may also be installed in a tower or rack conguration but do not support external battery cabinets.
Determine the conguration that meets your application needs, see Tower Installation below, or Rack-
Mount Installation on the facing page.