VESDA VESDA Maintenance Guide
www.xtralis.com 37
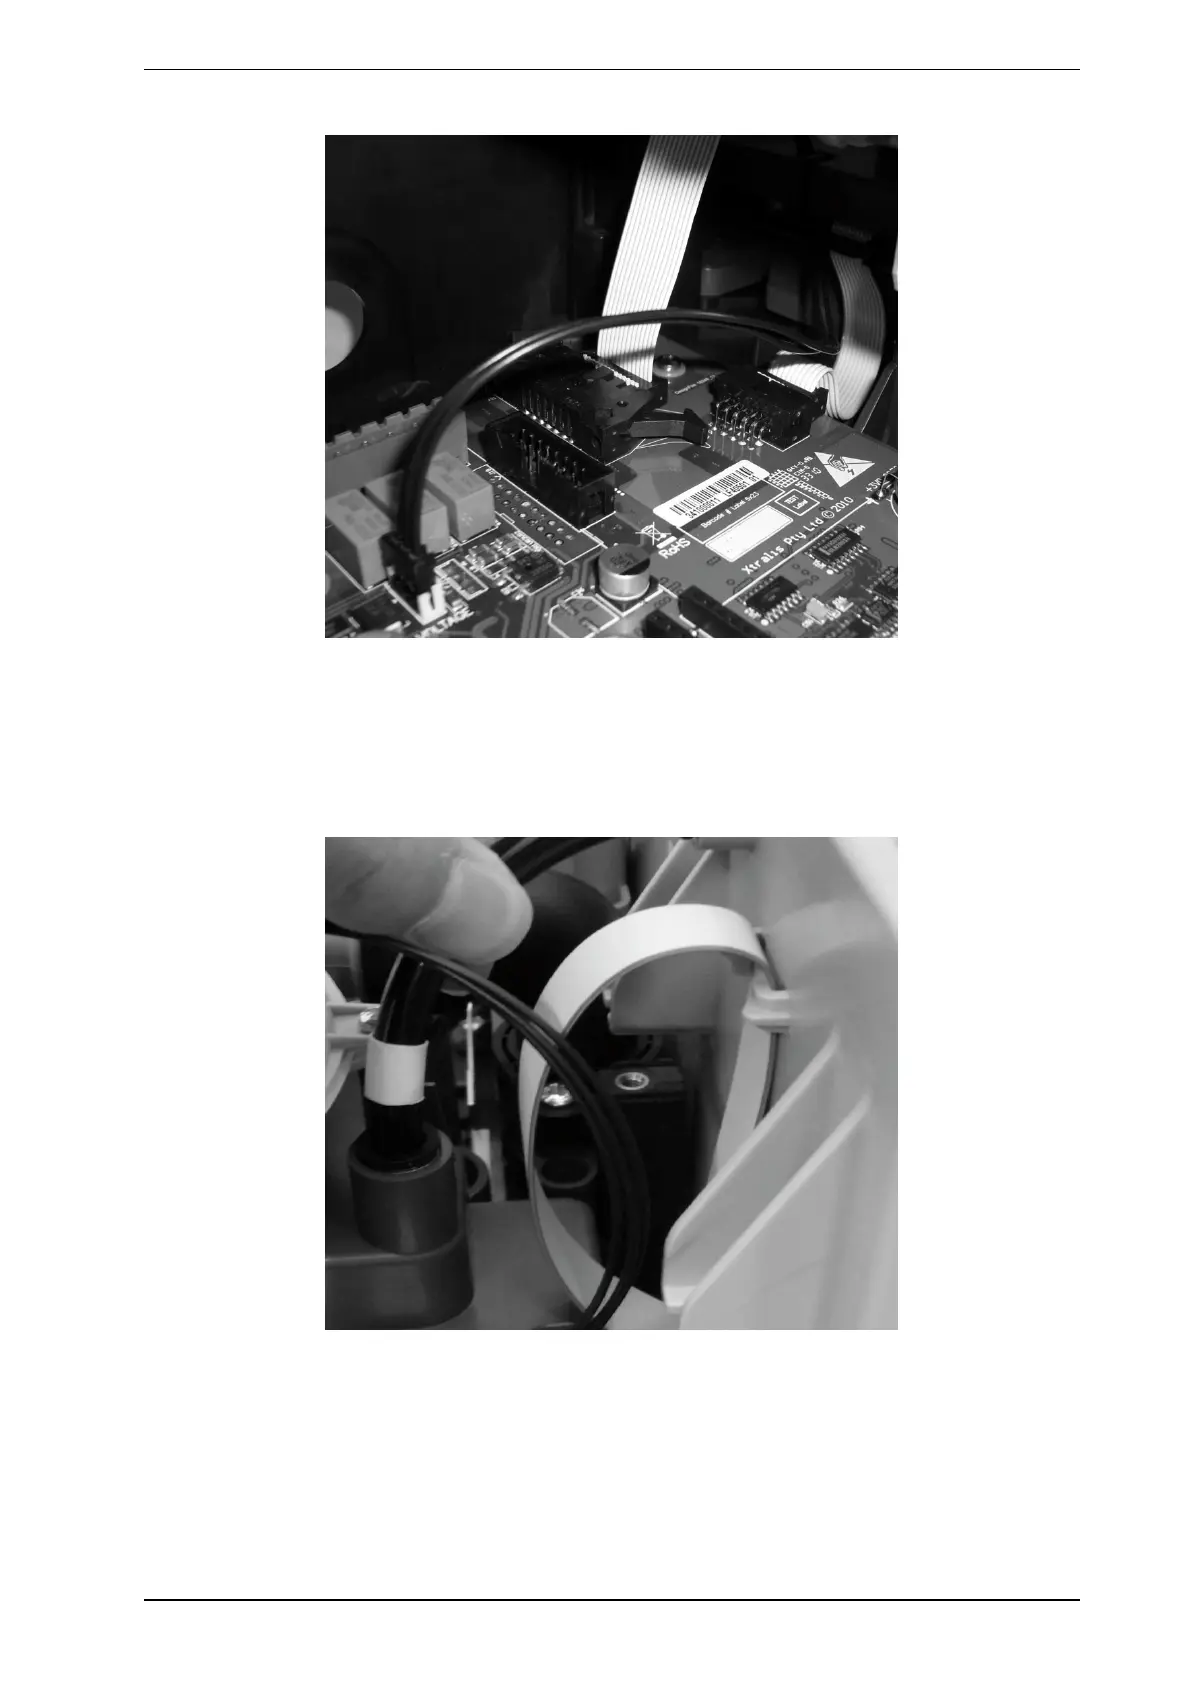
9. Unlock the connection arms and disconnect the ribbon cable from the main board (Figure 8-29).
Figure 8-29: Disconnect Ribbon Cable
Install a new Chamber Assembly
1. Ensure that the 24V input is still disconnected.
2. Plug the ribbon cable from the chamber into the main board (Figure 8-29). Ensure that the cable connector
is fully in and arms are locked.
3. Fold the ribbon cable under the chamber and hook it on the tabs provided (Figure 8-30).
Figure 8-30: Ribbon Cable Hooks
4. Insert chamber in slots but hold the chamber 20mm from bottom (Figure 8-31).