Series 751 FireLock
®
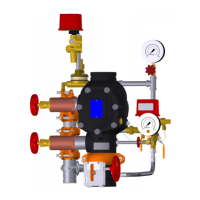
European Alarm Check Valve Stations
12
MAINTENANCE
The following steps instruct on how to remove and replace inter-
nal valve components. It is important that care be taken to avoid
damage to parts.
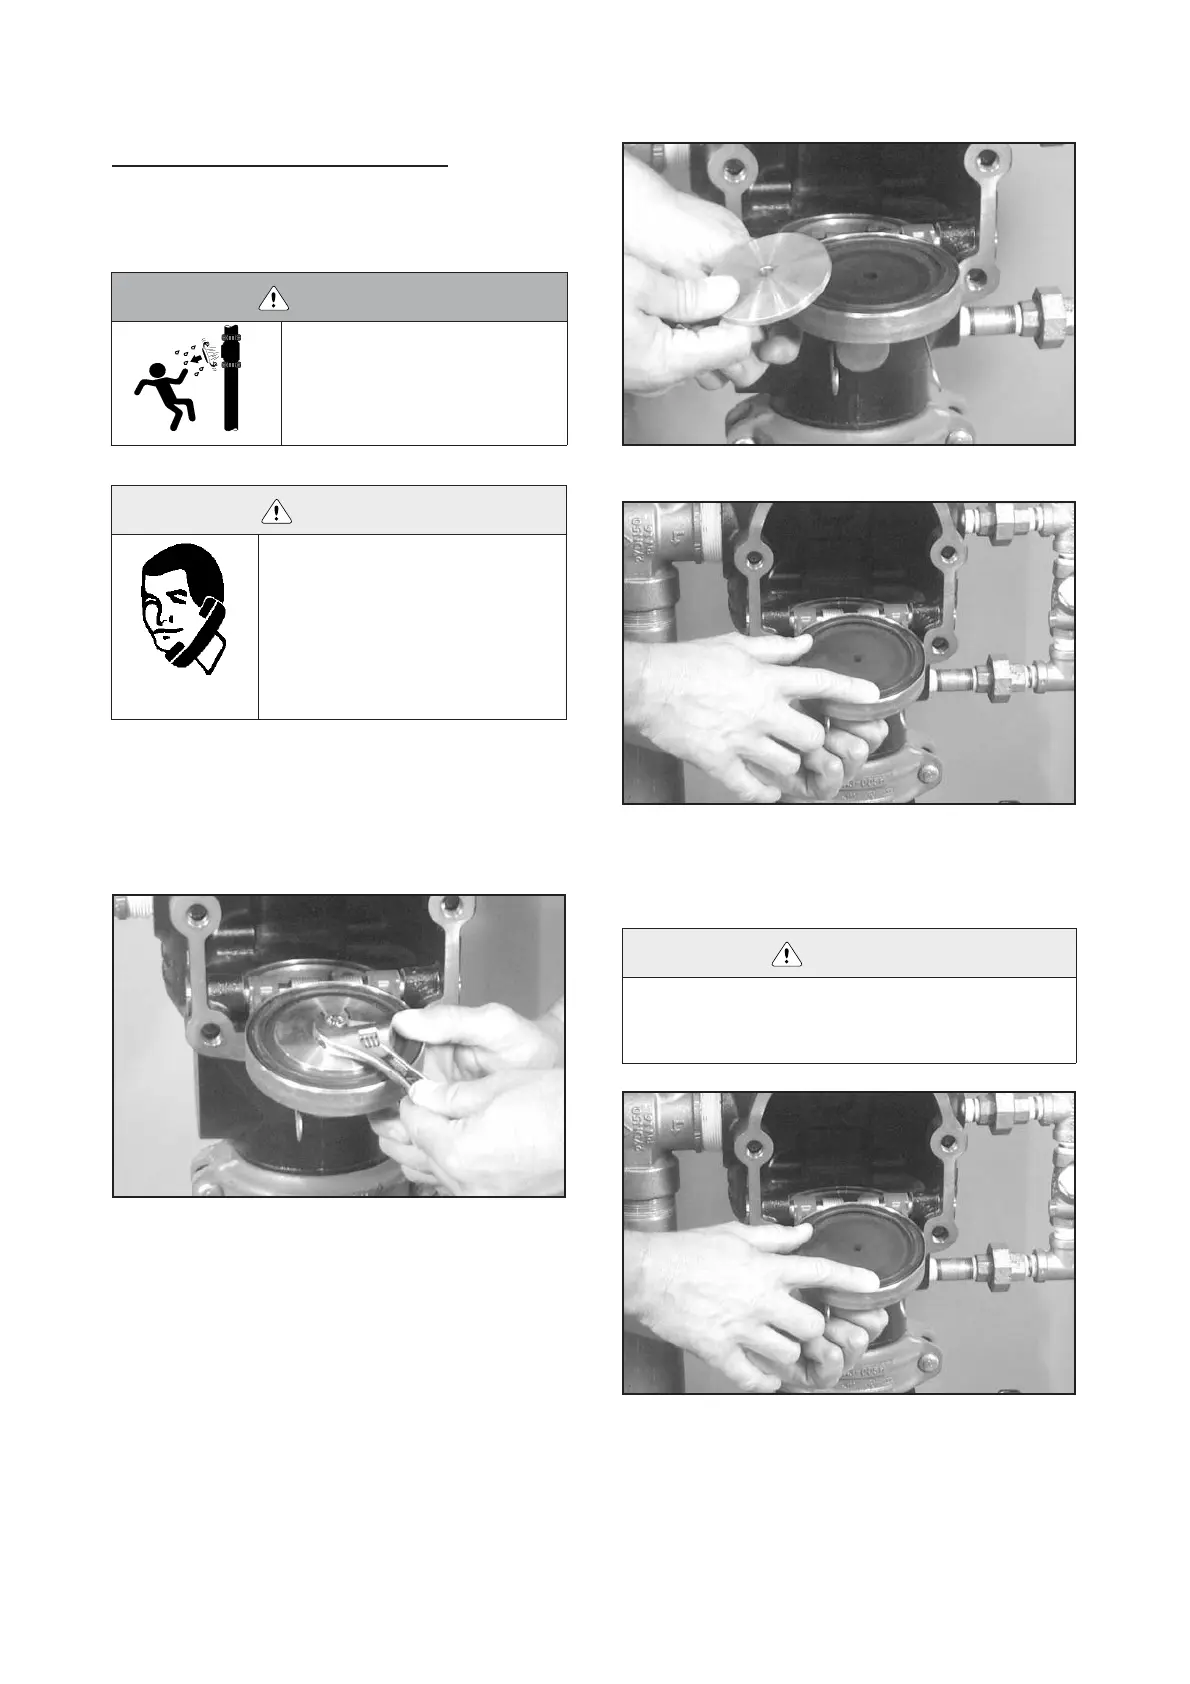
Removing and Replacing Clapper Seal for
DN 100 and DN 150 Size Valves
1. Perform steps 1 – 4 of the “Required Internal Inspection”
section, starting on page 10.
2. Remove the seal assembly bolt/bolt seal from the clapper,
as shown above.
3. Remove the seal-retaining ring. This seal-retaining ring will
need to be re-installed in later steps.
4. Remove the solid seal from the clapper and discard.
5. Make sure the clapper is free of contaminants, dirt, and
mineral deposits. Clean any holes in the valve body seat ring
that are plugged. DO NOT USE SOLVENTS OR ABRASIVES.
6. Install the new solid seal into the clapper, as shown above.
NOTE: Make sure the sealing lip is pointing upward.
WARNING
• Depressurize and drain the piping system
before attempting to install, remove, or
adjust any Victaulic piping products.
Failure to follow this instruction could cause
serious personal injury and/or property dam-
age.
CAUTION
• Any activities that require taking the valve out of
service may eliminate the fire protection pro-
vided.
• Before servicing or testing the system, notify the
authority having jurisdiction.
• Consideration of a fire patrol should be given in
the affected areas.
Failure to follow these instructions could cause
serious personal injury and/or property damage.
CAUTION
• DO NOT use solvents or abrasives on or near the valve body seat ring.
Failure to follow this instruction could prevent the clapper from sealing prop-
erly, resulting in improper valve operation, valve leakage, and/or property
damage.

 Loading...