WARNING
Make sure the valve is depressurized and
drained completely before the cover plate
bolts are removed.
The cover plate could blow off if the cover plate
bolts are removed while the valve is pressur-
ized, resulting in serious personal injury and/or
pr
operty damage.
•
6. PUSH DOWN ON THE AUTO DRAIN SCREW (12) TO REMOVE
PRESSURE IN THE PISTON CHARGE LINE.
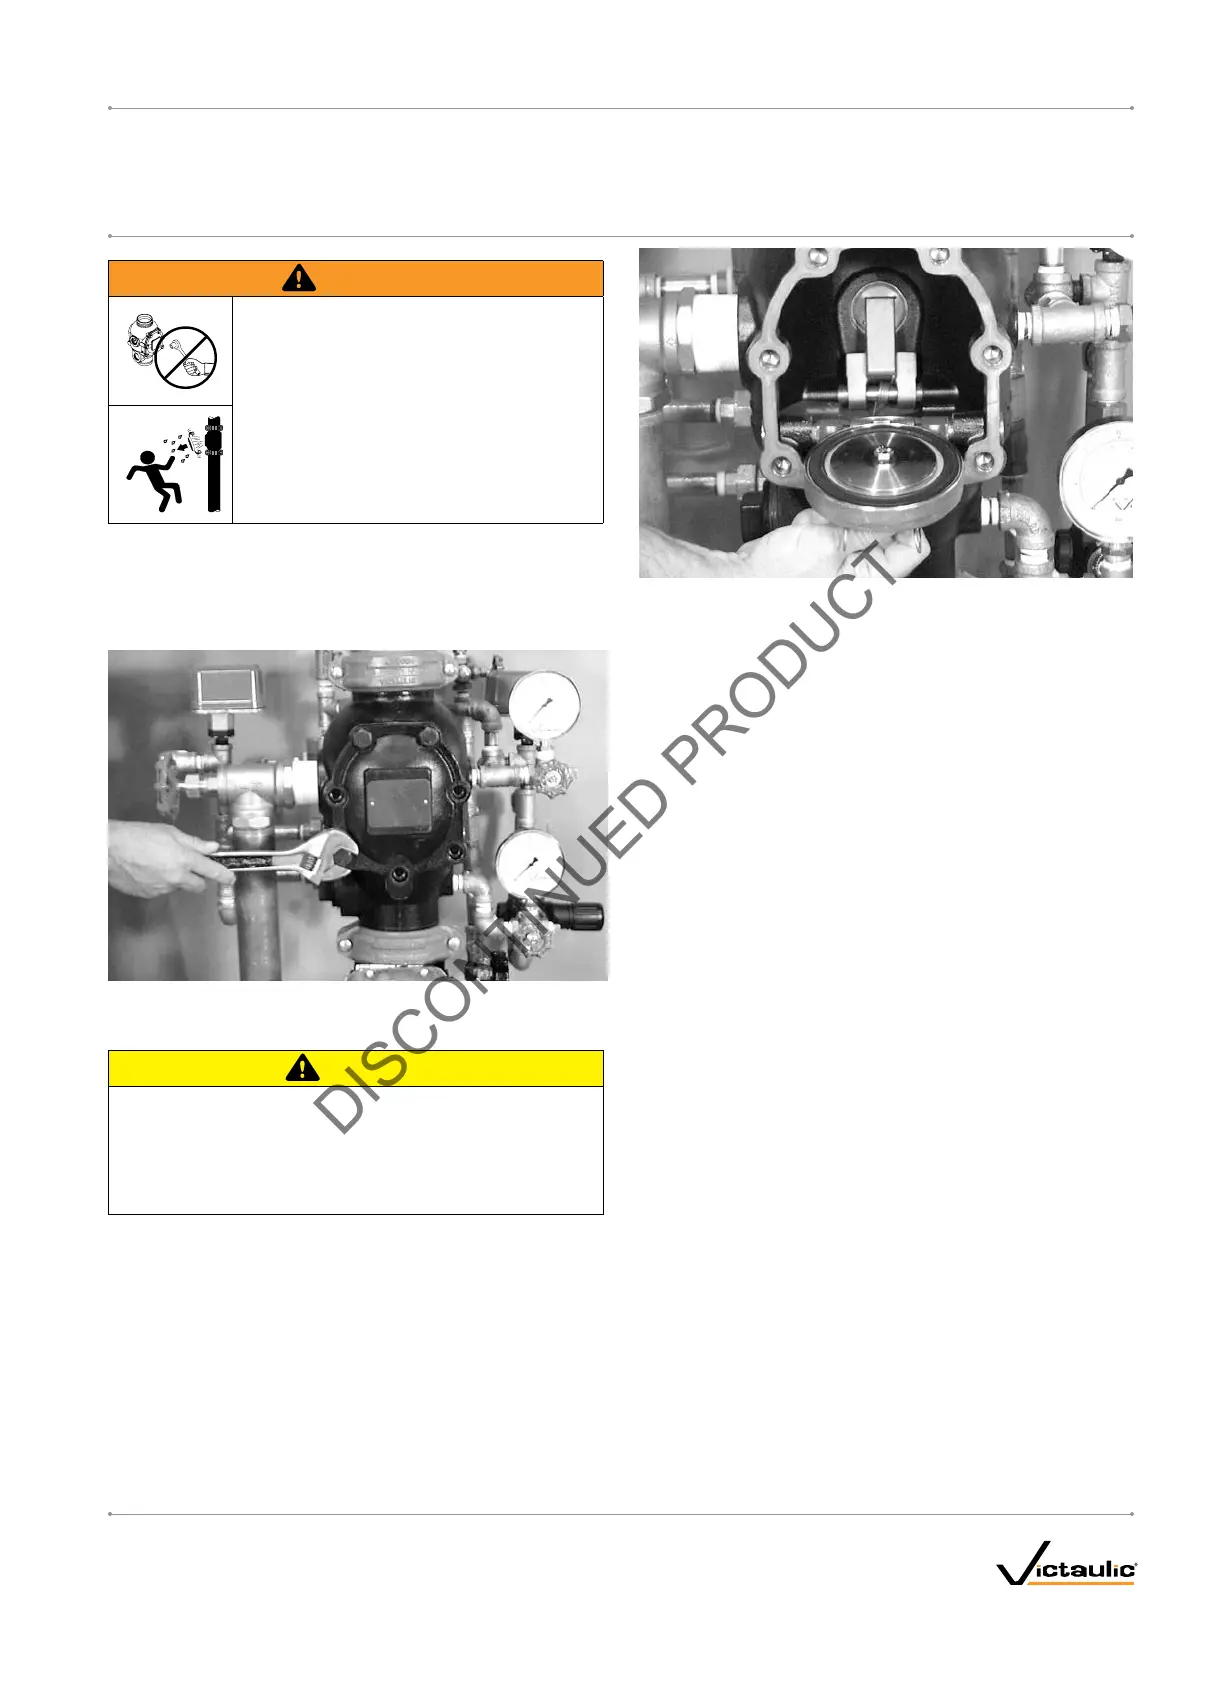
7. After all pressure is released from the system, loosen the cover
plate bolts slowly. NOTE: DO NOT remove any cover plate bolts
until all cover plate bolts are loosened.
8. Remove all cover plate bolts, along with the cover plate and cover
plate gasket.
CAUTION
DO NOT use solvents or abrasives on or near the valve body
seat ring.
Failure to follow this instruction could prevent the clapper
from sealing, resulting in improper valve operation and/or valve
leakage.
•
9. Rotate the clapper out of the valve body. Inspect the clapper seal
and seal-retaining ring. Wipe away any contaminants, dirt, and
mineral deposits. Clean out any holes that are plugged in the
valve-body seat ring. DO NOT USE SOLVENTS OR ABRASIVES.
10. Inspect the clapper for freedom of movement and physical
damage. Replace any damaged or worn parts by following the
applicable instructions in the "Maintenance" section, starting on
page 32.
11. Re-install the cover plate by following the "Installing the Cover
Plate Gasket and Cover Plate" section, starting on page 35.
12. Place the system back in service by following the "Placing the
System in Service" section, starting on page 11.
I-756LPA.VDS_25
FireLock
®
European Dry Valve Stations
SERIES 756
WITH SERIES 776 LOW-PRESSURE ACTUATOR
I-756LPA.VDSINSTALLATION, MAINTENANCE, AND TESTING MANUAL
www.victaulic.com
VICTAULIC IS A REGISTERED TRADEMARK OF VICTAULIC COMPANY. © 2006 VICTAULIC COMPANY. ALL RIGHTS RESERVED. PRINTED IN THE USA.
REV_B
 Loading...