66250203 - V4.4 - 15/05/22
- 3 -
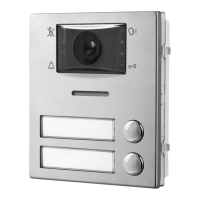
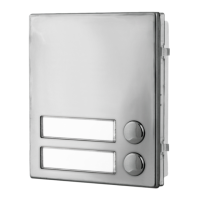
4000 Series Vandal Resistant Range
Art.4212 - Installation instructions
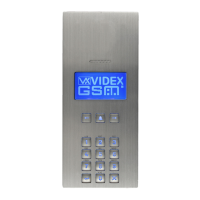
Art.4212 Audio/video digital front panel Operation
OPERATION
STANDBY MODE
The display alternates between HOME1 page and logo (if enabled - see "Home 2" on
pag. 8).
HOME1 (shown in Fig. 3)is composed by 4 lines:
• rst line contains date, time and
symbol (if enabled - see "RFID" on pag. 12).
Date and time have the format specied by date format and clock format (see pag. 8);
• second, third and fourth lines are edited from Home parameters menu (see "Line 1,
2, 3" on pag. 8) ;
The switching time between HOME1 and logo is specied by Switch parameter on
Home parameters menu (see pag. 8).
Press the “0” button to enter the coded access mode.
Press or (only for 15 button panels) to scroll through the users. (see "Scrolling users" on pag. 3).
Use the numeric keypad followed by to call an apartment (see "Flat" on pag. 7).
Passing a valid and enabled card/fob in front of
symbol will open the door.
HOW TO INSERT A CODE
From stand-by mode, pressing “0” will enter the code mode (see Fig. 4).
Every inserted digit is displayed as a dot.
will conrm the code.
The following codes can be entered:
• Master code to enter Programming menu (see "Master" on pag. 10);
• Admin code to enter Programming menu with restricted permission (see "Admin"
on pag. 10);
• Trade code to open door (if enabled - see "Trade" on pag. 10);
• a valid Access code , the door will be open, or “NOT FOUND!” message will appear.
To delete digits or exit page press
.
HOW TO CALL AN APARTMENT
From stand-by mode, enter a at number (see Fig. 5).
Each digit will be displayed. Pushing
will conrm the at number.
If at number is present in memory and user is enabled then a call request is made, or
“NOT FOUND!” message will appear.
To delete digits or exit page press .
SCROLLING USERS
From stand-by mode, pressing
or will begin scrolling. The highlighted central line is the selected user: pressing or will
make a call request.
For 15 button panel version scrolling is made using or , for 18 button version “A” and “C” buttons are used.
Callers can press a lettered key to jump to users beginning with that letter. The letter will appear next to the
symbol.
If no users are found with that letter the panel will revert to the previous selection.
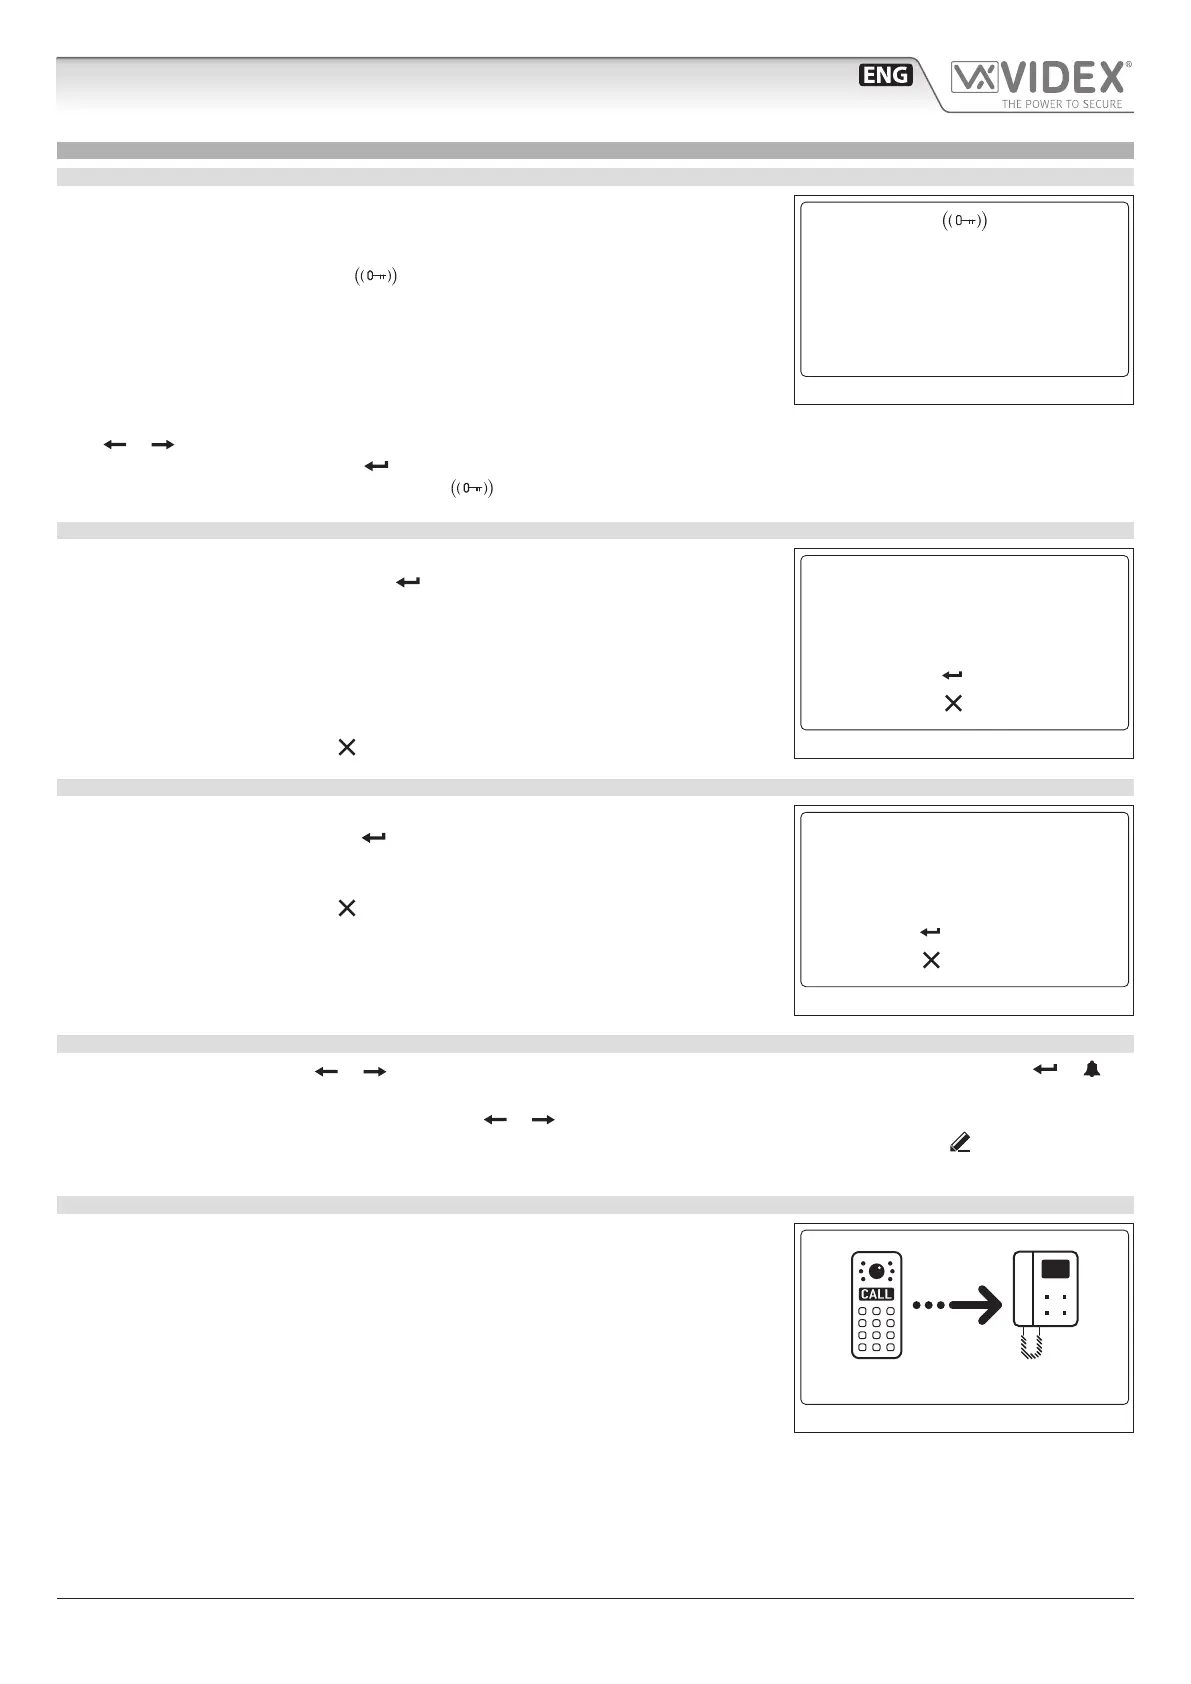
HOW TO MAKE A CALL
A call request can be made by either scrolling the user name or entering the at num-
ber. When a call is in progress the panel will show “Calling” as in Fig. 6.
The “CALLING” message alternates with at number (if user has made a call by typing
number) or name (if the scroll was used).
If bus is busy or intercom is not present, “BUSY!” message will appear on the screen. If
no answer after 40 seconds the call will be cleared.
If the call is answered a conversation can begin.
10:30 29/12/2015
VIDEX ELECTR.
FLAT 3
WELCOME
Fig. 3
to conrm
to canc
Code: • • • • • •
Fig. 4
123
to conrm
to canc
Fig. 5
calling
Fig. 6

 Loading...