ENUK - V1.4 - 25/01/17
39
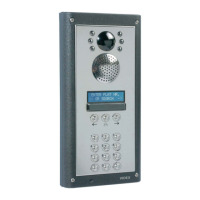
4000 Series GSM Audio Intercom - Technical Manual
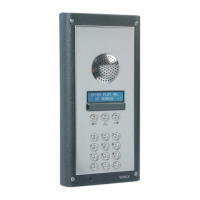
4000 Series GSM Audio Intercom with Proximity
Programming the GSM Intercom
UNLATCH AUXILIARY OUTPUT AO2 A2U
Auxiliary output AO2 can also be unlatched. To unlatch auxiliary output AO2 the following text message can be sent to the GSM
PRO intercom.
1111A2U Unlatch auxiliary output AO2.
1111A2U? Unlatch auxiliary output AO2 and send a conrmation text back to the sender.
STORE TIME BAND TBA
IMPORTANT NOTE: This feature relies on the network providers time zone setting and also if they support NITZ (Network Identity
and Time Zone). First check the time/date is correct by sending the SMS message 1111CLK? (also refer to check intercoms time
& date feature below). If the time/date returned is incorrect, it maybe that they do not support it. The clock can be set manually
but any power cut will result in the time and date being lost unless battery backup is included.
The time band feature allows the call buttons to be disabled or diverted to the master telephone number outside a certain time
window. For example, if the time band is set from 6:00am to 11:30pm then the user will only receive calls between the hours of 06:00
in the morning until 23:30 at night. Remember to always use the 24hr clock and also ensure the start time is earlier than the stop
time. Use the following text messages to store, query and delete the time band.
1111TBA”HHMMHHMM” Store the time using this format. The rst HHMM is the start time to receive calls (i.e. 0600
for 6am in the morning) and the second HHMM is the time to stop receiving calls (i.e.
2330 for 11:30pm at night).
1111TBA”HHMMHHMM”? As above but also send a conrmation text back to the sender with the stored setting.
1111TBA? Query time band setting. A text message will be sent to the sender with the stored time
window.
1111TBA”” Delete the time band and allow calls to be received at any time.
1111TBA””? Delete and conrm deletion of the time band.
CHECK/SET DATE & TIME CLK
The check date and time feature relies on the network providers time zone setting (also refer to important note above). After a SIM
has been placed into the GSM PRO intercom and powered up the SIM will attempt to register with the network and automatically
synchronise with the network providers time zone setting. The following text messages can be sent to the GSM PRO intercom to
check and set the current time and date. The date and time format is as follows: yy/mm/dd, hh:mm, where yy = year, mm = month,
dd = date and hh = hour, mm = minutes.
1111CLK? Check current time & date and send a conrmation text back to the sender.
1111CLK”yy/mm/dd,hh:mm” Set current time & date.
1111CLK”yy/mm/dd,hh:mm”? Set current time & date and send a conrmation text back to the sender.
Example: Setting the current time & date to 10:05am, 18th April 2016, the following text can be sent to the GSM PRO intercom:
1111CLK”16/04/18,10:05”?
The GSM PRO intercom will reply with the following text:
CLK = 16/04/18, 10.05
OK
VIDEX GSM
CHECK INPUT STATUS CHK
IMPORTANT NOTE: This feature is only applicable when auxiliary output AO1 mode has been set to mode 02. If auxiliary output
AO1 is set to any other mode then this feature will not work (also refer to example on page 22 and setting auxiliary output AO1
mode, A1M, on page 35).
If auxiliary output AO1 (A1M) mode has been set to mode 02 then the status of this mode can be checked by sending the following
text to the GSM PRO intercom.
1111CHK? Check the current status of auxiliary output AO1 and send a conrmation text back to the
sender.