67009600-EN - Edition 2015 - Rev. 1.0
27
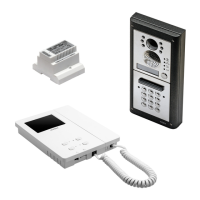
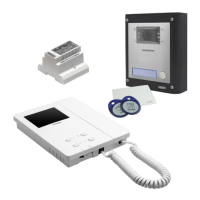
VX2300 Digital System - “2 Wire” Audio/Video Door Entry System
VX2300 Digital System - Installation handbook
B
E
C
D
A
F
Fig. 2
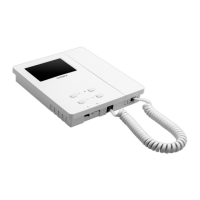
3600 Series Videophone wall mounting instructions
135cm
Fig. 1
C
Fig. 3
CM
L
H
I
M
Fig. 4
N
N
Fig. 5
1. Cables must be fed through the opening E (Fig. 2) of the mounting plate C, which should be tted approximately 135cm from
nished oor level as shown in Fig. 1;
2. Place the mounting plate C against the wall feeding the wire group D through opening E of the mounting plate and mark the
xing holes A (Fig. 2);
3. Drill the xing holes A, insert the wall plugs B then with the cables threaded through opening E x the mounting plate C to the
wall with the 4 screws provided F (Fig. 2);
4. Hook the PBC connection board G to the mounting plate C as shown in Fig. 3 and connect the wires (using the screwdriver
provided) to the terminals as shown in the diagram provided;
5. Once the wires are connected, hook the videophone H to the mounting plate C as shown in Fig. 3;
6. Connect the Plug I on the ribbon cable from the videophone to the plug L on the PCB connection board G;
7. Place the videophone H against the 4 hooks M on the mounting plate C (in line with the 4 openings N on the rear side of the
videophone Fig. 5) and push down as suggested by the pointers in Fig. 4, the videophone will lock into place;
8. To remove the videophone, hold it rmly and push the unit in an upward direction until the videophone H unlocks from the
mounting plate C.
 Loading...