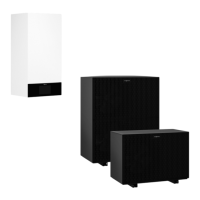
29
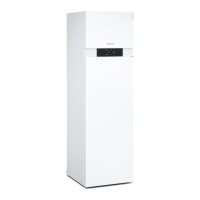
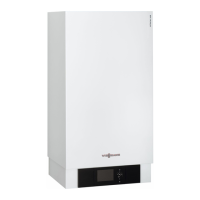
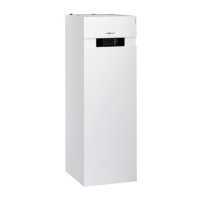
Floorstanding installation:
■
Ensure that condensate can drain freely.
■
Allow condensate to seep away into a gravel bed or
into a deep seepage layer, or direct it into the waste
water system: See page 32 onwards.
Danger
If refrigerant gets into the waste water system
(e.g. as a result of a leak in the refrigerant cir-
cuit), there is a risk of explosion.
Only connect the condensate drain to the
waste water system via a trap.
Wall mounting:
■
Ensure that condensate can drain freely.
■
Allow condensate to seep away into the gravel bed:
See page 32.
Flat roof installation:
■
Allowing the condensate to drain freely onto the roof
surface is not permissible, as this may result in the
formation of layers of ice. Layers of ice on the roof
may prevent further condensate from draining freely,
resulting in increased roof loads.
■
Use an electric ribbon heater for the condensate pipe
(accessories).
■
To drain the condensate, connect the condensate
hose on the outdoor unit to an insulated condensate
pipe. The condensate pipe is part of the standard
delivery of the electric ribbon heater for the conden-
sate pipe.
If necessary, insert the condensate hose via a trap
insert.
Structure-borne noise insulation and vibration isolation between the building and outdoor unit
■
Route cables/leads between the indoor and outdoor
units so they are not stressed.
■
Installation only on walls with a high weight per unit
area (> 250 kg/m
2
); in other words not on lightweight
walls, roof structures, etc.
■
Vibration isolation components are included in the
standard delivery of the wall mounting bracket.
■
Do not use additional anti-vibration mounts, springs,
rubber mounts, etc.
■
When installing the outdoor unit on roof surfaces,
there is a risk that structure-borne noise and vibra-
tions will be transmitted into the building.
If the outdoor unit is installed on freestanding
garages, insufficient structure-borne noise insulation
and vibration isolation can cause excessive noise
due to resonance amplification.
■
When using a KG conduit:
After installing the hydraulic connection lines, fill the
KG conduit with sand.
Technical guide
Installation location
■
Maximum geographical height of the installation
location: 1500 m above sea level
■
Select a site with good air circulation so that the
cooled air can dissipate and be replaced by warm
air.
■
Do not install in recesses or between walls. This
could result in an "air short circuit" between the air
being discharged and the air being drawn in.
!
Please note
An air short circuit during heating mode will
result in the cooled, discharged air re-entering
the unit. This can result in reduced heat pump
efficiency and defrosting problems.
Avoid air short circuits.
!
Please note
An air short circuit during cooling mode will
result in the heated, discharged air re-entering
the unit. This can lead to high pressure faults.
Avoid air short circuits.
Siting the outdoor unit
Installation information (cont.)
6222080
Installation