21ViewSonic VT2430
ENGLISH
Using the Display Features
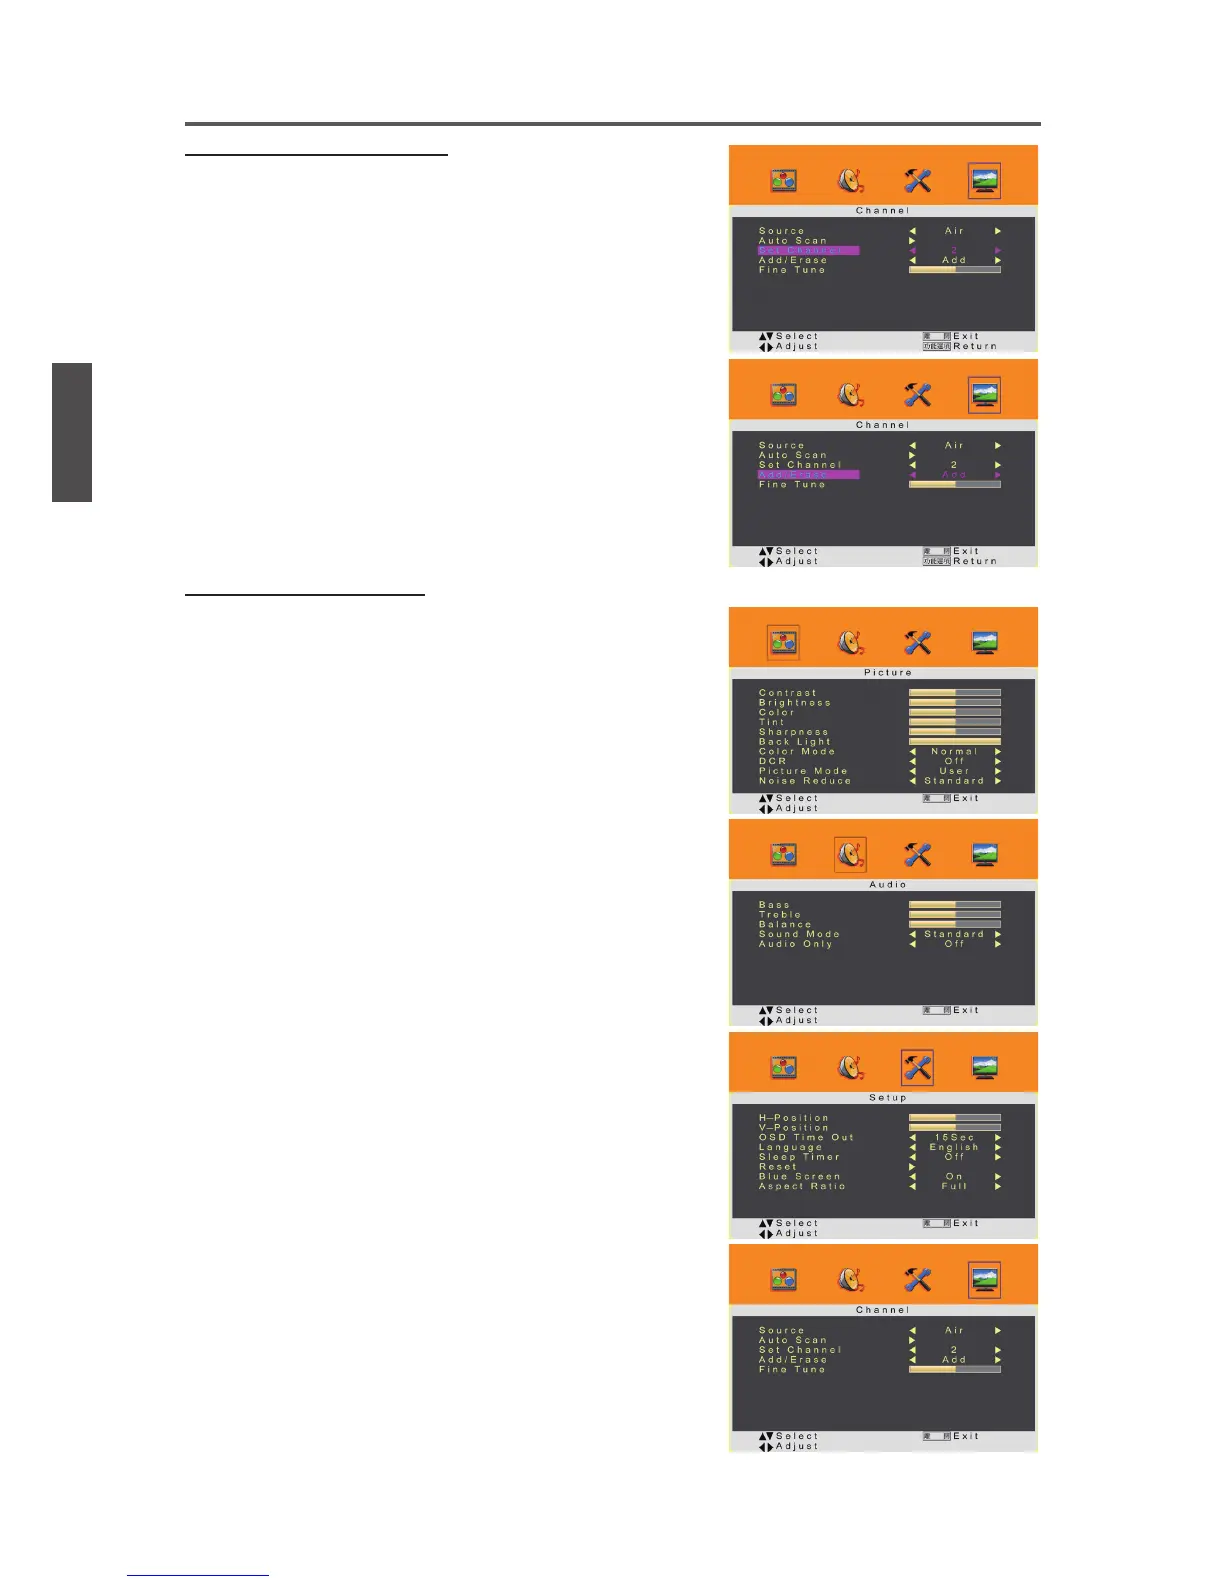
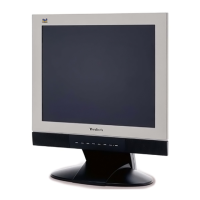
Adding/Erasing Channel
When the channel is erased, it will not appear on the
screen when you browse the channels with ▲▼ button.
To see the channel again, you must add the channel or
perform the “Auto Scan” (page 21) function again.
1. Press the 功能選項 button to display the OSD main menu.
2. Press ◄ or ► to select the “Channel” menu.
Press ▲ or ▼ to select “Set Channel”, then press ◄ or ►
button to select the channel you want to add or delete.
3. Press ▲ or ▼ to select “Add/Erase”, then press ◄ or ►
button to select “Add” or “Erase”.
4. Press 功能選項 to exit.
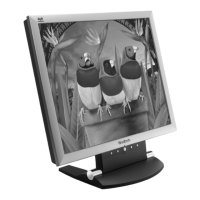
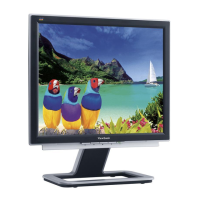
Adjusting the Settings
1.
(1) Press the 功能選項 button to display the OSD main menu.
(2) Press ◄ or ► to select your desired top Menu.
(3) Press ▲ or ▼ to select the control of “Contrast”,
“Brightness”, “Color”, “Tint”, “Sharpness”, “Back Light”,
“Bass”, “Treble”, “Balance”, “H-Position”, “V-Position”,
“Fine Tune”, then press ◄ or ► to adjust the level.
(4) Press 功能選項 to exit.
2.
(1) Press the 功能選項 button to display the OSD main menu.
(2) Press ◄ or ► to select your desired top Menu.
(3) Press ▲ or ▼ to select the control of “Color Mode”,
“DCR”, “Picture Mode”, “Noise Reduce”, “Sound Mode”,
“Audio Only”, “OSD Time Out”, “Language”, “Sleep
Timer”, “Blue Screen”, “Aspect Ratio”, “Source”,
“Set Channel”, “Add/Erase”, then press ◄ or ► to
select your desired option.
3.
(1) Press the 功能選項 button to display the OSD main menu.
(2) Press ◄ or ► to select your desired top Menu.
(3) Press ▲ or ▼ to select the control with ►, including
“Reset”, “Auto Scan”, then press ► to perform the
function or enter detailed settings.