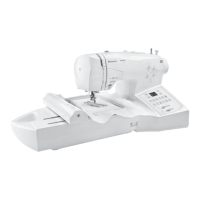
26
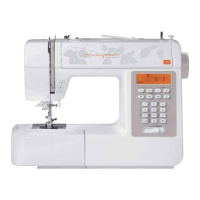
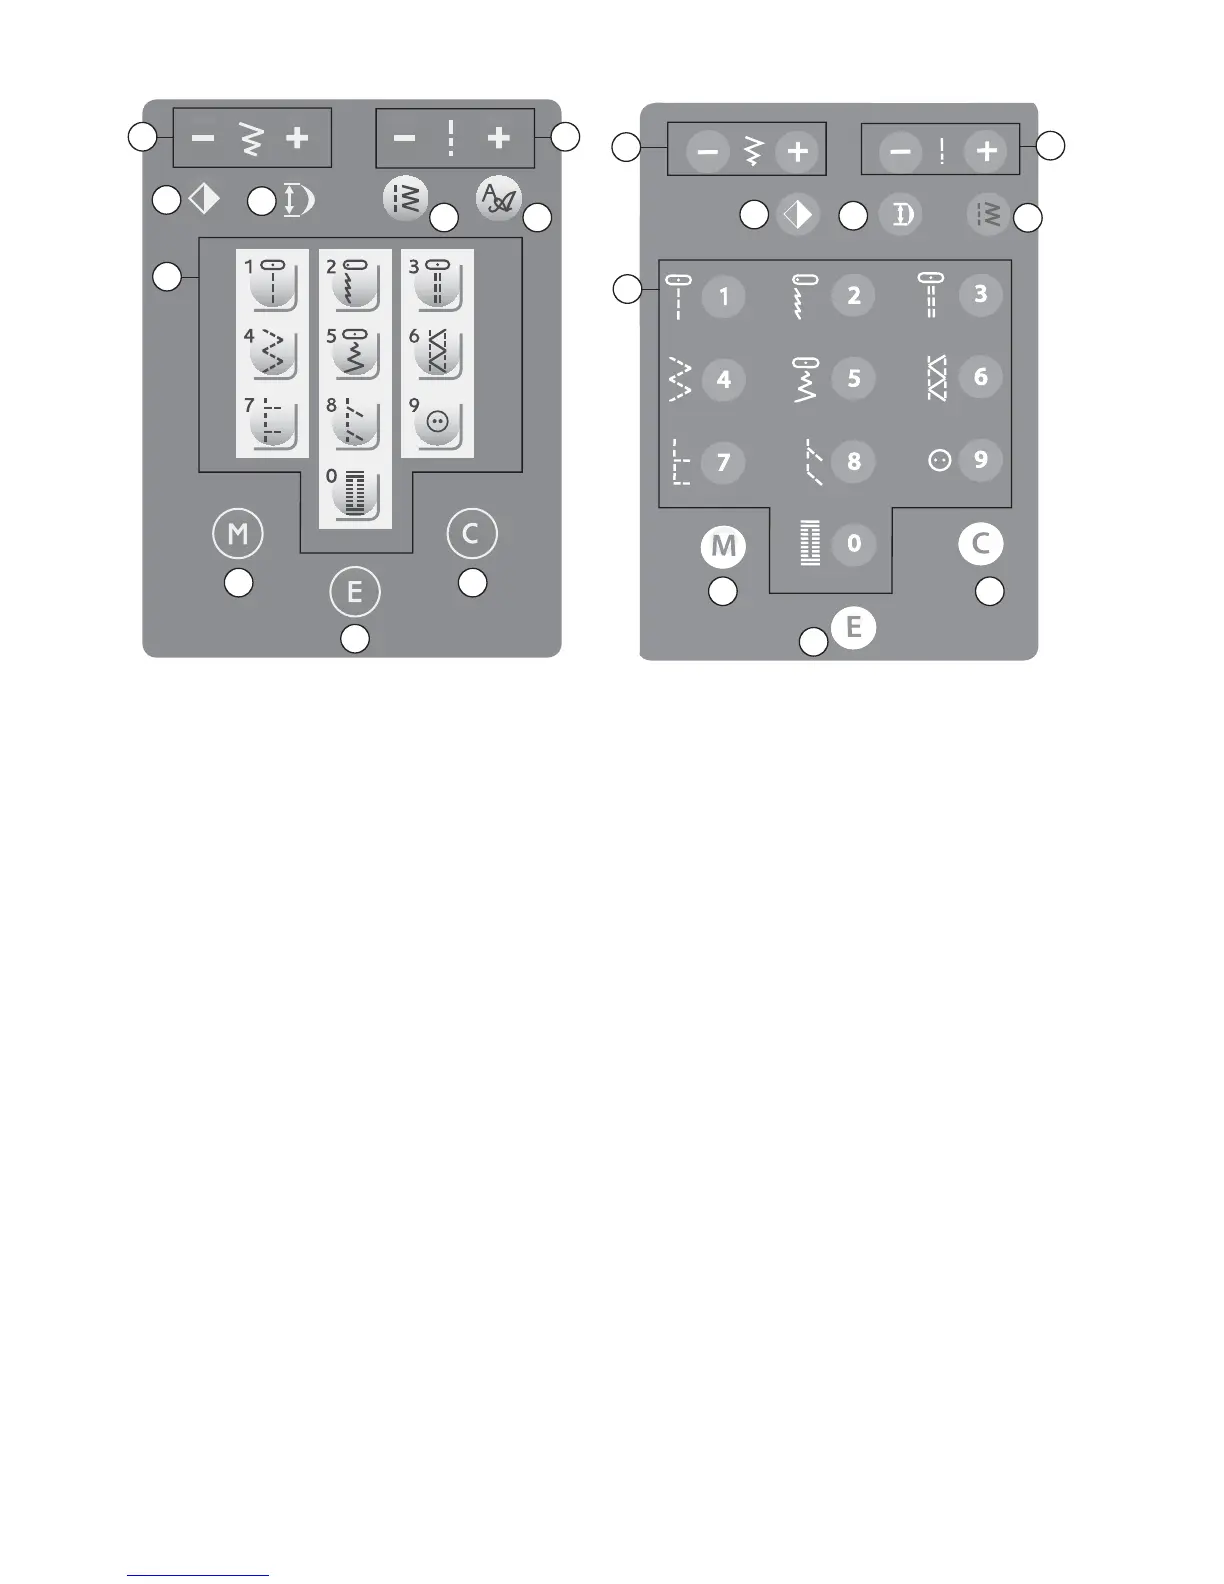
FUNCTION BUTTONS
Direct Stitch Selection Buttons (A)
When menu one is activated you can use the
direct stitch selection buttons to choose your
stitch. By pressing any of the 0 to 9 buttons
you select the stitch illustrated on that button
immediately.
Stitch Width (B)
The stitch width is set in the same manner as
the stitch length. The preset width is visible
on the InfoDisplay. The width can be adjusted
between 0 and 7 mm. If a straight stitch is
selected, the width button is used to adjust the
needle position to the left or right.
Stitch Length (C)
When you select a stitch, your machine
automatically sets the best stitch length. The
stitch length is visible on the InfoDisplay. You
can change the stitch length by pressing the +
or – button.
Touch Panel – EMERALD™ 203 Touch Panel – EMERALD™ 183
A
A
B
B
C
C
D E
D
Menu Selection (D)
Press the Menu Selection button to select
different stitch menus. When turning the
machine on, the direct stitch selection mode
(menu one) is always selected.
There are fi ve different stitch menus; two
utility stitch menus and 3 decorative stitch
menus. By looking at the LED lights to the
right of the screen, you will be able to see
which menu you have selected.
There is also an alphabet menu with lower
and uppercase letters and numbers.
For more information about the stitches see
chapter 1.
Font Menu Selection (E)
(only EMERALD™ 203)
Touch this button to toggle between the
two fonts available (Block and Script). The
currently chosen font is highlighted on the
display.
H
I
J
F
G
F
G
H
I
J