15
1. Place the apparatus on a level surface.
2. Lift the cover ( 8) on the device housing and insert the charged batteries (9)
along the guides into the device. You will hear them click into place .
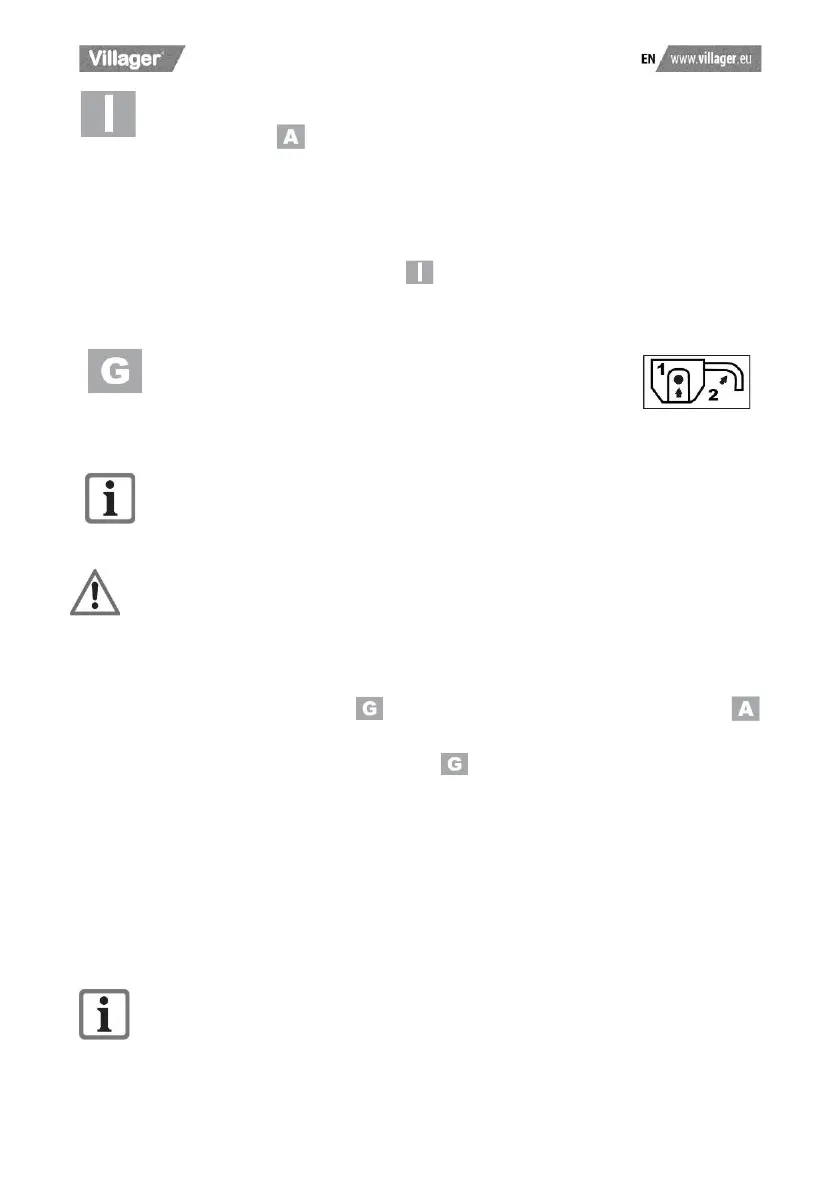
3. Insert the ignition key (10) in the corresponding opening next to the
rechargeable battery (9). The ignition key can only be inserted in one position.
Take note of the guide groove on the opening next to the battery and on the
ignition key (10) (see small image ).
4. Before switching the apparatus on, make sure that it is not touching any
objects.
5. To switch the apparatus on, press the release button (16)
and hold it down while pressing the starting lever (17). Let go
of the release button.
6. To switch the apparatus off, let go of the starting lever (17).
Due to the intelligent energy management system, the motor starts after a delay.
After switching off the equipment, the blade continues to turn for several
seconds. Do not touch the moving blade. There is a risk of injury.
Checking the charge status of the battery
The battery charge status indicator ( 21) shows the state of charge of the battery (
9).
Press the button for the charge level indicator ( 20). The charge level of the battery is
indicated by illumination of the corresponding LED lights.
3 LEDs illuminated (red, orange and green): Battery charged.
2 LEDs illuminated (red and orange): Battery partially charged.
1 LED illuminated (red): Battery needs to be charged.
Working with the device
Observe noise protection rules and other local regulations.