EasyManua.ls Logo

Vimar radioclima User Manual

Vimar radioclima
184 pages
Go to English
To Next Page IconTo Next Page
To Previous Page IconTo Previous Page
Page #11 background image
ITALIANO - 7
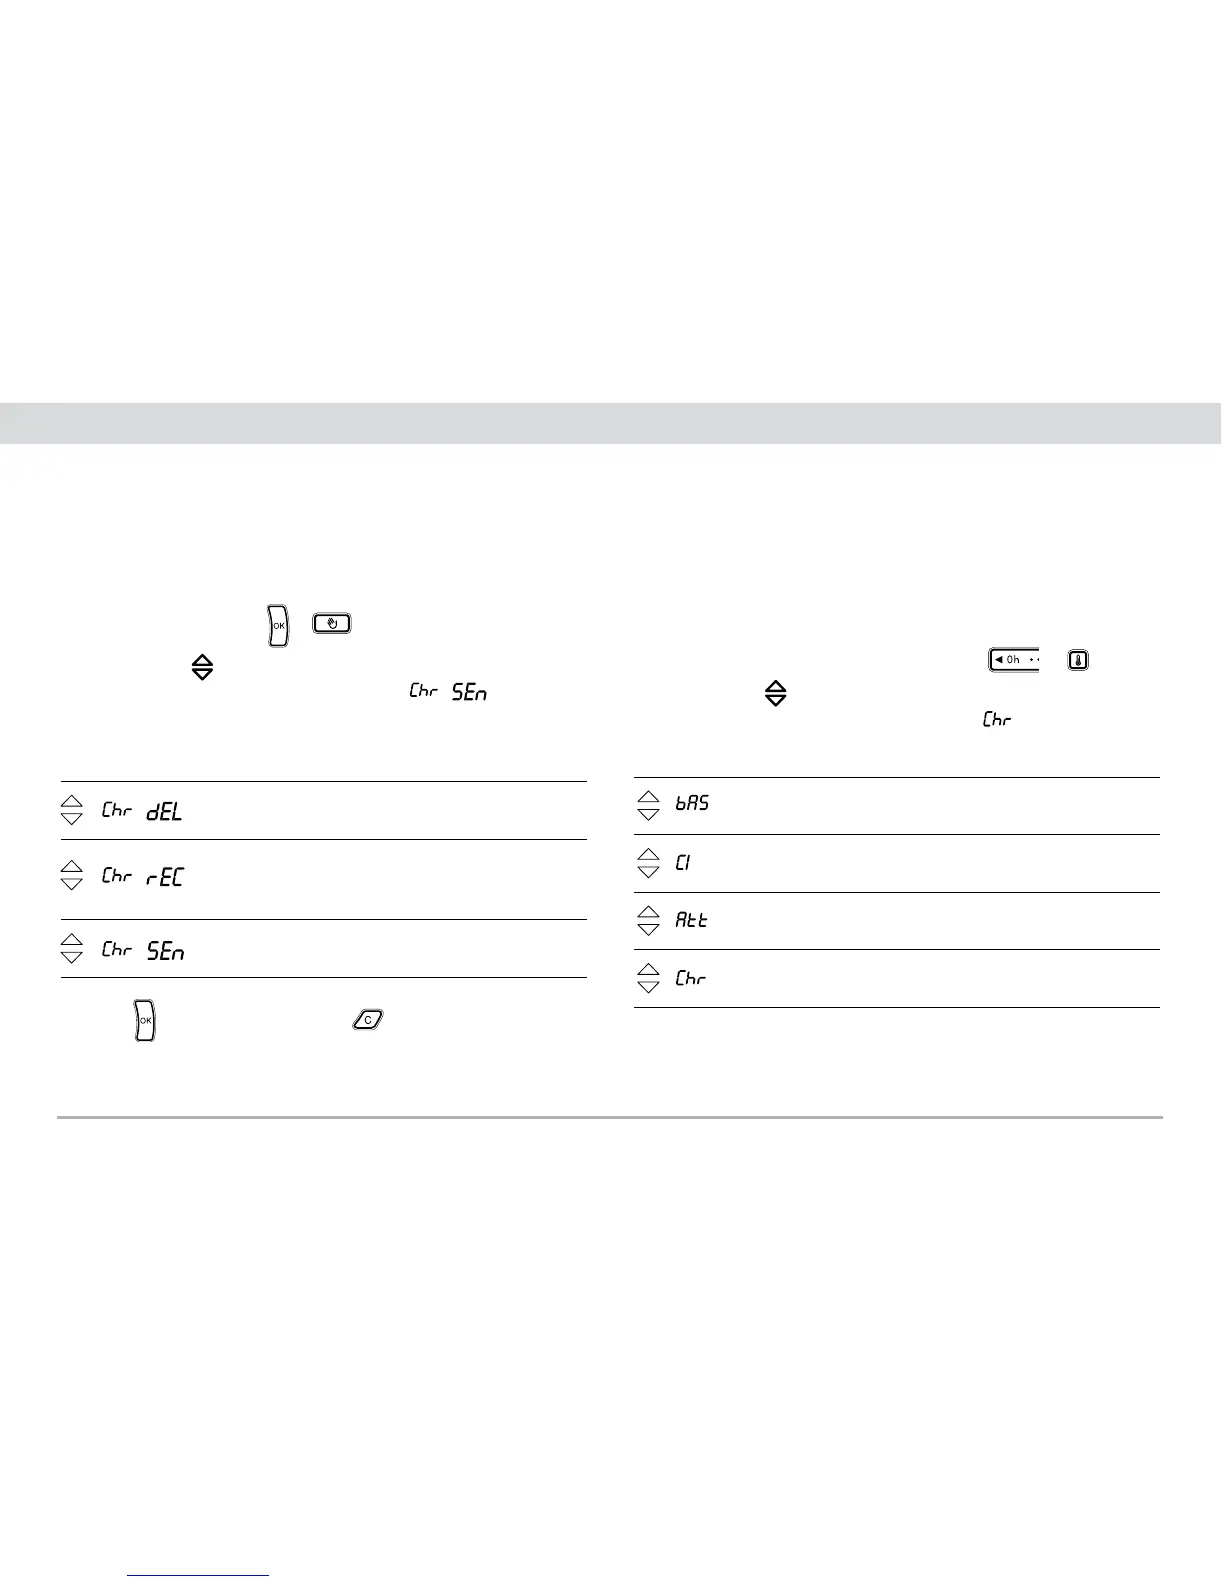
4.3 Menù gestione cronotermostati
Permette la programmazione e la cancellazione di cronotermostati
secondari.
Premere la combinazione
+ .
Utilizzare il tasto
per selezionare la funzione desiderata secondo
la sequenza indicata a partire dalla funzione
.
4.4 Menù richiesta versione e revisione firmware
Permette di visualizzare la versione e revisione firmware della Base
Radio, degli attuatori Radio e dell’Interfaccia di Comunicazione
Interna, se opportunamente selezionati.
Premere per alcuni secondi la combinazione
+ .
Utilizzare il tasto
per selezionare la funzione desiderata secondo
la sequenza indicata a partire dalla funzione
.
Premere
per confermare oppure
per annullare.
Ricezione configurazione su cronotermostato
secondario (eseguire solo da cronotermostato
secondario)
Tasto
Display Descrizione
Invio configurazione da cronotermostato primario
(eseguire solo da cronotermostato primario)
Cancellazione cronotermostato secondario
(eseguire solo da cronotermostato primario)
Richiesta firmware cronotermostato
Richiesta firmware attuatori radio a relè (necessaria
selezione dispositivo da pulsante programmazione)
Richiesta firmware interfaccia di comunicazione
interna
Richiesta firmware base radio
Tasto
Display Descrizione
Selezionata la funzione desiderata vengono visualizzate tre cifre: le
prime due identificano la versione del firmware, la terza identifica
la revisione.

Table of Contents

Question and Answer IconNeed help?

Do you have a question about the Vimar radioclima and is the answer not in the manual?

Vimar radioclima Specifications

General IconGeneral
BrandVimar
Modelradioclima
CategoryThermostat
LanguageEnglish

Summary

3. INSTALLATION

3.1 Radio Transceiver Base Station

Details on wall-mounting the Radio Transceiver Base Station at a suitable height and distance from other components.

3.2 Radio relay actuator

Information on installing the radio relay actuator for EN 50022 rail mount, occupying six modules.

4. ADDITIONAL THERMOSTAT FUNCTIONS

4.1 Reset radio transceiver base station Menu

Procedure to restore the Radio Base Station to its original default configuration using the reset menu.

4.2 Installation Menu

Function for associating or excluding radio devices from the system using the installation menu.

4.3 Thermostat Manager Menu

Menu for programming or excluding secondary thermostats, managing their configuration.

5. SYSTEM CHARACTERISTICS

5.1 Low battery warning.

Signals for low battery status on the radio base station, requiring prompt replacement.

6. DEVICE CONFIGURATION

6.1 Autolearn of devices on primary thermostat (step 1)

Sets up communication between primary thermostat and radio relay actuator or Internal Communication Interface.

6.2 Duplication of primary thermostat to secondary ones (step 2)

Copies radio system configuration data from a primary thermostat to secondary thermostats (up to 7).

6.3 Associating a secondary thermostat with a relay radio actuator (step 3)

Assigns a relay actuator channel to a thermostat previously autolearned by the system.

7. ELIMINATION OF DEVICES

8. DEVICE RESET

10. EXAMPLES OF TYPES OF INSTALLATION

11. PRINCIPAL CHARACTERISTICS

12. INSTALLATION REQUIREMENTS FOR RADIO RELAY ACTUATOR

13. CONFORMITY TO REGULATIONS

Related product manuals