33
Installing PhotoVista
PhotoVista is an easy-to-use program that lets you create spectacular 360
0
panoramic images in a snap. When
you view these panoramas, you get the experience of being totally immersed in a realistic environment. PhotoVista’s
powerful engine quickly and automatically stitches images together, and its intuitive interface will let even a
novice get great results in minutes.
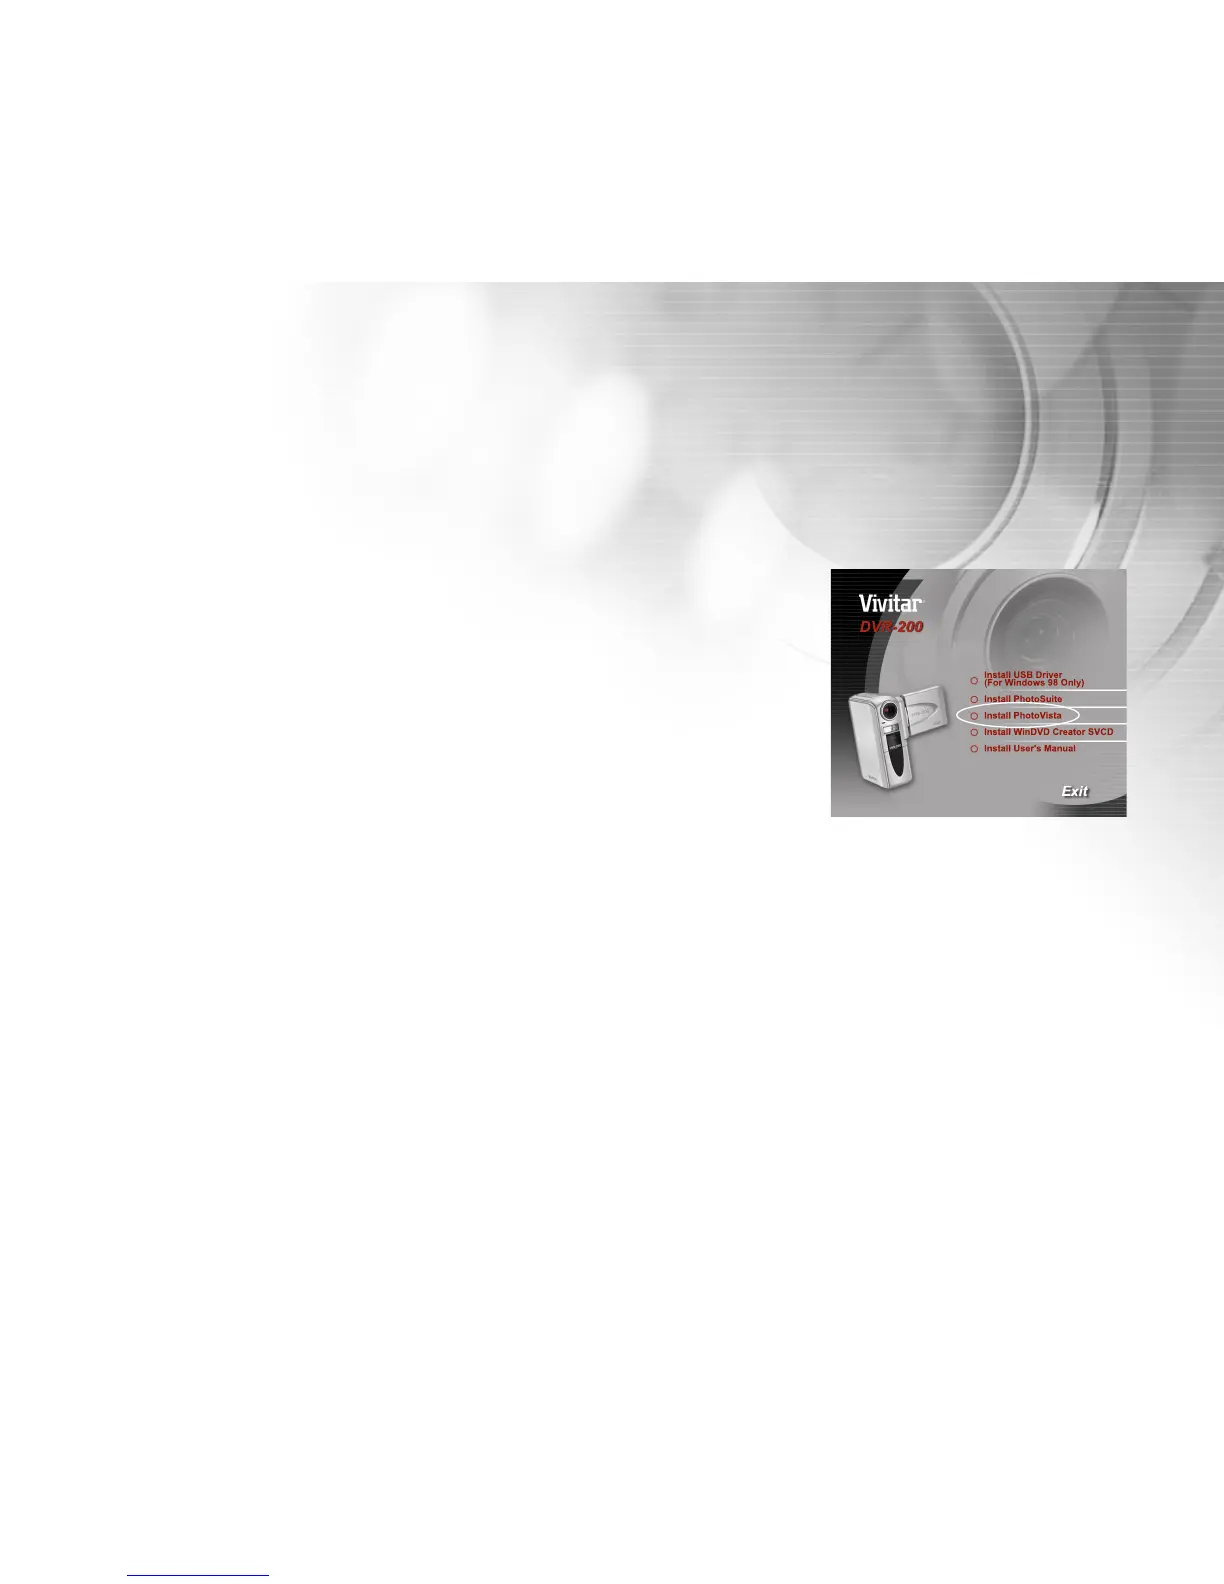
To Install PhotoVista
1. Insert the CD-ROM packaged with the camera into the CD-ROM drive.
The welcome screen appears.
2. Click “Install PhotoVista”. Follow the on-screen instructions to
complete the installation.
Note:
For information on how to use PhotoVista to create spectacular 360
0
panoramic images, please refer to its
online help.
For Windows 2000/XP users, make sure to install and use the PhotoVista while logged in as a user with an
Administrator account.
For Windows XP users which OS version does not include Service Pack 1 or higher, be sure to link to http:java.
sun.com/getjava/download.html first and download the Java Virtual Machine installation. For more detail
information about Java, please refer to its on-line help at http:java.sun.com/getjava/help.html.
Photovista system requirements: Windows 98/200/Me/XP (Service Pack 1 or higher)