3. Front work lights (optional equipment)
NOTE!
Work lights must be off when operating on public roads.
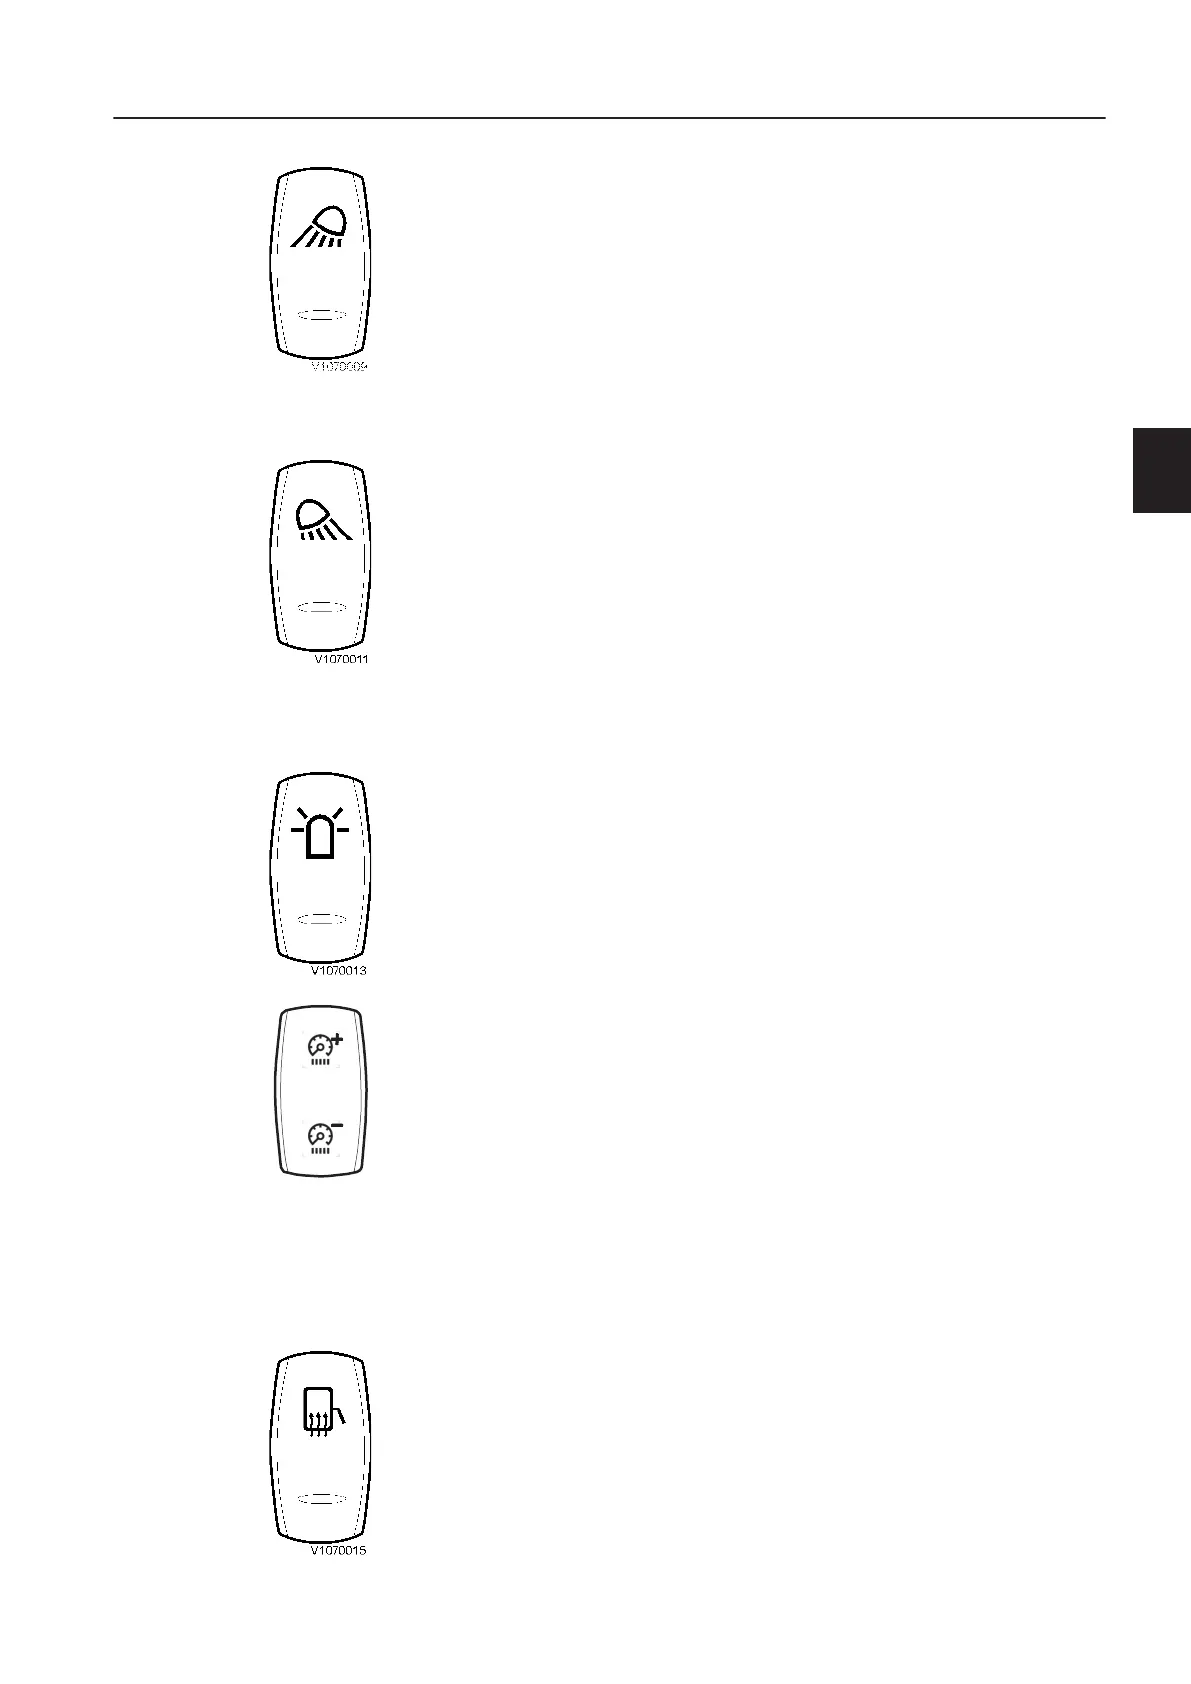
The switch has three positions and controls the front work lights
on the cab's upper edge.
Switch, upper part pressed in = work lights on.
Switch in middle position = automatic work lights. The work lights
are turned on and off together with the high beams.
Switch, lower part pressed in = work lights off.
4. Rear work lights (optional equipment)
NOTE!
Work lights must be off when operating on public roads.
The switch has three positions and controls the rear work lights on
the tractor's fenders.
Switch, upper part pressed in = work lights on.
Switch in middle position = automatic work lights.
Depending on which setting is selected, see "Setting automatic
rear work lights" in section "Settings" starting on page
67
, the
work lights are turned on and off automatically.
Switch, lower part pressed in = work lights off.
5. Rotating beacon (optional equipment)
Switch, upper part pressed in = rotating beacon on, also see page
176
.
Switch, lower part pressed in = rotating beacon off.
Control light on the middle instrument panel (see section Middle
instrument panel page
45
) indicates that the rotating beacon is
on.
6. Dimmer
Adjusts the light intensity of lights in illuminated symbols on
switches, middle instrument panel, information display unit
(display panel), symbols by the gear selector, as well as the load
& dump lever. The illuminated symbol on the switch for flashing
hazard lights and the green light on switches indicating that the
relevant switch is activated, are not affected.
Switch, upper part = light intensity increases.
Switch, lower part = light intensity decreases.
NOTE!
Headlights or work lights must be turned on for the light in the
symbols in switches, etc., to be on.
7. Electrically heated rear-view mirrors (optional
equipment)
Switch, upper part pressed in = heating is on.
Switch, lower part pressed in = heating is off.
Instrument panels
Instrument panel, left
43
 Loading...