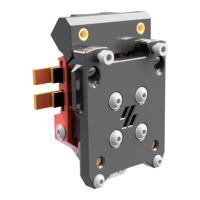
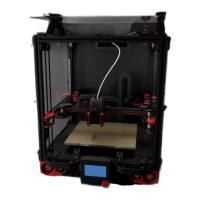
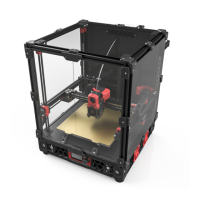
INSTALL X-SWITCH/ HALL MAGNET (OPTIONAL)
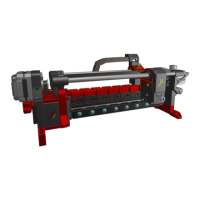
X-AXIS SWITCH (TRIDENT STYLE)
This step is only if you use an X-carriage mounted switch, such as used in the Trident.
The switch is secured with 2 screws threaded directly into the plastic.
The wiring is threaded under the switch, and should be zip-tied to the front when fully
assembled. For now, leave it loose.
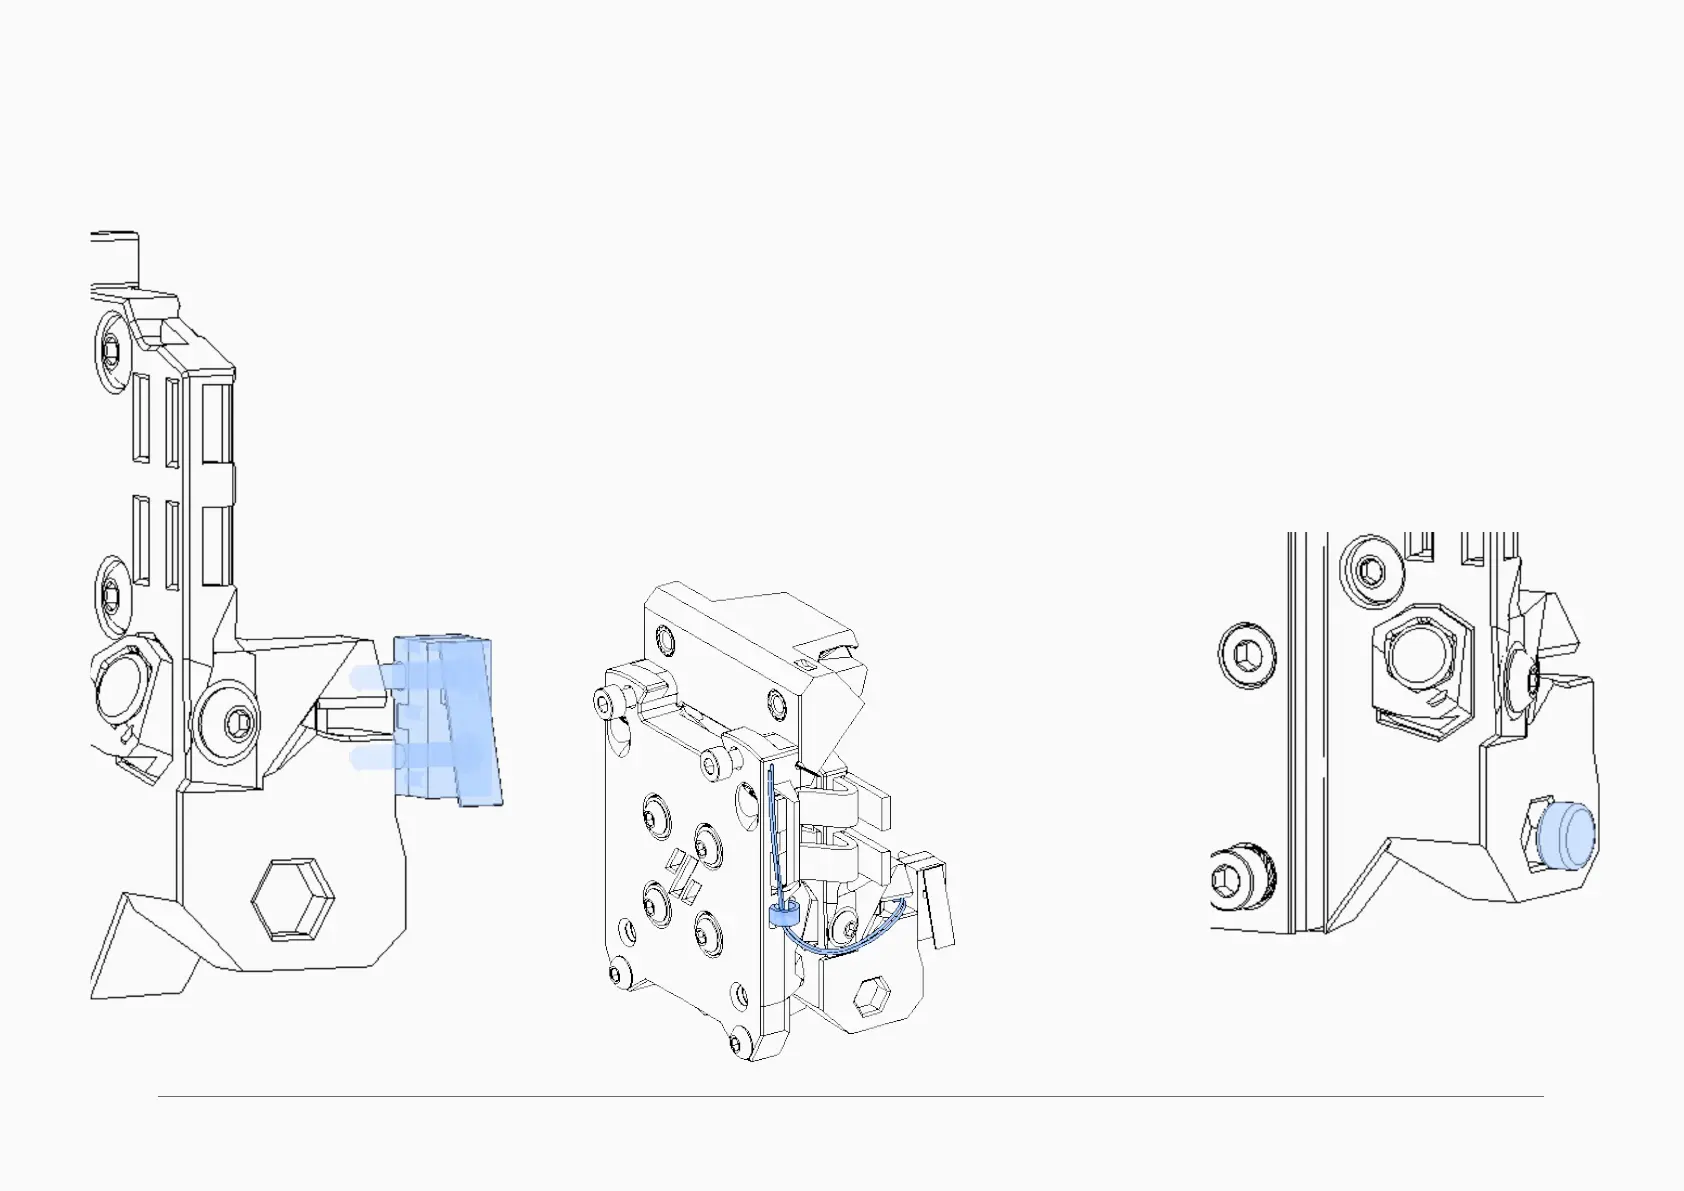
HALL EFFECT X-AXIS MAGNET INSTALL
Press the magnet into the hexagon shaped recess
here. A hex shape is better at holding round magnets
than a round hole because the walls can ex to
accommodate slightly different magnets.
IF YOU USE THE STANDARD XY ENDSTOP POD FROM V2, SKIP THIS PAGE
These steps are only for printers that use either a carriage mounted X switch or
need a magnet for the x-axis hall effect endstop