40
4.5 Saved positions
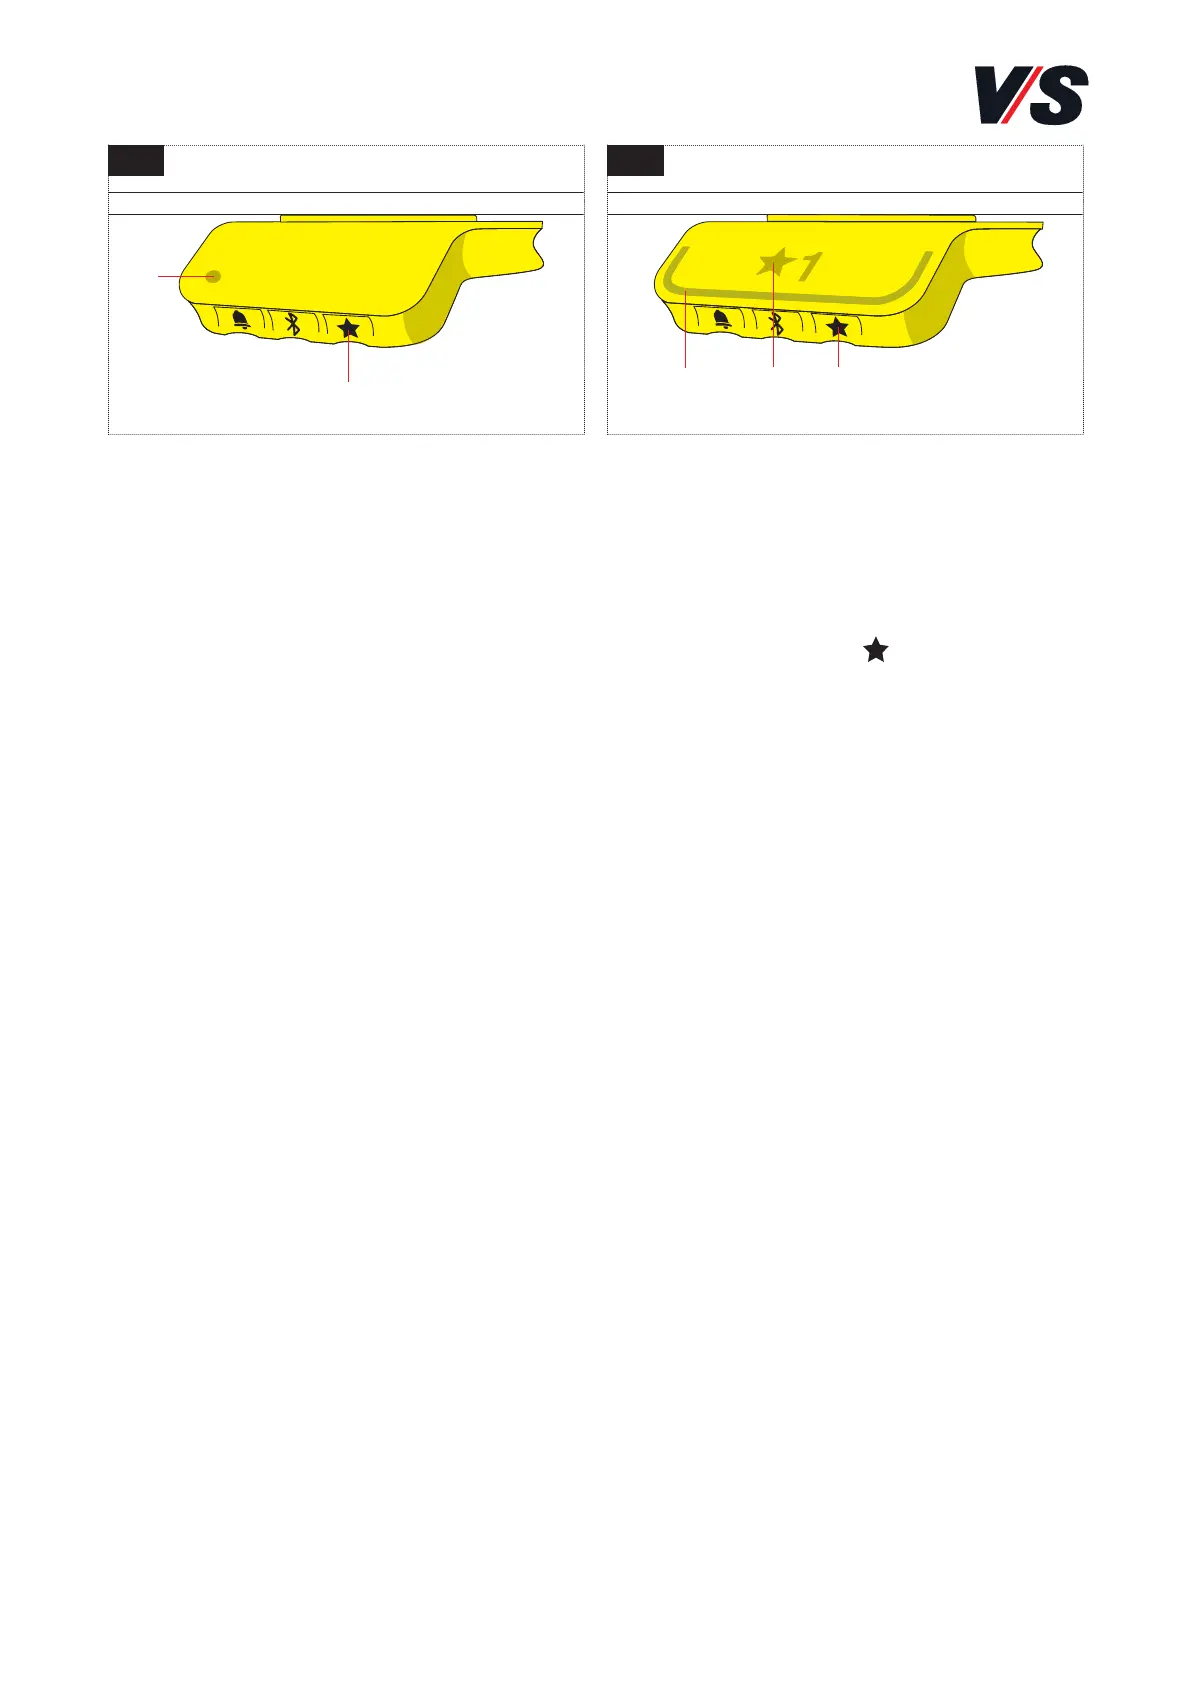
- Memory handswitch and memory-display handswitch:
Saving positions 1 and 2
On the right-hand side of the handswitches [Figure 1], there is a
“Save” button (1) which is indicated by a star icon
- Move the desk to a position that suits you and press and hold
down the star button (1) for two seconds. The LED (2) on the
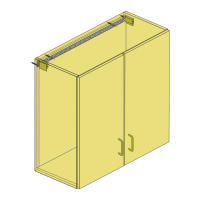
memory handswitch or the light strip (3) on the memory-display
handswitch [Figure 2] flashes twice to show that the memory
process is active.
- Memory-display handswitch only [Figure 2]: The display shows
the saved position with a star and the position number. The number
next to the star corresponds to the sequence in which the positions
were saved. First saved position: A star with a “1” next to it (4).
The positions “1” and “2” are saved in this way.
- If the user moves the desk to another position and then saves this,
this overwrites the saved position nearest to the current position.
- Additional function of the memory-display handswitch [Figure 2]:
Saving positions 3 and 4
The handswitch has four storage positions. If you press the star
button (1) briefly, the display shows one of the four saved positions.
By repeatedly pressing the star button (1) briefly, you can switch
between these four saved positions and choose the number under
which the current position is to be saved. For example, you might
want to save the current position as position 3: Keep pressing the
star button until “3” is shown next to the star in the display. Now
perform the same save operation as described above: Press the star
button for two seconds to save the position.
1 2
(1) (1)(4)
(2)
(3)