34
Blank
Put reference into the light path, click the icon in the Tool Bar.
New a Testing
Main Menu→File→New, select a testing to click.
Lists of the file’s type
▪ Quantity Analysis File *.qua
▪ Kinetics Analysis File *.kin
▪ Spectrum Scan File *.wls
▪ Multi-wavelength File *.mti
▪ DNA/Protein Analysis File *.dna
▪ Energy Scan File *.ens
▪ Standard Curve *.std
Test a Sample
Put sample into the light path, click the icon in the Tool Bar.
Set Test Parameters
Click the button of to set the parameters.
Modify a Sample
1. Choose the data frame you want to modify or set the curve as current curve;
2. Pull the unknown sample in light path;
3. Click the icon in Tools Bar to re-measure it, and save the current result to substitute the original one.
Delete a Test Result
1. Choose the data frame you want to modify or set the curve as current curve;
2. Click the icon in the Tools Bar to delete the data.
Name a Sample
1. Select the line you want to rename.
2. Double-click Sample Name, input the sample’s name, and press Enter on the keyboard to confirm.
Save a Testing
Click the icon in Tools Bar, input the file name and click Save to confirm in the dialog box.
Open a Testing
Click the icon in Tools Bar, choose the file name you need in the dialog box, then click Open to confirm.
Print Test Report
Click the icon in Tools Bar, then set Print Parameters in the dialog box, press Print to confirm.
Export Data to Excel (the Microsoft Excel should be installed)
Click Main Menu→File→Export to Microsoft Excel, Excel will be started up, and data will be stored in it.
Export Curve as bmp Picture
Click Main Menu→File→Export Bitmap, input the file name and click save to confirm the dialogue box.
Switch Display Mode
Click the icon or in the Tools Bar to switch the display mode (Abs. or Transmit).
Zoom Selected Area
Click the icon in Tools Bar, choose the area you want to magnify, then you’ll see the magnified one, the
Mouse’s cursor turns into the form of “+”. Click the icon again to cancel the current status.
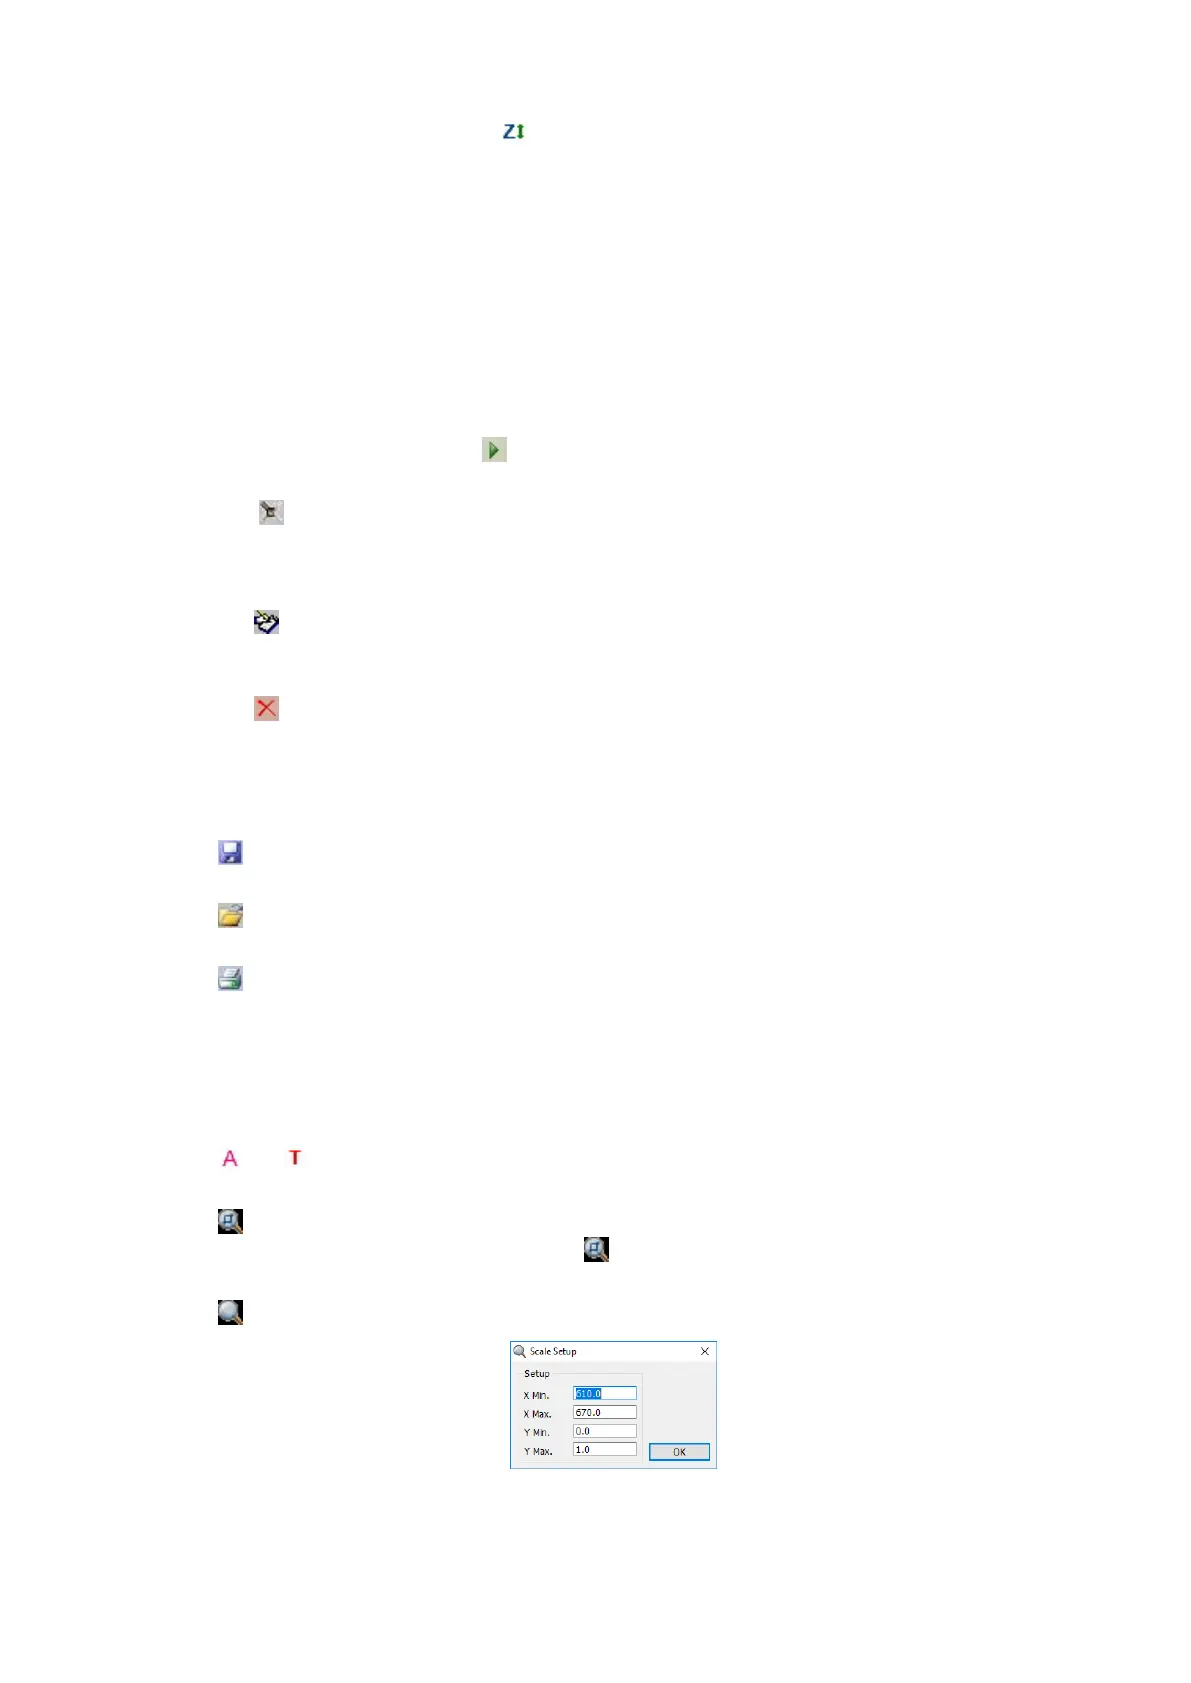
Modify Scale
Click the icon on Tools Bar to display coordinate as you like.
Auto Fitting
Click the icon on Tools Bar to change the scale to appropriate value.
Select as Current Curve