Section 2
Auto-Zone
Plus
2-6 Design Guide
Warning: Use extreme care not to damage any of the electronic components
while mounting the backplate. Mark the holes then remove the Zone
Manager before drilling. Do not allow metal shavings to
fall onto the circuit boards.
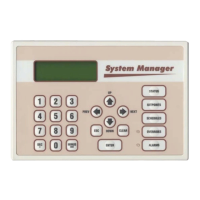
The Zone Manager requires the following electrical connections:
18 Gauge minimum unless otherwise noted.
-24VAC Supply Voltage........................................................................... 2 Conductors
-Communications Loops ..................................... 2 Conductor twisted pair with shield
( Belden #82760 or equivalent )
-Supply Air Temperature Sensor.......................................(24 ga. Min.) 2 Conductors
-Return Air Temperature Sensor .......................................(24 ga. Min.) 2 Conductors
-Outside Air Temperature Sensor.......................................(24 ga. Min.) 2 Conductors
-Supply Static Pressure Sensor ...........................................(24 ga. Min.) 3 Conductors
-Bypass Damper........................................................................................ 4 Conductors
-HVAC Unit Control Wiring.....................................................................R - Common
G - Fan
Y1 - Cool 1
Y2 - Cool 2
W1 - Heat 1
W2 - Heat 2
Additional wires depending on stages:
Y3 through Y6 ( optional board required )
W3 through W6 ( optional board required )
Tip After making all electrical connections it is advised to unplug all terminal blocks
on the Zone Manager until you are ready to begin the checkout procedure. This
may help to prevent damage if wiring errors occur elsewhere in the system
during installation or start-up.