19
November 2008 Part No. 920559 Rev H
3START-UP
3.1 Initial Checkout
Before applying power to the dispenser, double-check the wiring to make sure the wires are correctly routed
and terminated. Turn on the dispenser control power circuit breaker and the submersible pump or suction
pump motor circuit breakers. Make sure the dispenser comes on and all lights work. The dispenser displays
will show some numbers, usually the last sale run during factory test.
The dispenser template, which configures the dispenser, has been loaded in the dispenser and tested at the fac-
tory. The dispenser will have the necessary data such as unit prices and blend ratios to allow the dispenser to
operate in stand-alone at installation to purge product lines and test operation. At start-up, the procedures in
this section should be performed in sequential order to ensure proper operation before the dispenser is
switched over to control system operation.
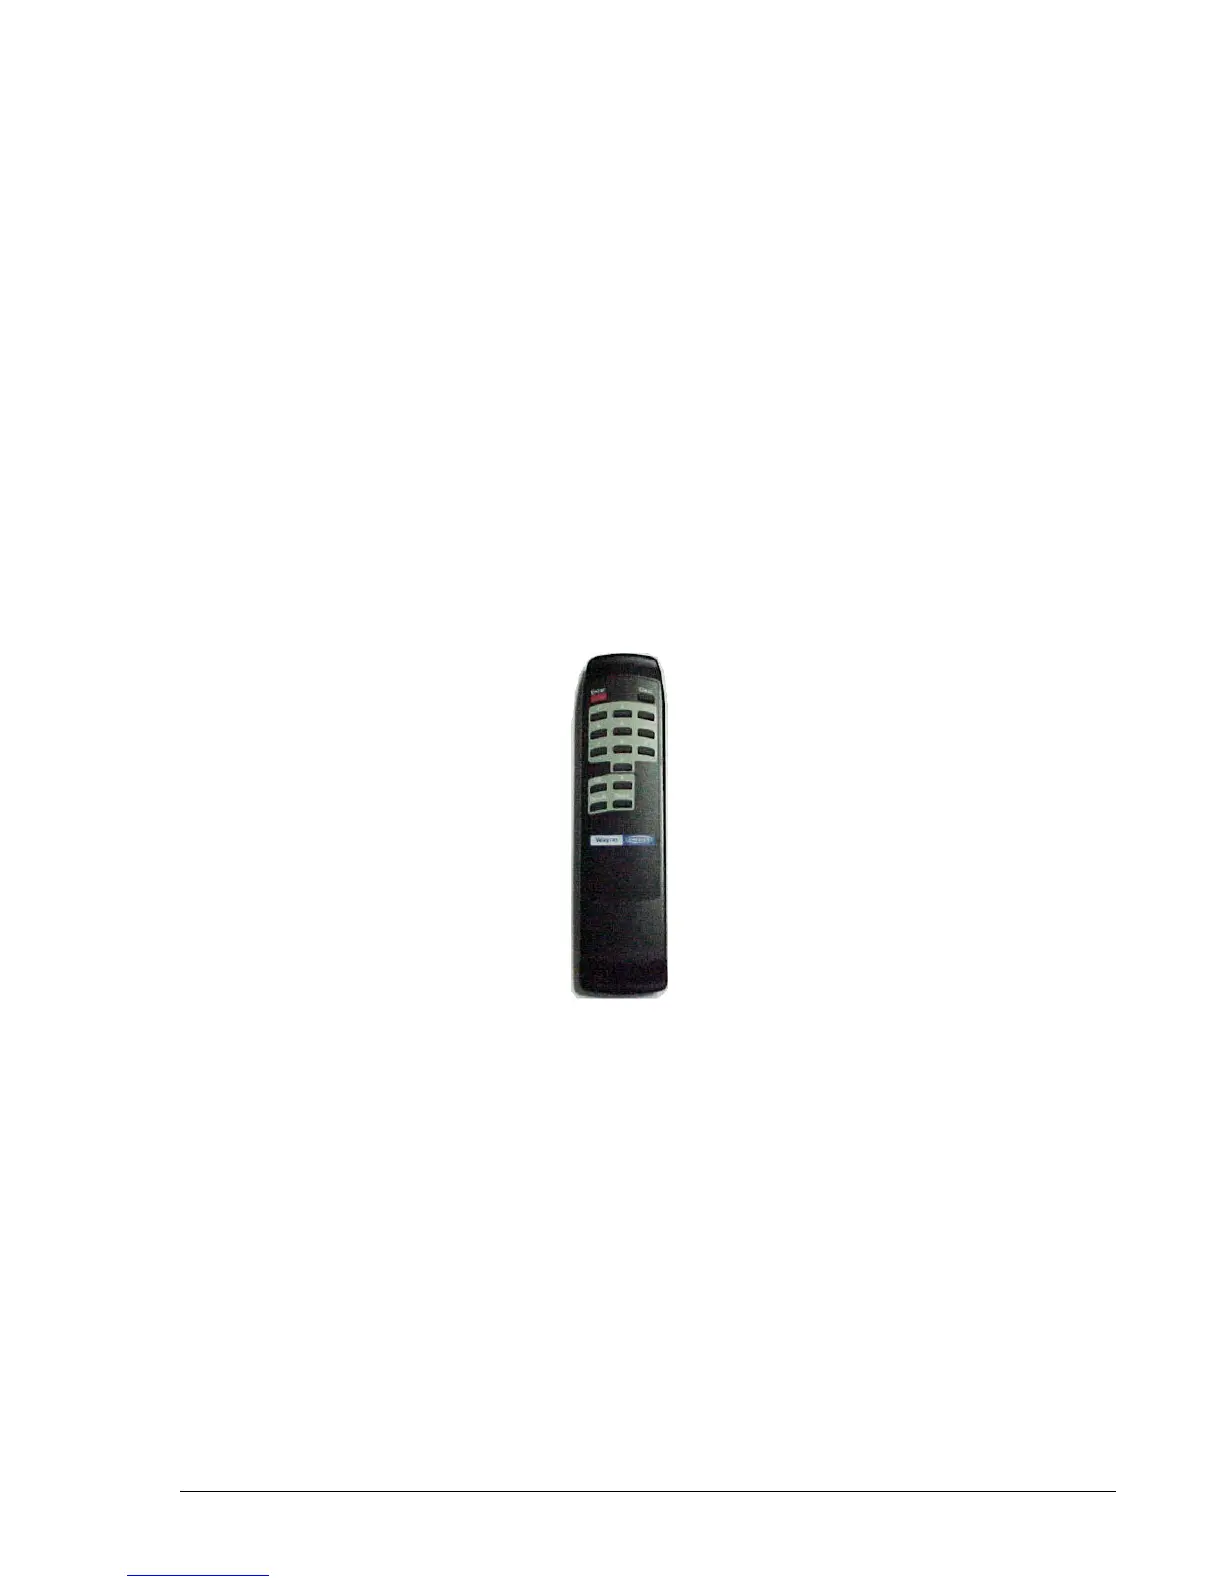
3.2 IR Remote Control
The Infrared Remote (IR) Control shown in Figure 3-1 is similar to a television remote control. It has
16 buttons and, when held close (12-18 inches) to the infrared eye located on the sales display board, is used
to access dispenser functions and statistics. The IR remote, as discussed in the following sections, is used to
set the clock, unit prices, fueling point IDs, blend ratios, and read electronic totalizers.
Figure 3-1 IR Remote Control. Hold remote close to the sales display to set the clock, unit prices,
blend ratios and fueling point ID, read totals, view error codes and other dispenser diagnostic functions.