m IMPORTANT: To do a proper
leak check, control panel must
be removed. After checking for
leaks, replace control panel, wind
deflector and control knobs.
3
1
2
7
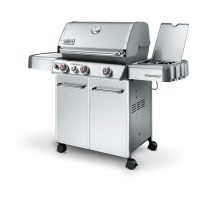
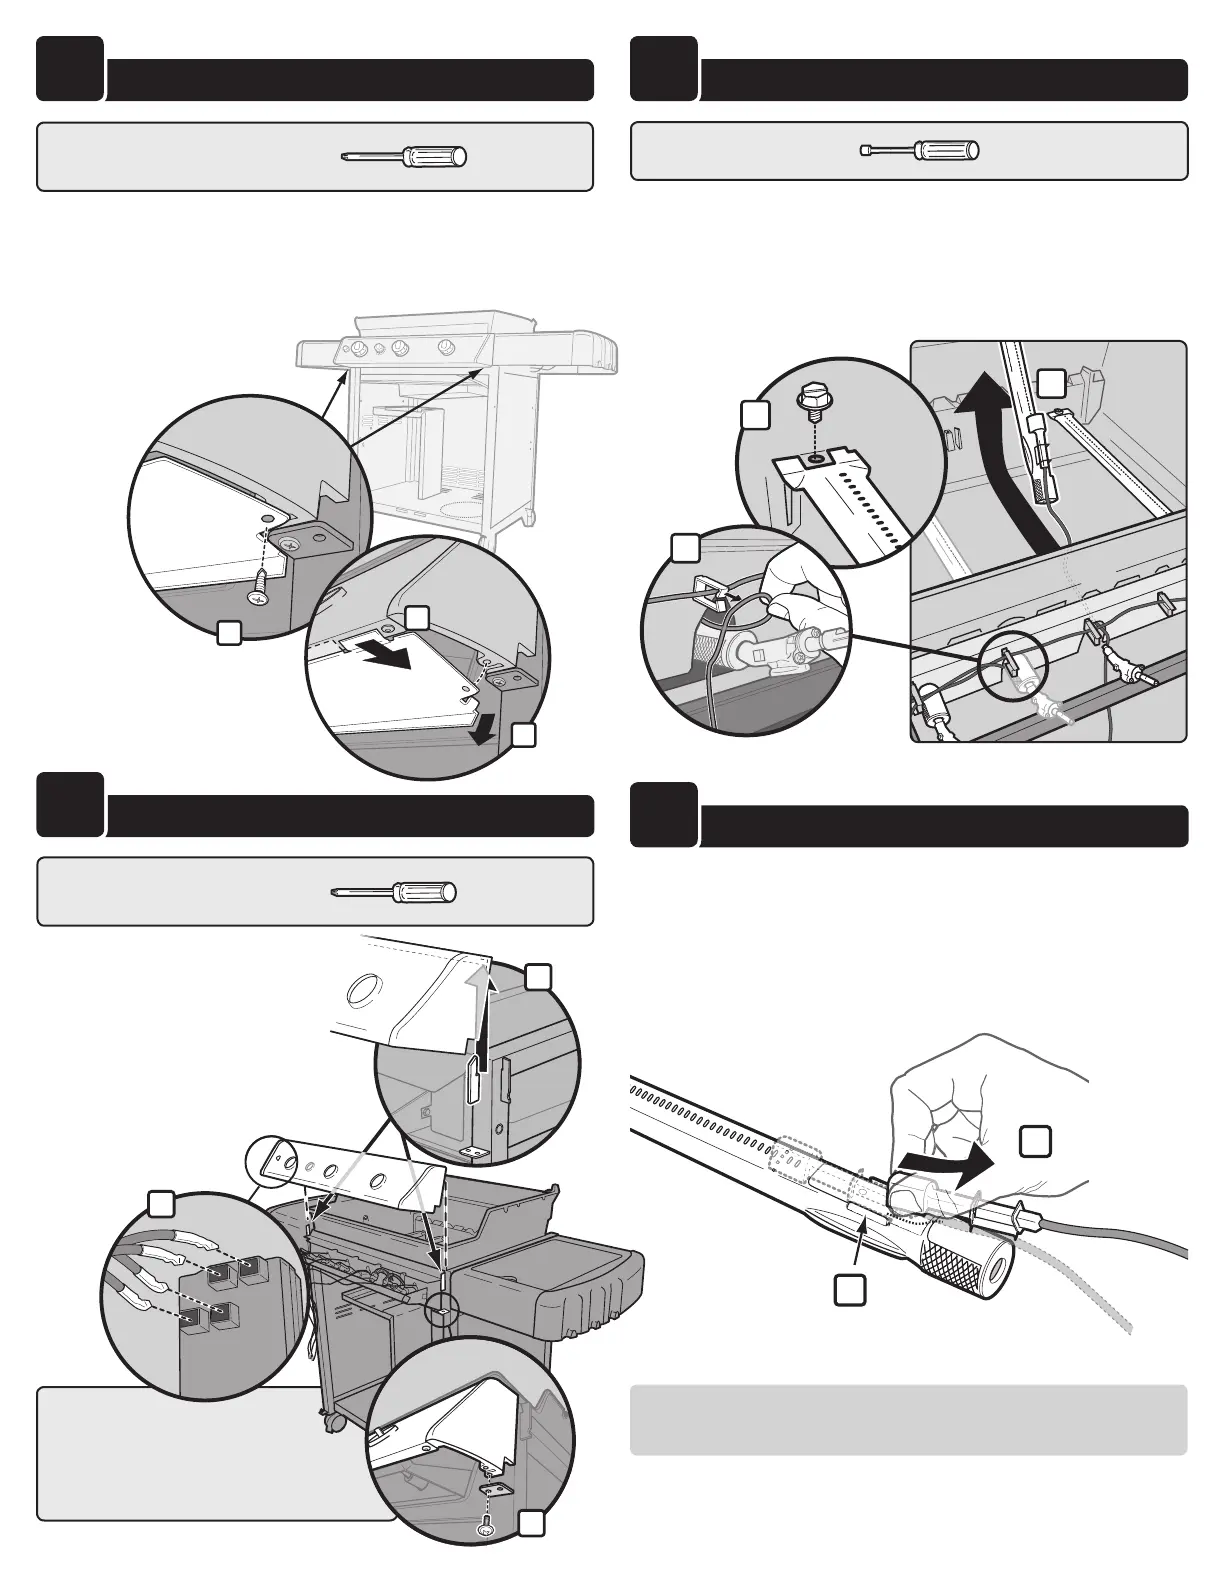
COntROl pAnEl REMOVAl
A) Remove ALL control knobs.
B) Remove igniter button and battery.
C) Locate and remove screws that secure
control panel to frame assembly (1)
with a Phillips head screwdriver.
D) Tilt control panel forward and lift up and
away from frame assembly (2).
E) Disconnect igniter wires from ignition
module (3).
TOOLS NEEDED: - PHILLIPS
9
iGnitER ElECtRODE REMOVAl
A) Remove igniter electrode assembly (1) from the mounting bracket (2)
located on burner tube.
B) Grip igniter electrode and metal igniter bracket, pull back on igniter
electrode assembly and remove it from mounting bracket on burner tube.
REMOVAL NOTE: If igniter electrode assembly does not easily
slide out from mounting bracket, use a small pair of pliers or
channel locks to grasp metal igniter bracket of igniter electrode
assembly.
6
WinD DEFlECtOR REMOVAl
1
2
3
TOOLS NEEDED: - PHILLIPS
A) Locate Phillips head screws under control panel.
B) Remove screws that secure wind deflector to control panel (1) with a
Phillips head screwdriver.
C) Slide back edge of wind deflector down (2) to unlock alignment tabs.
D) Slide front edge of wind deflector back towards grill frame (3) and remove
wind deflector from bottom of
control panel.
8
BURnER tUBE REMOVAl
A) Remove screws that secure burner tubes to cookbox (1) using a 5/16"
nut-driver.
B) Remove igniter electrode wires from wire harness clips (2).
C) Slide burner tube and igniter electrode out from inside of cookbox (3).
REMOVAL NOTE: Be careful not to disconnect igniter
electrode assembly from mounting bracket on burner tube
when removing burner tubes.
TOOLS NEEDED: - 5/16" NUT-DRIVER
1
2
3
•REPLACEMENTPARTINSTALLATION
1
2