2967530000/00/06.202314
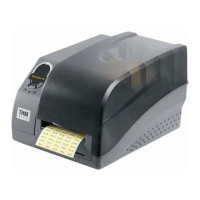
6 Setting up the printer
CAUTION
Danger of injury!
When setting up the printer, work needs to be
carried out with the cover open.
► Make sure that hair, loose clothing, jewel-
lery and the like do not come into contact
with exposed, rotating parts.
The only tool you need to set up the printer is the
supplied hexagonal spanner (25, Figure 3.3).
6.1 Replacing the pull roller
The printer is equipped with a rubber-coated pull roller (7).
If necessary, the pull roller can be replaced (MM PLUS
ROLLER 115. Order no. 2672590000).
54 6
2
1
3
7 8 9
Figure 6.1 Changing the pull roller
► Open the cover of the printer.
► Pull out the locking bolt (3).
The locking system (2) swivels upwards.
► Unscrew the screw (4) and dismantle the tear-o edge
(5).
► Unscrew the screw (9) and push the pull roller (7) with
bearing (8) out of the bearing plate (6).
► Push the pull roller through the bearing plate (6) to the
shaft (1).
► Turn the pull roller until the hexagon of the shaft engag-
es with the hexagon of the transport roller.
► Place the bearing (8) on the peg of the roller and push it
into the bearing plate (6).
► Secure the bearing (8) with the screw (9).
► Fit the tear-o edge.
6.2 Positioning the material reel on the reel
holder
1
2
3
4
5
6
Figure 6.2 Position the reel material
► Open the cover.
► To unscrew the margin stop (4), turn the adjusting ring
(6) counter-clockwise until the arrow points to the un-
locked icon.
► Pull the margin stop (4) o the reel holder (3).
► Slide the material reel (2) onto the reel holder (3) so that
the side of the material to be printed points upwards.
► Place the margin stop (4) on the reel holder (3) and
slide it in until both margin stops are in contact with the
material reel (2) and clear resistance is noticeable when
sliding.
► Turn the adjusting ring (6) clockwise until the arrow
points to the locked icon.