16
OPERATION
GENERAL CUTTING
WARNING: Operating a band saw involves a certain amount of hazard. Read the instructions and plan
your work before cutting a workpiece.
1. Use scrap lumber to check the settings and to get the feel of operating the band saw before attempting regular
work.
2. Do not turn the power on before all adjustments have been made. Check to make sure the upper guard is in
place. Always keep the upper blade guard close to your work, approximately 1/8” (3.2 mm) above the workpiece.
3. Do not force the workpiece against the blade. Light contact permits easier cutting and prevents unwanted
friction and heating of the blade. Sharp saw blades need little pressure for cutting. Steadily move the workpiece
against the blade without forcing it.
4. It is recommended that a dust collection bag be connected to the dust port when sawing wood.
5. Use the band saw for straight line operations such as cross-cutting, ripping, miter cutting, beveling, compound
cutting, and resawing.
6. To avoid twisting the blade, do not turn sharp corners; instead, saw around corners. A band saw is basically a
“curve-cutting” saw. It is not capable of doing intricate inside cutting as can be done with a scroll saw.
WARNING: Do not use this band saw to cut ferrous metals.
CUTTING CURVES
When cutting curves, carefully turn the work piece so the blade follows without twisting. If the curve is so sharp
that you repeatedly back up and cut new kerf, use a narrower blade, or a blade with more set (teeth further apart).
When a blade has more set, the work piece turns easier but the cut is rougher.
When changing a cut, do not withdraw the work piece from the blade. The blade may get drawn off the wheels.
To change a cut, turn the work piece and saw out through the scrap material area. When cutting long curves,
make relief cuts as you go along.
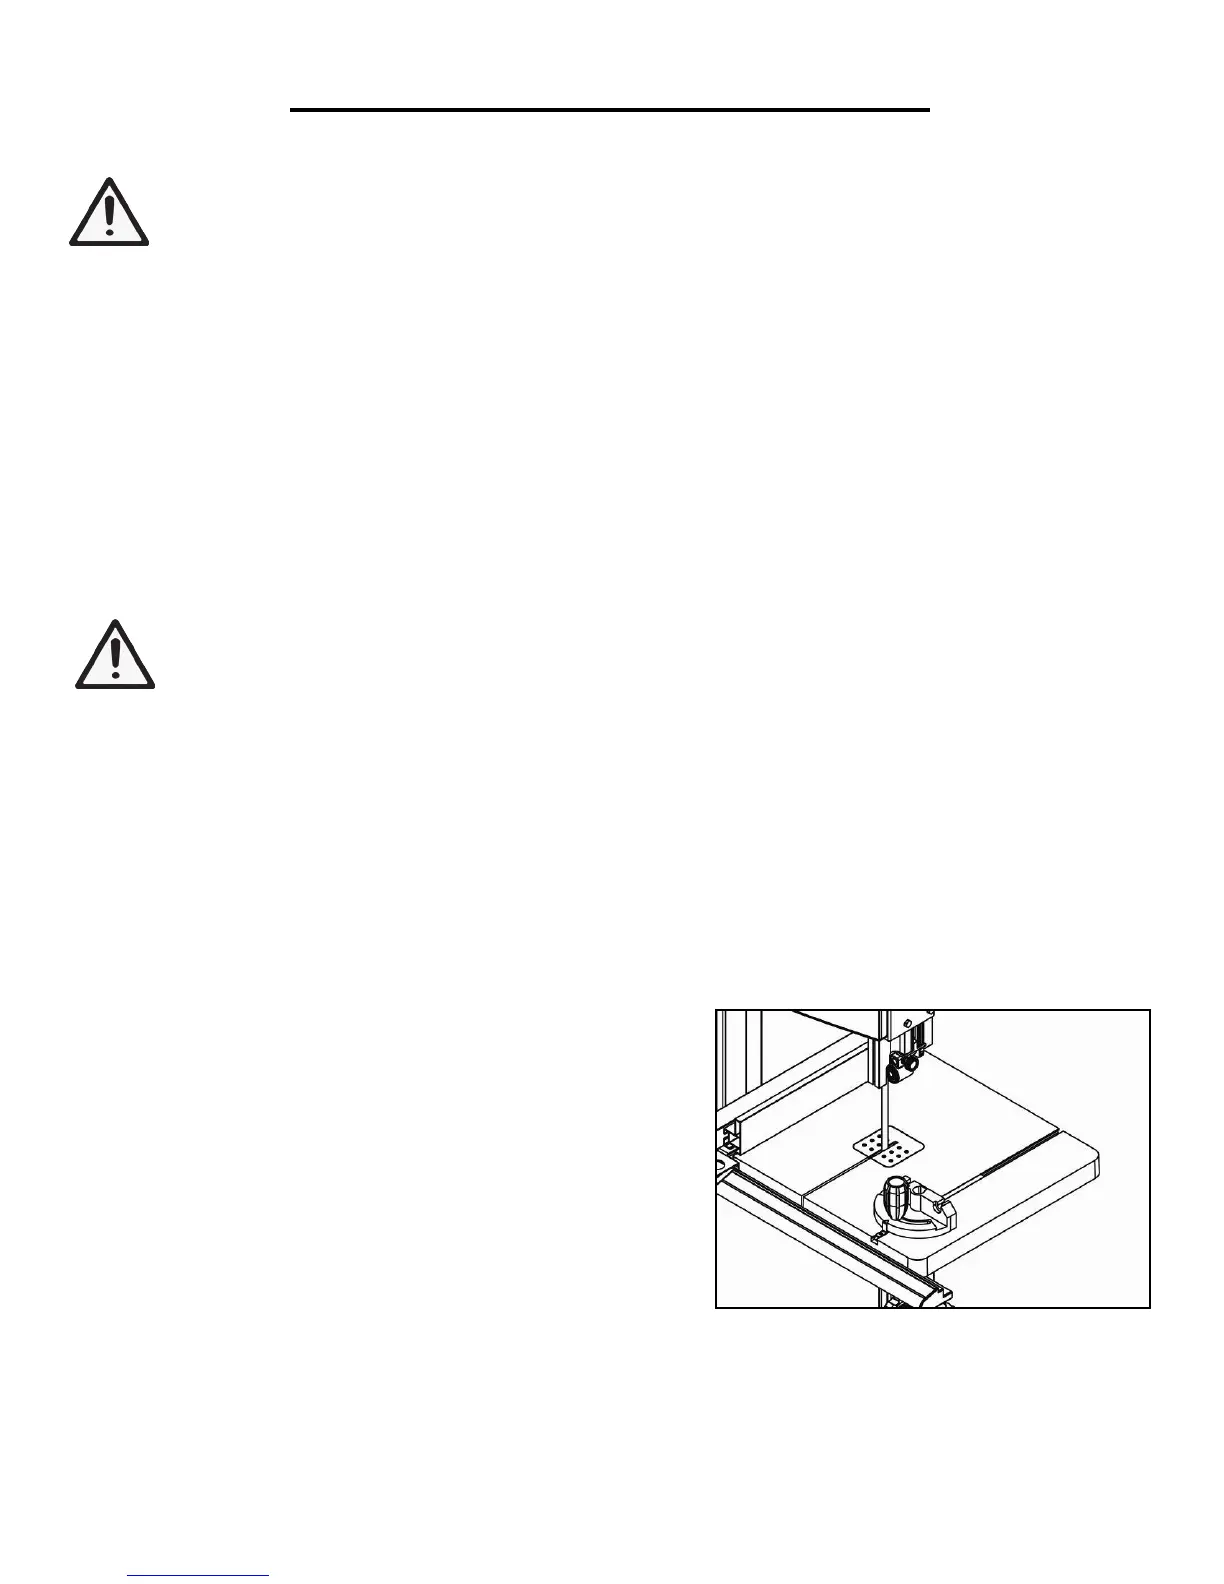
USING THE MITER GAUGE
1. Place the miter gauge into the slot on the table. (Fig. T)
2. Loosen the knob on the gauge to set a new miter angle (between
0 and 60 degrees).
3. Tighten the knob firmly before cutting begins.
Fig. T

 Loading...