WARNING: If the plug or receptacle does get wet, DO NOT unplug the cord. First disconnect the fuse
or circuit breaker that supplies power to the tool. Then, unplug the tool and examine for presence of
water in the receptacle.
WARNING: To prevent serious injury from accidental operation, make sure the power cord is discon-
nected from the power source and the tool is switch to OFF before assembly or making any adjustments.
12
ASSEMBLY
Unpacking
• Remove all packaging materials.
• Remove remaining packing and package inserts (if included).
• Check that the package contents are complete.
• Check the appliance, the power cord, the power plug and all accessories for
transportation damage.
• Keep the packing materials as long as possible until the end of the warranty
period.
WARNING
Packaging materials are not toys! Children must not play with plastic bags!
Danger of suffocation!
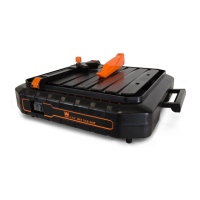
INSTALLATION OF RUBBER
FEET (Fig. 1)
• Insert the rubber feet into the
4 holes in the base (fig. 1).
INSTALLATION OF THE
DIAMOND DISC AND METAL
BRACKET (Fig. 2-12)
• Unplug the tile saw from the mains
supply.
• Remove the cover (45º vertical
fence) of the water tank (fig. 2).
• Remove the fixing screw & washer
of the blade guard (fig. 3).
• Swing the blade guard then lift it
out of the notch (fig. 4-5).
• Remove the nut and outer flange
from the spindle (fig. 6).
• Fit the diamond disc (fig. 7). Please
pay attention to the rotation
direction on the diamond disc. The
direction arrows on the disc must
be in the same direction as that
marked on housing.
• Ensure the diamond disc is fully
located and centred.
fig.7
fig.1 fig.2
fig.3 fig.4
fig.5 fig.6
fig.8
ASSEMBLY
8
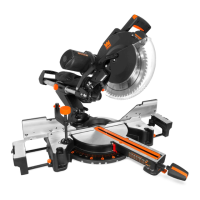
POSITIONING OF THE TILE SAW (Fig. B)
Place the tile saw on a firm, level surface. Allow sufficient area around the tile saw and be prepared that the sur-
rounding area will get wet during operation.
The use of a tile saw requires water in order to cool down the cutting disc. However, water contacting the power
source or entering a power tool will increase the risk of electric shock. To avoid the possibility of the power plug or
receptacle getting wet, the tile saw should be positioned to one side of a wall mounted receptacle (not directly above
it). This prevents water from dripping directly
onto the receptacle or power plug.
Create a "drip loop" in the cord connecting the
tool to the receptacle (Fig. B). A “drip loop” is
the part of the cord that is below the level of the
receptacle or the connector (if an extension cord
is used). This will prevent the water from travel-
ing down along the cord and coming in contact
with the receptacle.
If an extension cord is used, the cord connec-
tion must be placed on the elevated surface and
the “drip loop” must be arranged before the cord
connection to prevent it from getting wet.
Fig. B
Drip Loop
Power Cord
Tile Saw
Support Surface
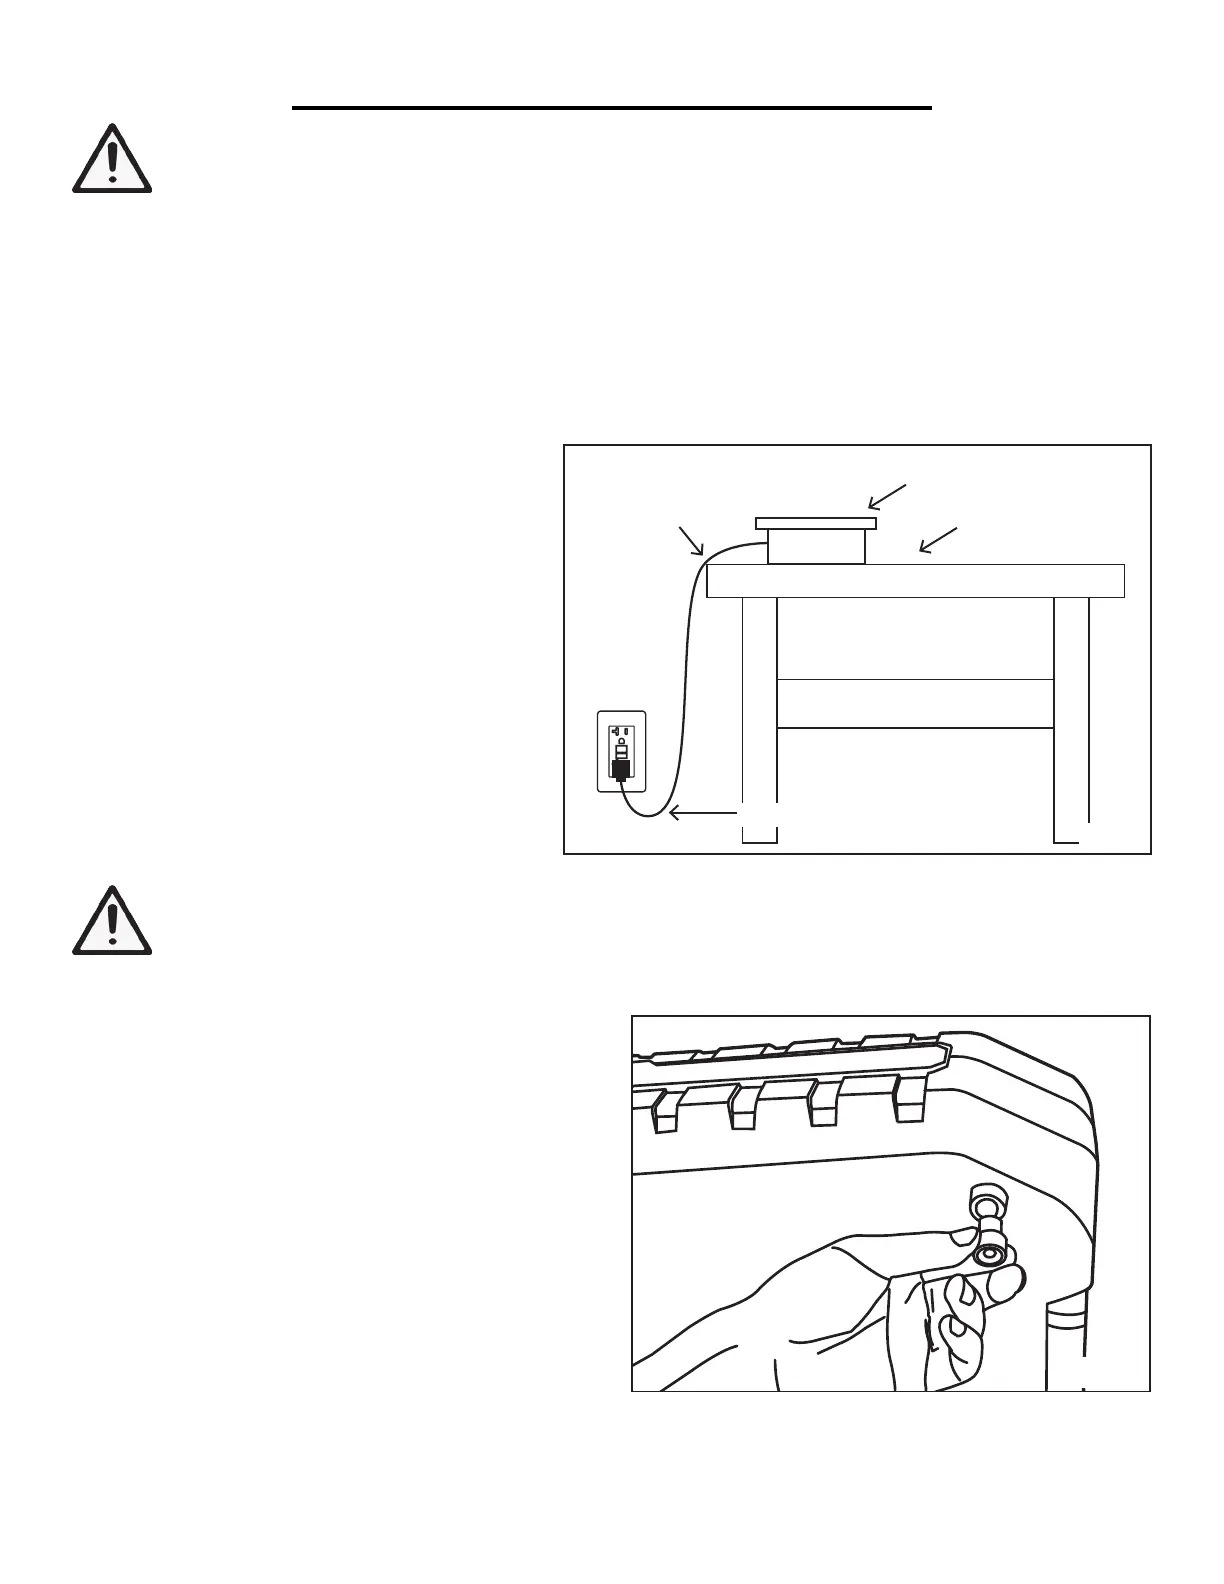
INSTALLING THE RUBBER FEET (Fig. C)
Remove all attachments from the tile saw and slightly
lift the base from one side. Insert the rubber feet into
the hole on the base as shown (Fig. C). Repeat for all
four feet.
Fig. C
 Loading...