User Guide
3. Component Overviews
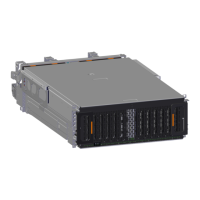
3.9 Drive Assembly Description
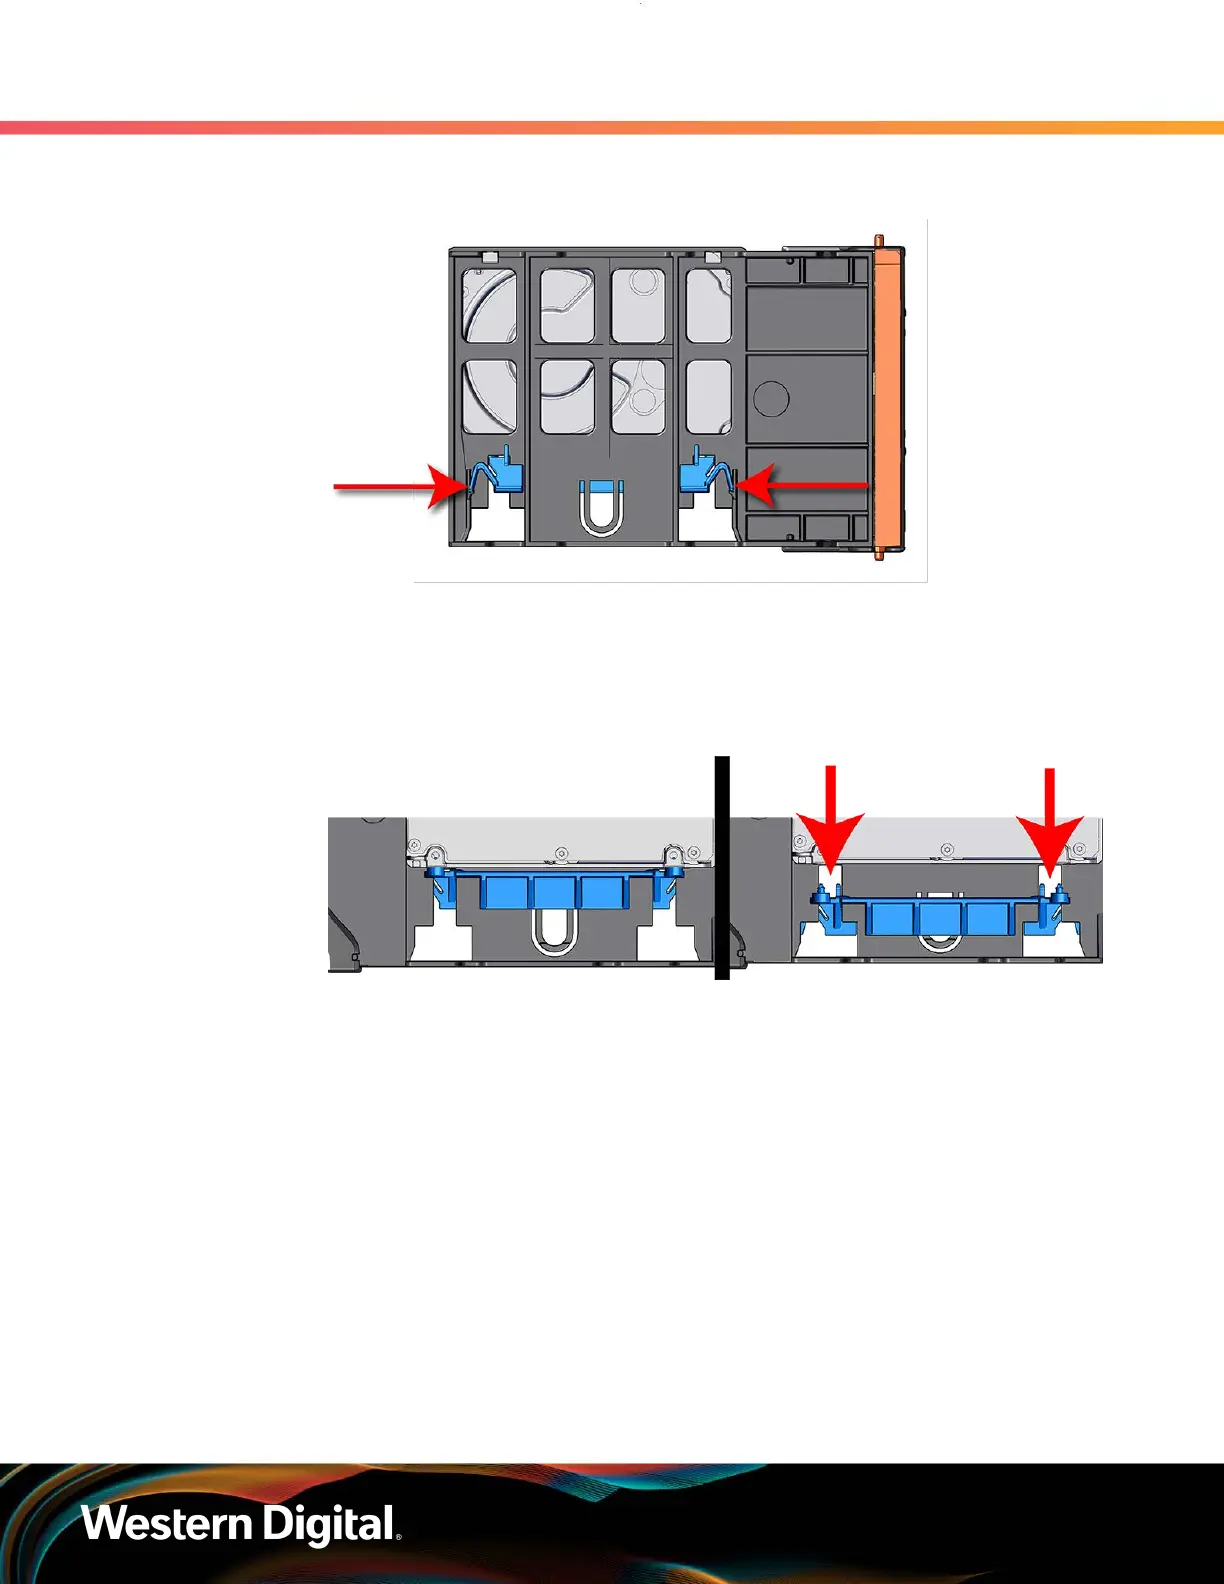
Figure 37: Clamp Release (clamp shown in blue for visual clarity)
Step 2 : Slide the clamp in the direction shown in the following image to loosen it from the drive. Be
sure not to slide too far as this will allow the clamp to fall from the carrier body and it will have
to be reinstalled.
Figure 38: Clamp Slide (clamp shown in blue for visual clarity)
Step 3 : Insert the 2.5" drive into the drive slot so that it is snug into the corner.
Step 4 : Slide the clamp back toward the drive making sure that the two plastic pins on the side of the
drive properly install into the drive screwholes. If these pins are not seated properly, unlatch
the clamp and retry.
61