User Guide
4. Part Replacement
4.6 Drive Assembly Replacement
4.6
Drive Assembly Replacement
Table 42: Replacement Procedure Info
Required Tools # of People Required Time Required Replacement Window
None 1 60s 5 Minutes
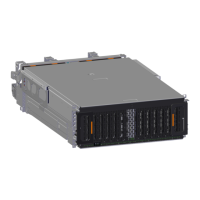
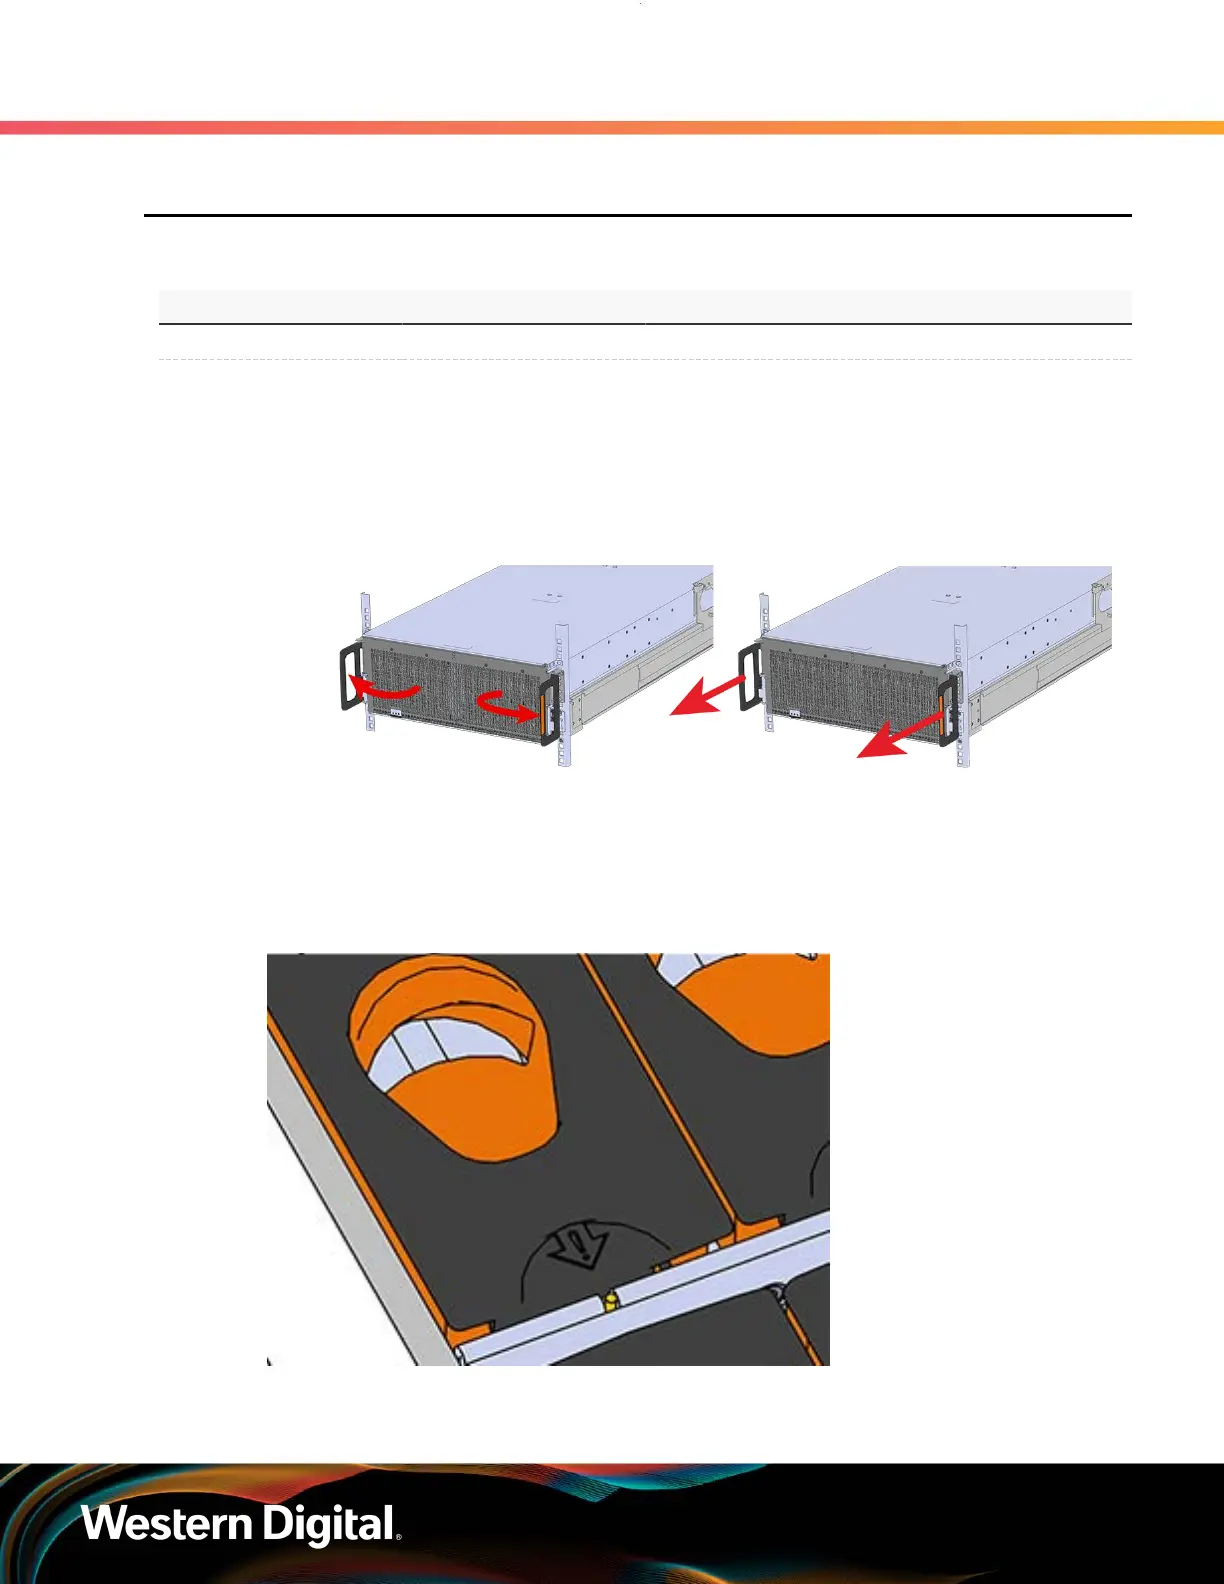
Step 1 : Grasp both handles at the front of the enclosure and pull with even pressure to extend the
chassis out of the rack until it is stopped by the safety latches. The safety latches will prevent the
enclosure from coming out of the rack completely and the cover will remain in the rack attached
to the rear alignment brackets.
Figure 60: Chassis Handle Operation
Only extend the enclosure out of the rack as far as is needed to reach the drive being replaced.
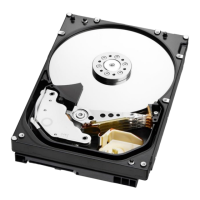
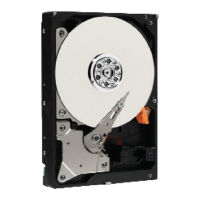
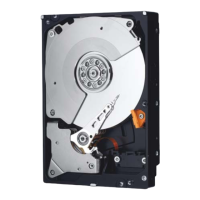
Step 2 : Locate the faulty Drive Assembly by finding the illuminated amber LED or by activating the
identification LED for the drive to be replaced.
Figure 61: HDD Assembly LED
Step 3 : Follow these steps to remove a Drive Assembly.
76
 Loading...