User Guide
4. Part Replacement
4.7 CMA Replacement
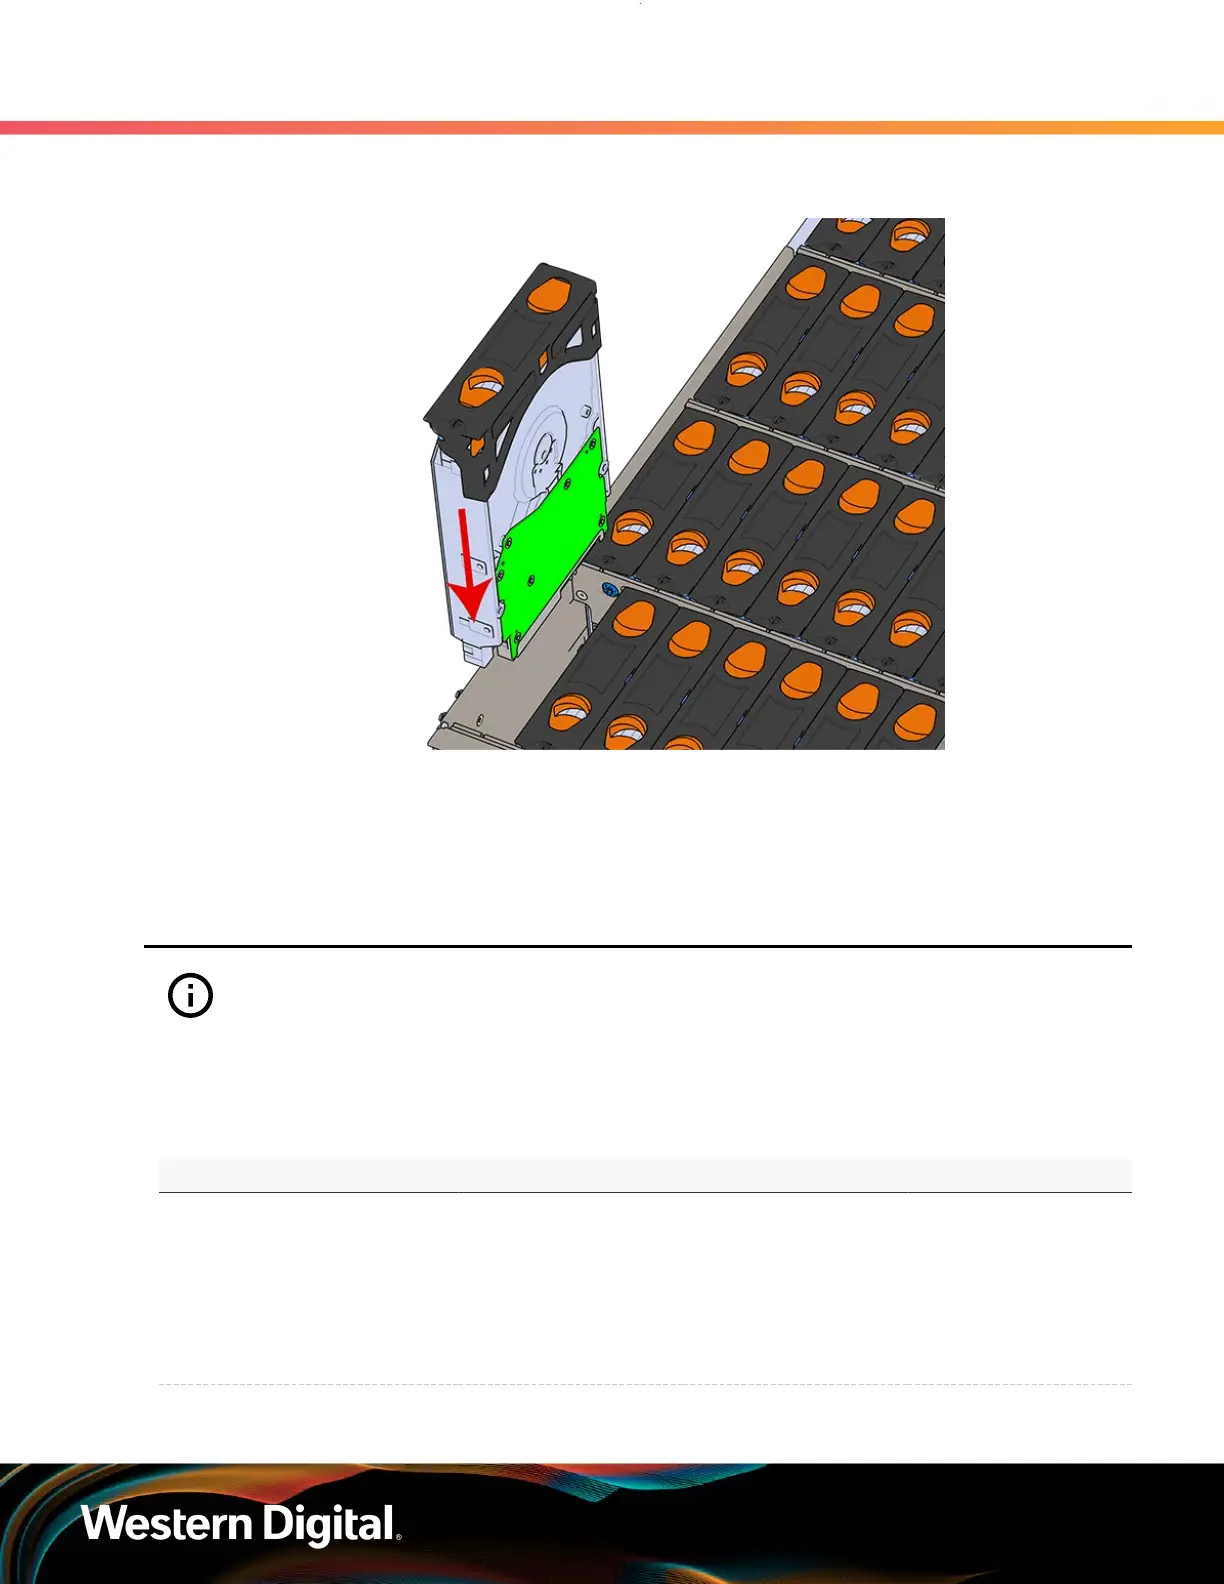
Figure 65: Installing a Drive Assembly
d. Pinch the latch release and carefully press downward to seat the Drive Assembly the rest
of the way.
Step 6 : Push the enclosure back into the rack to ensure proper cooling.
4.7
CMA Replacement
Attention: The CMA Lite replacement package includes a CMA arm and spacer brackets.
Replacing the CMA arm can be done with the enclosure in place in the rack. To replace the
spacer brackets, the enclosure must be removed from the rack. For the replacement of a CMA
arm alone, anything pertaining to the spacer brackets may be skipped.
Table 43: Replacement Procedure Info
Required Tools Required Parts # of People Required Time Required
• # 2 Philips Screwdriver
• Cable Ties (for
configurations
with greater than
10 total cables)
• Tape Measure
• Low-Profile
M4 x 3.2mm
Philips screws
• CMA Standard: 1
• CMA Lite: 2
• CMA
Standard: 15m
• CMA Lite: 45m
Step 1 : Place the CMA(s) into the service position.
80
 Loading...