www.whisperkool.com | Page 31
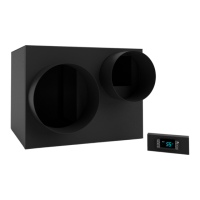
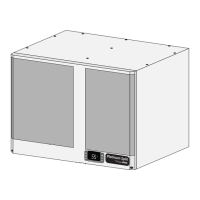
Phantom Series
MAINTENANCE SCHEDULE
Monthly
1. Check lters and clean if necessary
2. Check for unusual noise or vibration
3. Check exterior drain line to see if it is above the waterline (when draining into a vessel)
Every Six
Weeks
1. Remove one of the side panels (one not attached to a blower). Using the supplied drain line brush,
clean the interior drain line leading from the drip tray. (See instructions below for more details.)
2. Drop a pan tab into the drip tray.*
Quarterly
1. Clean lters**
2. Replace lters on ducted units
Annually
1. Replace lters if worn or plugged beyond cleaning
2. Use a vacuum with brush attachment to clean coils; be careful not to crush coil ns
3. Inspect for corrosion
4. Check wiring connections and integrity of cords
5. Examine duct work for cracks or possible leaks
6. Pour a 50/50 bleach solution into the exterior drain line every spring
*Pan tabs kill bacteria and related odors, remove sludge and scale, and help to prevent water damage caused by condensate over-
ow. They are non-corrosive and easy to install. Simply use the access door to drop a pan tab into the drip tray every six weeks.
**WhisperKOOL recommends lters with a mean eciency reporting value (MERV) of 4 or better. Filters are not included with the
unit.
WARNING: Keep pan tabs out of reach of children. They contain quaternary ammonium chloride and can cause skin and eye irritation.
They are harmful or fatal if ingested. Wear protective gloves when handling pan tabs. Wash hands thoroughly after handling. If pan tabs
make contact with eyes, rinse cautiously with water for several minutes. In case of an emergency, call 1-800-255-3924 (24 hours).
1. To clean the drain line, rst remove one of the panels on the evaporator side of the unit in order to gain access to the internal
compartment.
2. Remove the two (2) clear plastic drain hoses connected to the 90-degree barbed elbow tting.
3. Insert the provided drain line brush into the drain line from the exterior of the unit. Perform several passes to ensure that all scale
buildup and microbial growth has been removed.
4. Insert the provided drain line brush into the drain line from the interior of the drip tray. Perform several passes to ensure that all
scale buildup and microbial growth has been removed.
5. Reconnect the clear plastic drain hoses to the 90-degree barbed elbow tting.
DRAIN LINE CLEANING INSTRUCTIONS