Contents [ hide
1 PREPARATIONS
1.1 Precautions
1.2 Check package contents
1.3 Gather tools
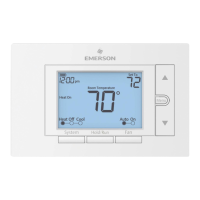
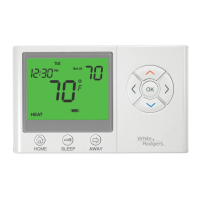
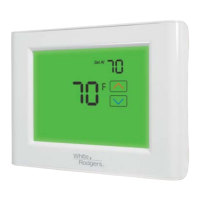
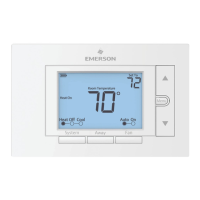
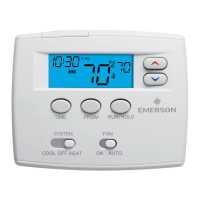
2 THERMOSTAT DETAILS
2.1 The thermostat buttons and switches
2.2 The display
3 REMOVING OLD THERMOSTAT
3.1 Turn off power
3.2 Remove the old thermostat cove
3.3 Label wires
3.4 Terminal labelling reference chart
3.5 Terminal labelling reference chart, contʼd.
3.6 Do you have a “B” wire?
3.7 Identify jumper wire
3.8 Remove old thermostat base
4 MOUNTING AND WIRING YOUR NEW THERMOSTAT
4.1 Install new thermostat base
4.2 Connect wires to corresponding terminal blocks
4.3 Identify system configuration
4.4 Install the batteries and attach front cover
4.5 Configure thermostat
4.6 Turn on power
5 CHECK THERMOSTAT OPERATION
5.1 Fan operation
5.2 Heating system
5.3 Auxiliary only mode (heat pump systems)
5.4 Cooling system
6 USING YOUR THERMOSTAT
6.1 User menu
6.2 Thermostat operation
6.3 Thermostat schedule
6.4 Modify the Heating Schedule
6.5 Modify the Cooling Schedule
7 SPECIFICATIONS
8 TROUBLESHOOTING
8.1 Resetting the Thermostat or Thermostat Settings
9 CONTACT US
10 Related Manuals:
PREPARATIONS
Precautions
Do not exceed the specification ratings.
All wiring must conform to local and national electrical codes and ordinances.
Check package contents
This package should contain the following items:
Thermostat
Mounting screws and wall anchors (x2)
2 AA batteries
Terminal wire label stickers
Installation instructions