Kunststoffschweißtechnik
Starting and Operating Chapter 5
17.02.14 Working Instructions WIDOS 5500 Page 22 of 48
5.5. Welding Process
The respectively valid welding prescriptions (ISO / CEN / DVS...) are to
be basically followed.
There is the danger of serious bruising.
On the one hand between the inner clamping devices, on the other hand
between the outer clamping device and the end of the guide bar.
Do wear safety gloves as a protection against burning!
A stop-watch must be available for recording the actual times for heating and cooling.
A welding table must be available from which the parameters for the pipe dimensions to be
welded prescribed by the welding prescriptions may be taken.
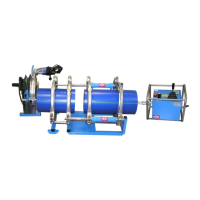
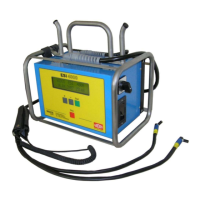
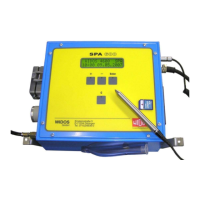
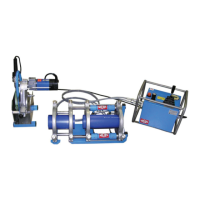
Connect the heating element and set the heating element temperature (see chapter: 5.4).
The heating element surfaces must be clean, especially non greasy, therefore they need to
be cleaned shortly before each welding or in case of dirtiness by means of a fibre-free
paper and a cleaning agent (e.g. PE cleaner or pipe cleaning tissues which are available at
the WIDOS company).
The anti-adhesive coating of the heating element must remain undamaged in the working
area.
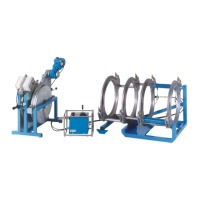
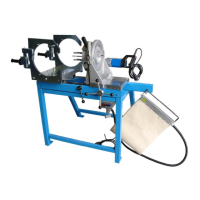
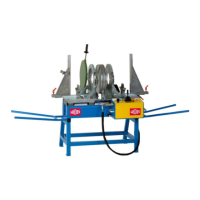
Screw in the reduction inserts according to the outside diameter of the pipes to be welded.
Lay the pipes to be welded into the clamping devices, tighten firmly the clamping nuts and
align the pipes with respect to each other. In case of long pipe ends, use WIDOS roller
stands for that purpose.
Close the slides, valve lever on: “FORWARDS”, thereby reading the movement pressure
on the manometer. The movement pressure is displayed exactly when the slide with the
clamped pipe passes over into its movement. Subsequently, open the slides again, valve
lever on: “BACKWARDS”, such that the planer fits there between.
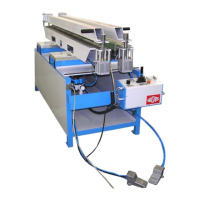
Insert the planer between the pipe ends, lock it in front and switch it on.
There is the danger that the planer pulls in clothes!
Do not hold the planer on its front sides in any case.
If the planing pressure is too high, there is the danger that the planer tilts during
planing. If necessary, reduce planing pressure.
Noises exceeding 80 dB (A) may occur; during planing it is obligatory to wear
ear protection!
Move the pipe ends towards one another by means of the valve lever on: “FORWARDS”
and plane same with a planing pressure between 1 and 15 bar above the movement
pressure.
Planing must be carried out until a revolving cutting has been formed on both sides.
Open the slides again, valve lever on “BACKWARDS”, switch off planer motor, unlock
planer, remove it and put it into the protection box.
Remove the produced cuttings without contacting the worked surfaces
Close slides, valve lever on: „FORWARDS“.