({p
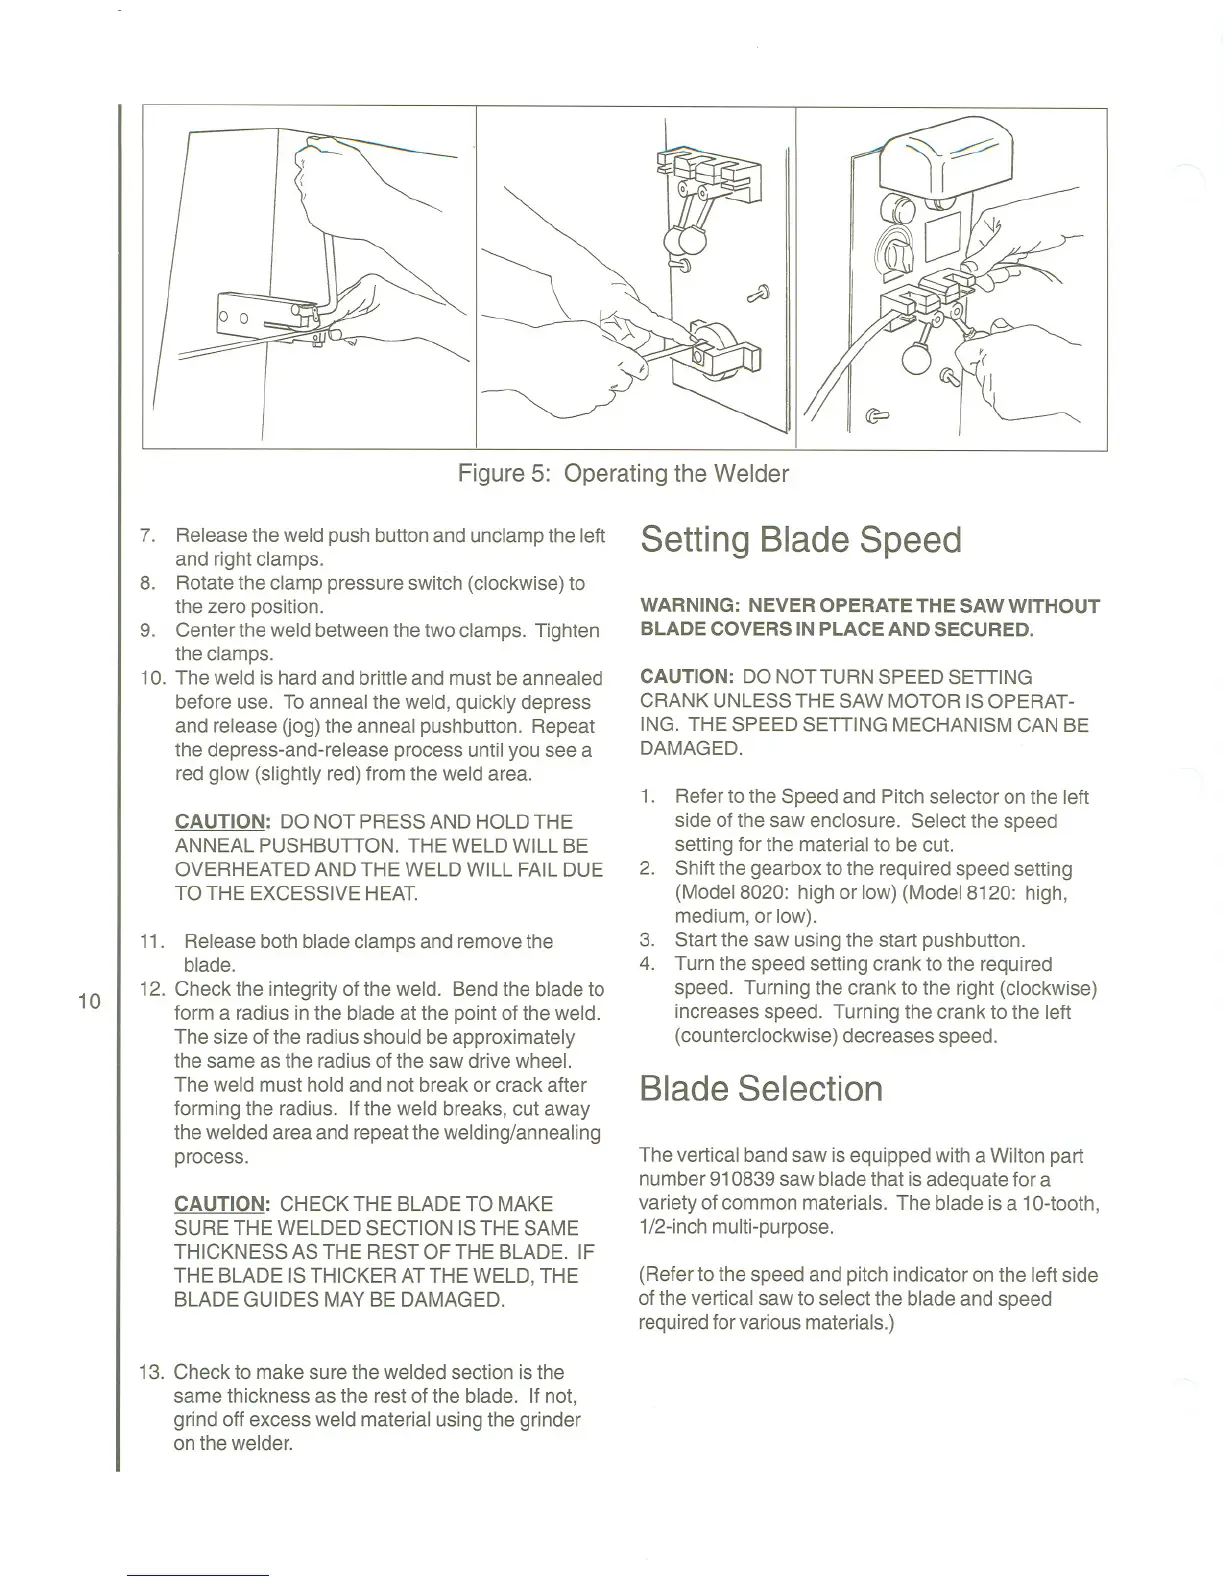
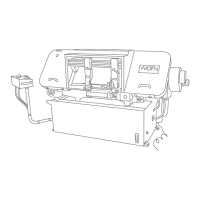
Figure 5: Operating the Welder
7. Release the weld push button and unclamp the left
and right clamps.
8. Rotate the clamp pressure switch (clockwise) to
the zero position.
9. Center the weld between the two clamps. Tighten
the clamps.
10. The weld is hard and brittle and must be annealed
before use. To anneal the weld, quickly depress
and release Gog)the anneal pushbutton. Repeat
the depress-and-release process until you see a
red glow (slightly red) from the weld area.
CAUTION: DONOT PRESSAND HOLDTHE
ANNEAL PUSHBUTTON. THE WELD WILL BE
OVERHEATEDAND THE WELD WILL FAILDUE
TO THE EXCESSIVEHEAT.
10
11. Release both blade clamps and remove the
blade.
12. Check the integrity of the weld. Bend the blade to
form a radius in the blade at the point of the weld.
The size of the radius should be approximately
the same as the radius of the saw drive wheel.
The weld must hold and not break or crack after
forming the radius. If the weld breaks, cut away
the welded area and repeat the welding/annealing
process.
CAUTION: CHECKTHE BLADETO MAKE
SURETHE WELDED SECTIONISTHE SAME
THICKNESS AS THE RESTOF THE BLADE. IF
THE BLADE ISTHICKERATTHE WELD,THE
BLADE GUIDES MAYBE DAMAGED.
13. Check to make sure the welded section is the
same thickness as the rest of the blade. If not,
grind off excess weld material using the grinder
on the welder.
Setting Blade Speed
WARNING: NEVER OPERATE THE SAW WITHOUT
BLADE COVERS IN PLACE AND SECURED.
CAUTION: DO NOTTURNSPEEDSETTING
CRANK UNLESSTHE SAWMOTOR ISOPERAT-
ING. THE SPEEDSETTING MECHANISMCAN BE
DAMAGED.
1. Referto the Speedand Pitch selector on the left
side of the saw enclosure. Select the speed
setting for the materialto be cut.
2. Shiftthe gearboxto the requiredspeed setting
(Model8020: high or low) (Model8120: high,
medium,or low).
3. Start the saw usingthe start pushbutton.
4. Turnthe speed setting crank to the required
speed. Turning the crank to the right (clockwise)
increases speed. Turning the crank to the left
(counterclockwise)decreases speed.
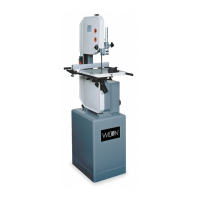
Blade Selection
The vertical band saw is equipped with a Wilton part
number 910839 saw blade that is adequate for a
variety of common materials. The blade is a 10-tooth,
1/2-inch multi-purpose.
(Refer to the speed and pitch indicator on the left side
of the vertical saw to select the blade and speed
required for various materials.)