66
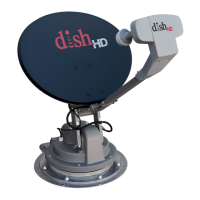
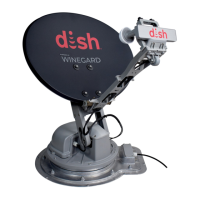
TRAV’LER Mount Installation
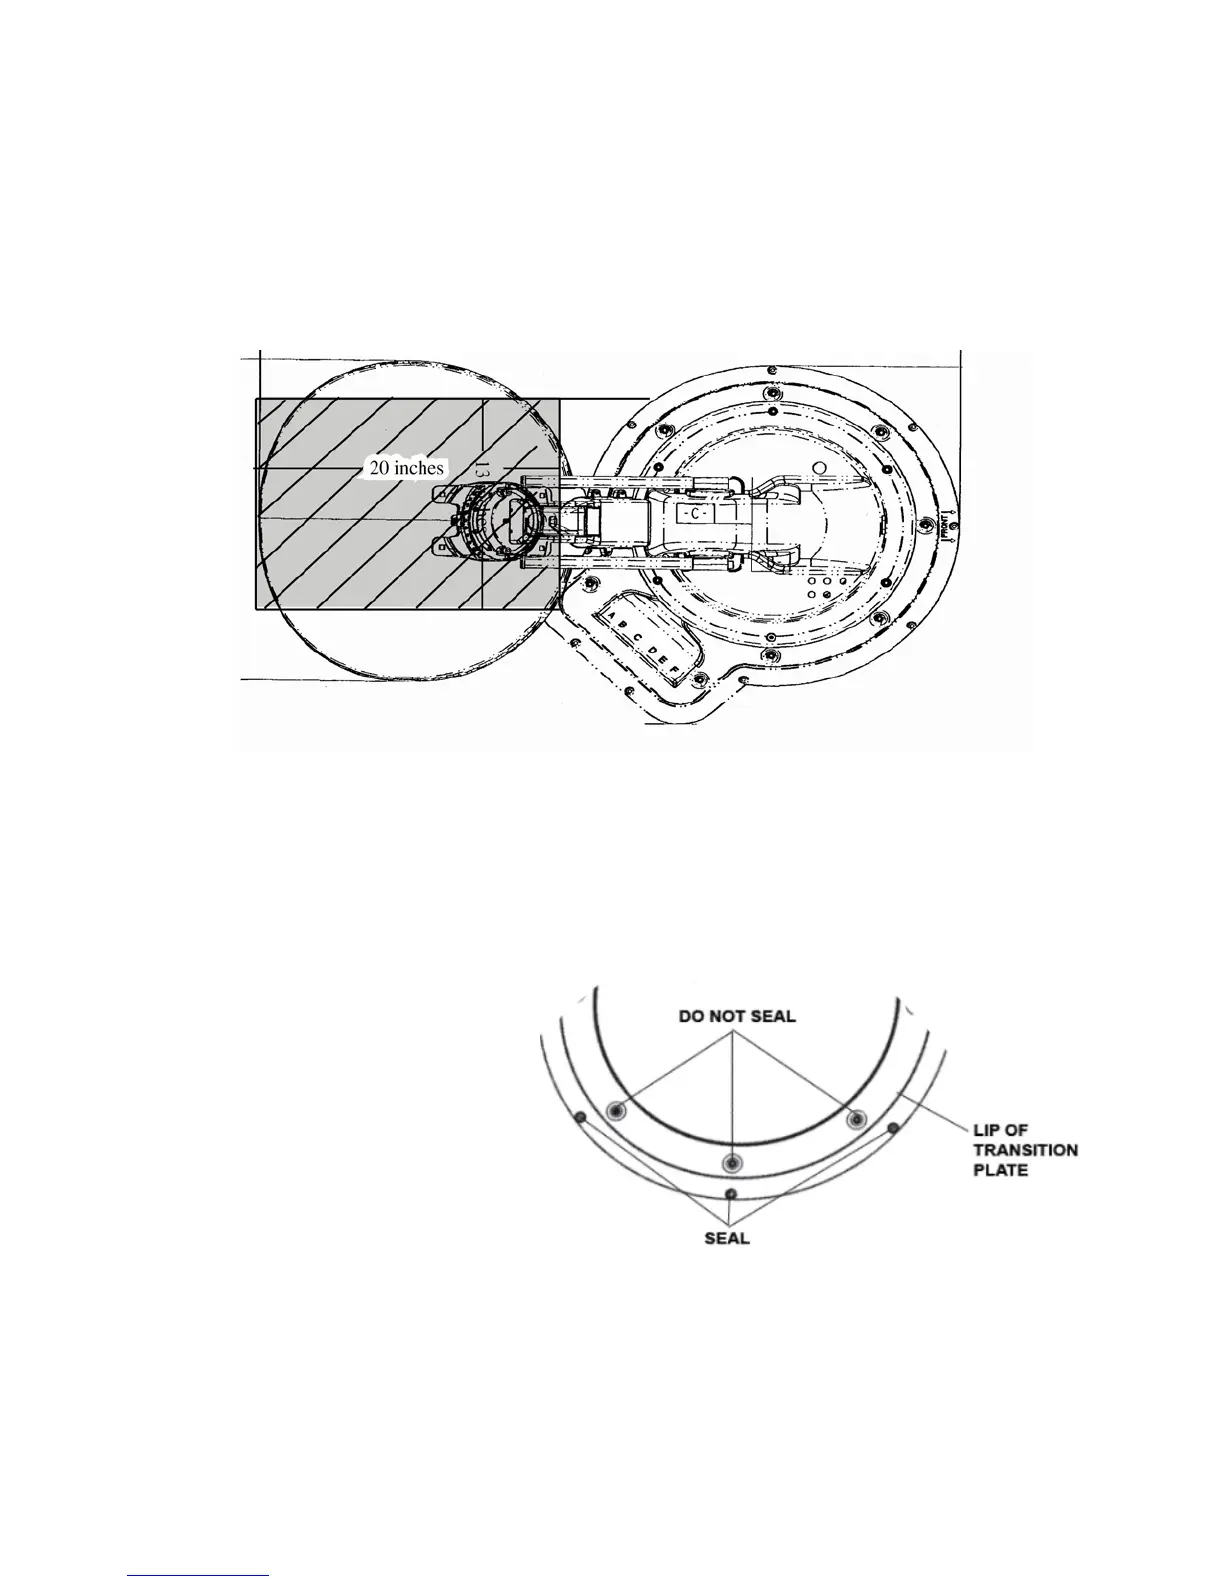
Verify the “FRONT” of the transition plate is facing the front of the vehicle then place the
mount on the roof where you plan to install it. Mark through the screw holes on the base so you
can see them on the roof. Then move the mount out of the installation area.
Use a solid bead of sealant to connect
these marks in the shape of the base.
Carefully place the TRAV’LER back
onto the markings/sealant and screw it
to the roof. Check with your vehicle
manufacturer for any special screw
requirements before using the supplied
screws.
Run a solid bead of sealant around the
OUTSIDE of the transition plate,
making sure to cover each screw head.
Be careful not to
et an
sealant above
this lip.
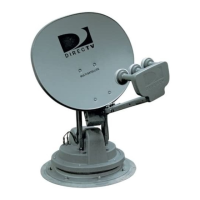
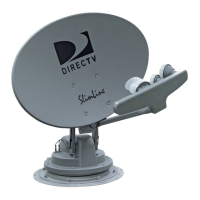
The mount comes pre-attached to the transition plate. It is important not to seal the mount to the
transition plate so the unit can be removed from the plate without breaking the sealant.
Decide where the wires will enter the vehicle. One coaxial cable per receiver and a control cable
will need to be run into the vehicle.
Warning: Do not run the wires through the gray area shown on this graphic: anything in
the gray area will interfere with the operation of the TRAV’LER antenna and may cause
damage to the object or the antenna.
 Loading...