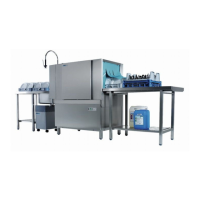
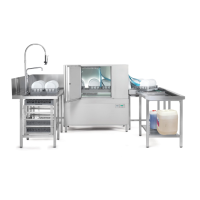
Connecting external dosing equipment (detergent, rinse aid)
12.3 Installing the dosing tube (rinse aid)
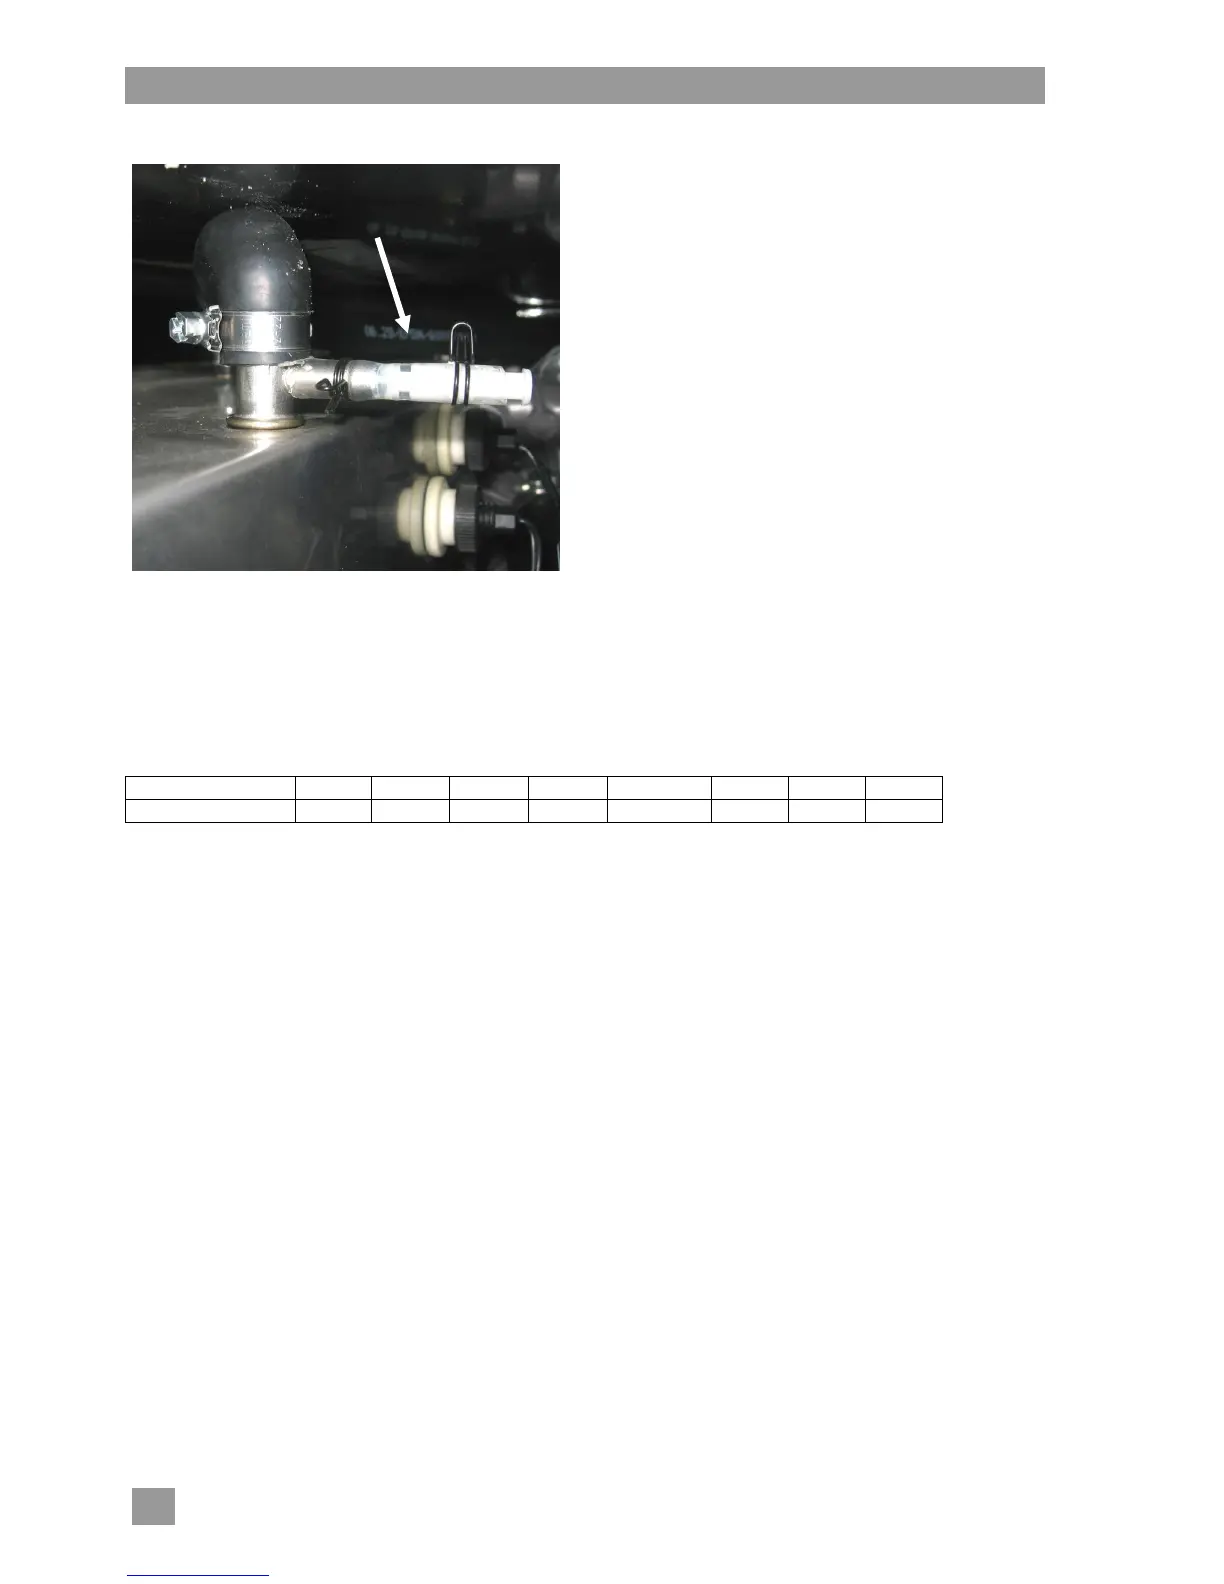
Remove the cap (see arrow) and secure the
dosing tube with a cable tie.
Install a non-return valve in the dosing tube close
to the dosing point, because dosing takes place
against counterpressure.
Guide the dosing tube to the left side cover taking
a short route and avoiding kinks. The hose must not
contact any hot surfaces or sharp edges.
Guide the dosing tube to the dosing equipment.
Holes have already been drilled on the left and right
rear areas of the base plate.
Shown in the picture: non pressurized boiler
12.4 Electrical connection
Connect the dosing equipment to the terminals as described in the corresponding equipment documents.
Terminal strip X3 for the electrical connection of the dosing equipment is located in the plinth on the front
right-hand leg. Refer to the machine circuit diagram for more information.
Terminal strip X3 (excerpt)
* fused with 4 amps (medium time lag)
Liquid detergent
Pre dosage: Terminal 10 / FILL: continuous signal when machine is being filled up (after achieving dry
running protection). Parameter P27 = 1 (factory setting).
Additional dosage: Terminal 12 / RINSE: continuous signal during rinsing.
Powder detergent
Pre-dosage and additional dosage: Terminal 11 / WASH: continuous signal when the circulating pump is
active.
12.5 Commissioning the dosing equipment
Commission the dosing equipment as described in the corresponding equipment documents. First, however,
the machine itself must have been commissioned.