39 / 47
Copy the firmware folder to the root directory of SD card.
Select “6. Software Update”, press “OK”, “input password” is shown. Input the password (”0715”), press “Up” or
“Down” to change the 1
st
digit, press “OK” to switch to next digit, when “0715” is shown on the screen, press “OK”.
WKS I inverter will start to upgrade the software automatically.
Detailed Firmware Upgrade Procedure:
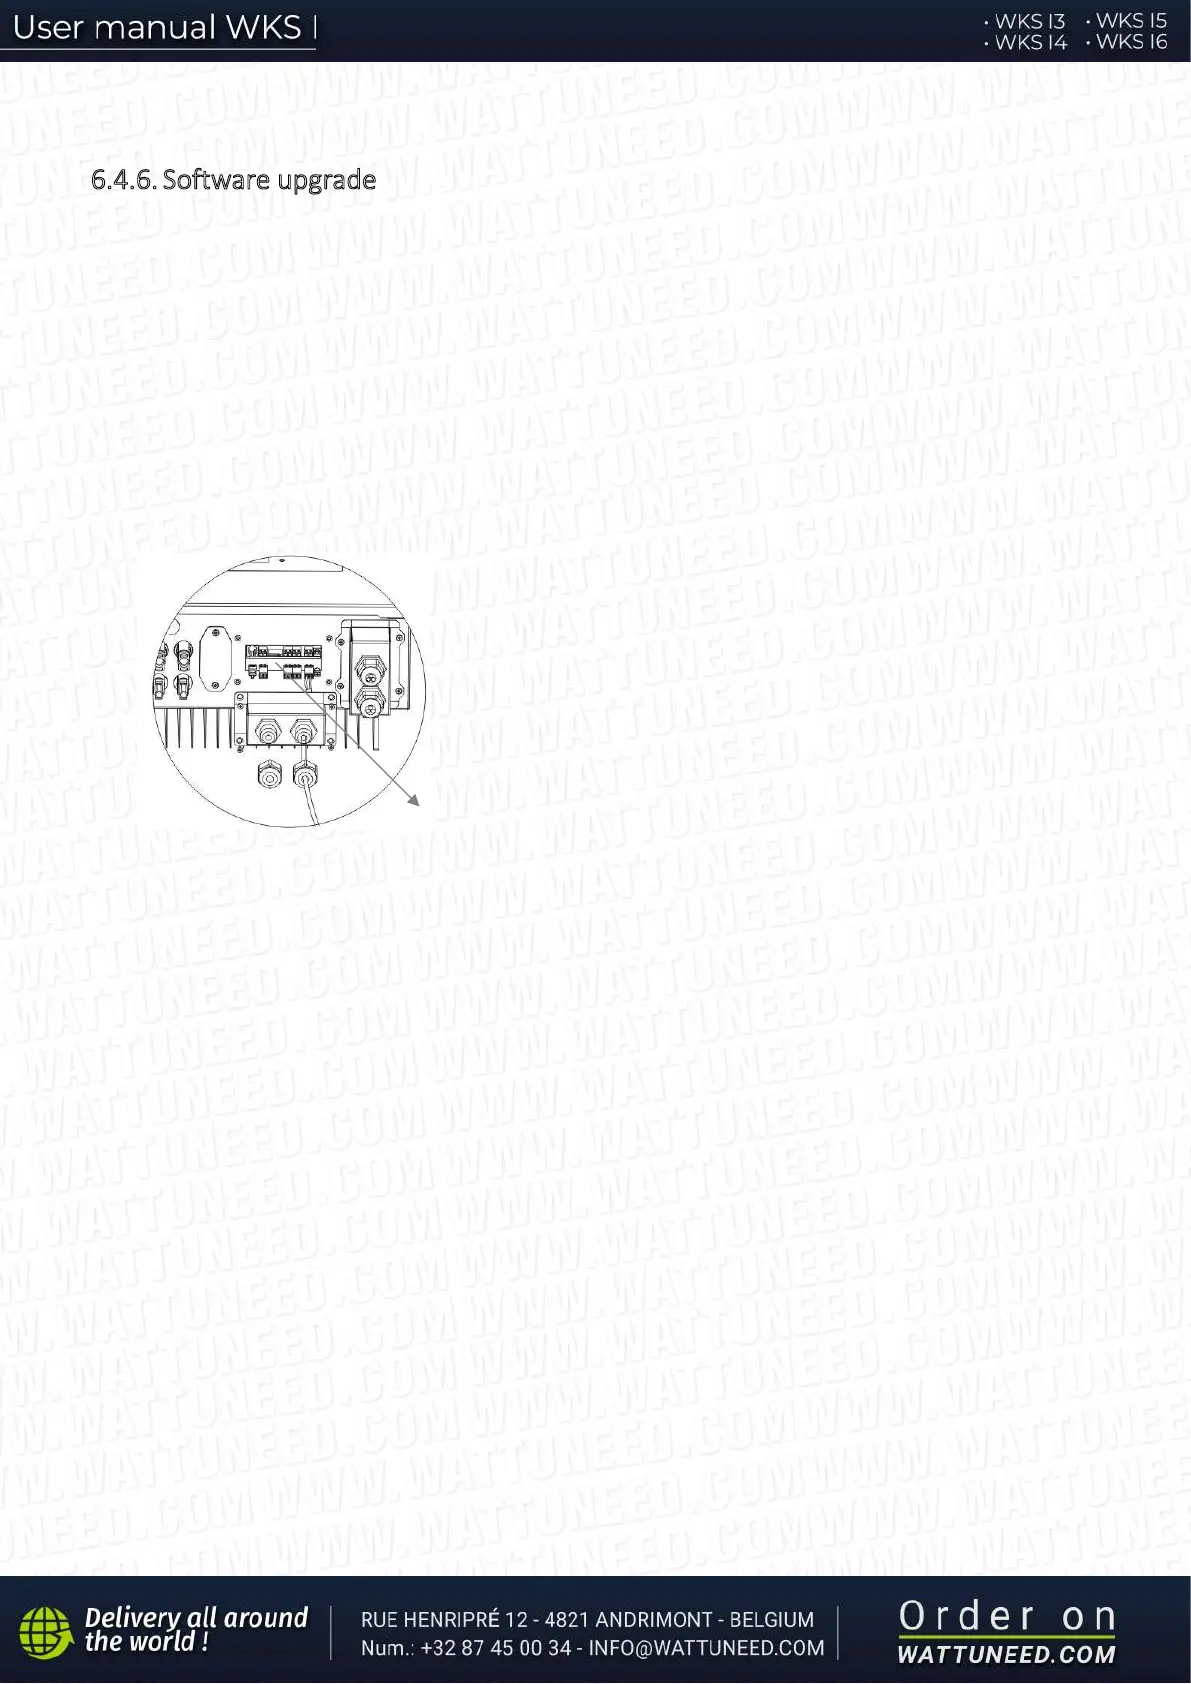
Step 1 Turn OFF AC circuit breaker (grid & load), then turn OFF DC isolator (battery) and PV switch, then remove
communication waterproof cover. If communication cables (CAN/RS485/NTC/CT) have been connected, loosen their
cable glands before removing cover.
SD card
Step 2 Press the SD card and take it out. Insert the SD card into a micro-SD card reader, then insert micro-SD card
reader into a PC; (NOTE: micro-SD card reader & PC are not provided by WATTUNEED).
Step 3 Format the SD card. Copy the “firmware” folder to the SD card.
Step 4 Insert the SD card back to the SD card slot.
Step 5 Turn ON AC circuit breaker (grid), press “Back” to enter main menu. Press “Down” to select “6. Software
Update”, then press “Ok”.
Step 6 “input password” is shown. Input the password (“0715”), press “Up” or “Down” to change the 1
st
digit, press
“OK” to switch to next digit, when “0715” is shown on the screen, press “Ok” to start firmware update.
Step 7 After finishing firmware upgrade, turn OFF AC circuit breaker (grid), lock the communication waterproof
cover with four screws, then turn ON AC circuit breaker (grid), turn ON DC isolator (battery), turn on PV switch, WKS
I inverter will start to operate automatically.
NOTE: If “DSP communicate fail”, “Update DSP1 Fail” of “Update DSP2 Fail” is shown on the screen, which means the
firmware upgrade is unsuccessful, please turn OFF AC circuit breaker (grid), wait 5 minutes, then start again from
“Step 5”