Setup
Side cutter fence setup
Setup doc050624 3-36
3
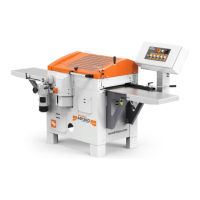
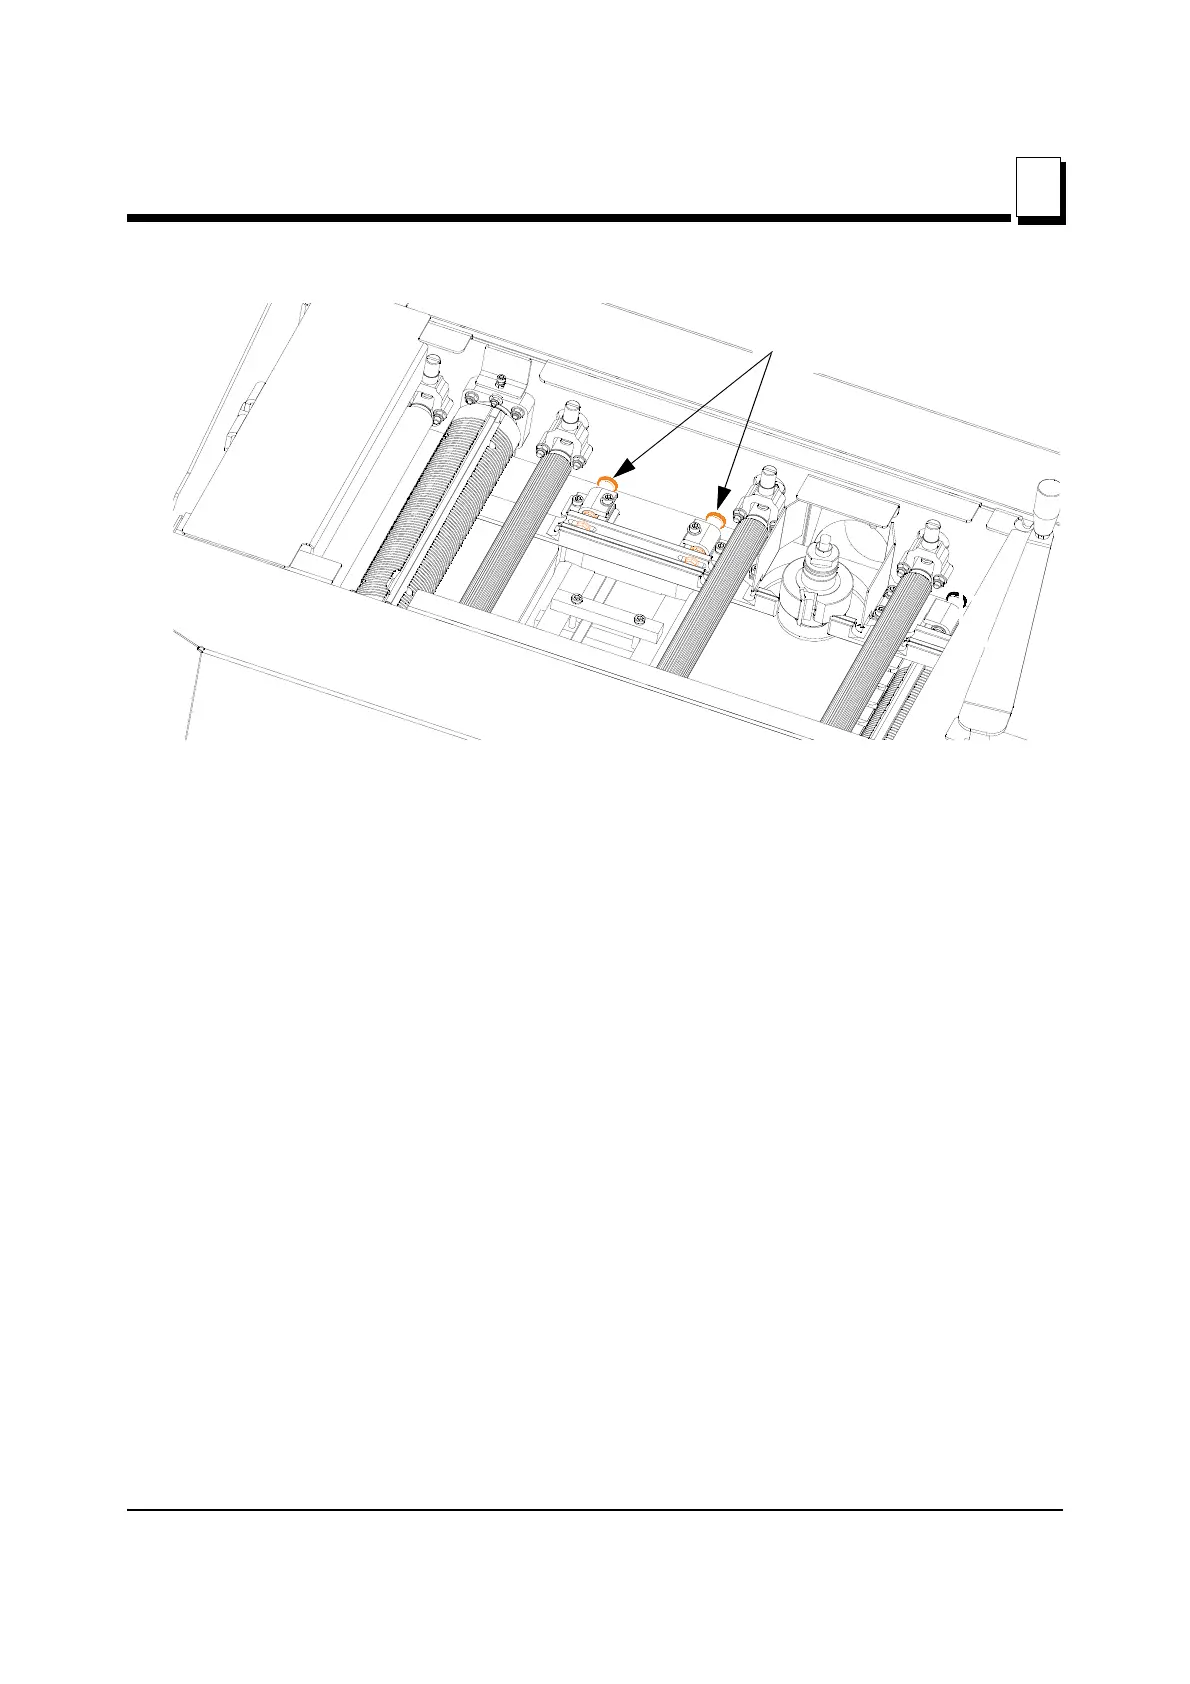
See Figure 3-27.
When your test boards are complete, and you are satisfied with your setup, you can begin
running material through the machine.
FEEDING THE MACHINE
Ensure you have adequate room for the material that you will be putting in to and taking
out of your planer. Your work area should be well lit, and clear of loose items on the floor,
so there is little risk of tripping when handling long material. The paths to the infeed and
outfeed ends of the machine should be clear.
Material should be placed close to the infeed end of the machine for quick feeding into the
machine and a stacking area should be prepared at the outfeed end.
Once the machine is started and boards are fed into the machine, it is recommended to
keep the material going through the machine one board after another, with the two boards
touching.
Place the straightest edge of the material against the right side fence. Ensure it is fed into
the machine with the edge against the first right side fence. Material that is fed into the
machine at an angle will not straighten up in the machine and may cause problems with
fences.
FIG. 3-27
Second side cutter fence
Adjustment bolts
 Loading...