Basic Installation Procedures
24 Freedom XC PRO Owner's Guide
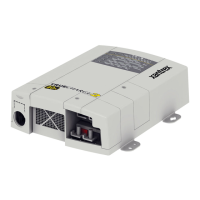
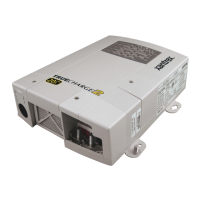
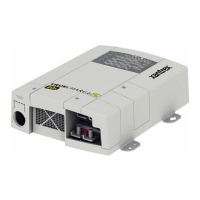
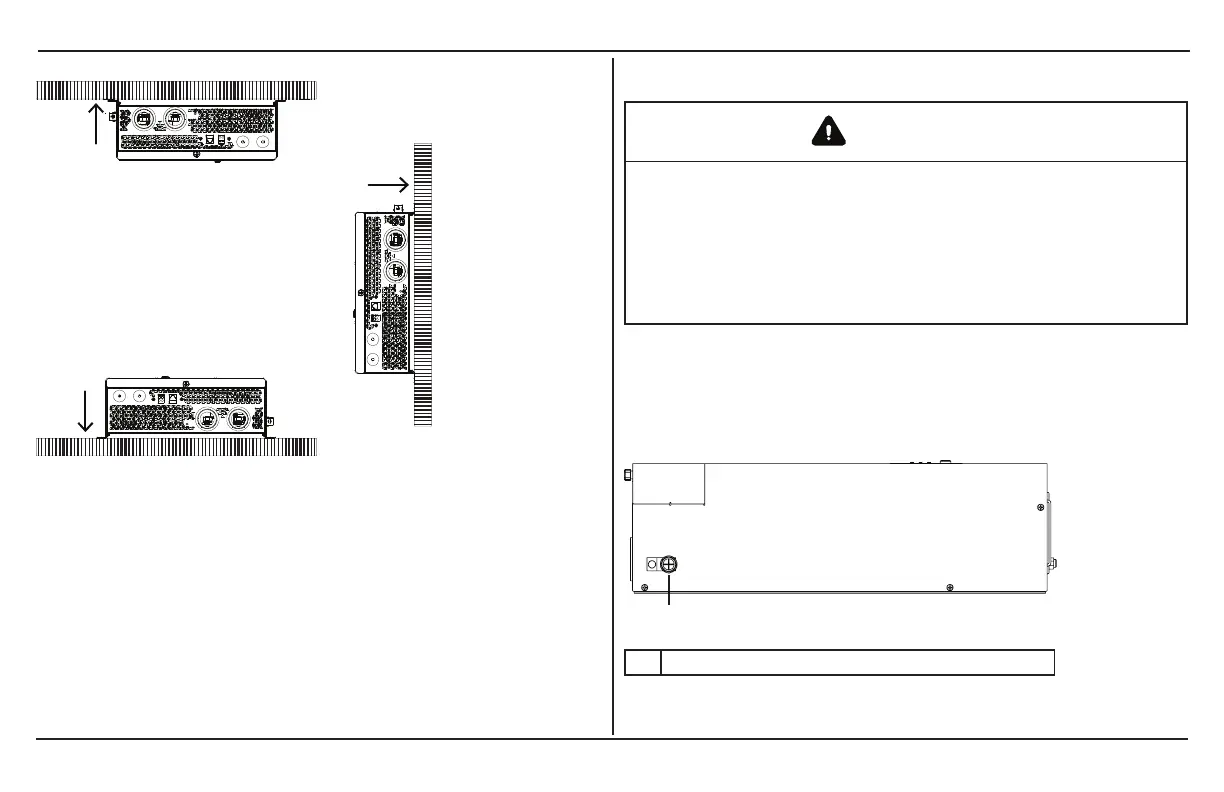
Figure 6 Approved Mounting Orientations
3. Mark the desired number of mounting holes on the wall by
placing the unit on the wall.
4. Pilot-drill the mounting holes.
5. Fasten the Freedom XC PRO to the mounting surface. If
you are mounting the unit on a wall or bulkhead, use #12 or
#14 pan-head wood or sheet metal screws to secure it to the
framing behind the wall or bulkhead. Alternatively, use nut
inserts and ¼"-20 machine screws.
Connecting the Equipment Ground
WARNING
ELECTRIC SHOCK HAZARD
Never operate the Freedom XC PRO without properly connecting
the equipment ground. A shock and energy hazard could result
from improper grounding.
Failure to follow these instructions can result in death, serious
injury, or equipment damage.
The Freedom XC PRO has a ground lug on the side of the unit as
shown in Connecting the Equipment Ground. Follow the
guidelines in Connecting the Equipment Ground to connect the
inverter/charger’s chassis to the ground.
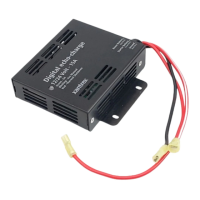
Figure 7 DC Panel Connections
1 DC grounding lug
 Loading...