Installation
975-0171-01-01 25
Step 4: Connecting the DC Cables
DC Connection Precautions
Recommended Cable Sizes and Lengths and Fuse Size
For recommended DC cables and fuse size, see Table 3 on page 14.
Preparing the Cables
To prepare the DC cables:
1. Cut the negative and positive cables to the required length. Strip off enough
insulation so you can install the terminals you will be using.
Xantrex recommends the use of crimp connectors. The connector should be
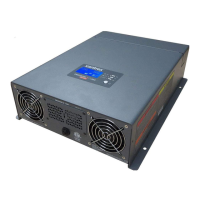
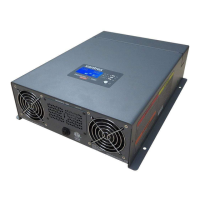
designed for a 3/8" stud size to connect to the RS3000. If a crimp connector is
used, it should be crimped using the tool indicated by the connector
manufacturer.
2. Cut the DC ground cable to the required length. Strip off enough insulation so
you can install the terminals you will be using.
Xantrex recommends the use of crimp connectors. The connector should be
designed for a 1/4" stud size to connect to the RS3000. If a crimp connector is
used, it should be crimped using the tool indicated by the connector
manufacturer.
3. Attach the connectors to the ends of both cables. Make sure no stray wire
strands protrude from the connectors.
WARNING: Energy hazard
Connect and disconnect DC wiring only after opening the disconnect switches or breakers
at all AC and DC sources.
 Loading...
