Installation
22 975-0171-01-01
Connecting AC Input Wires
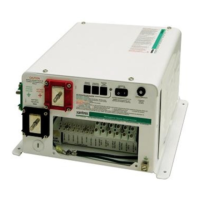
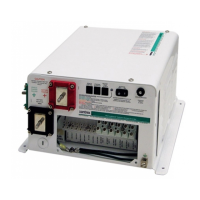
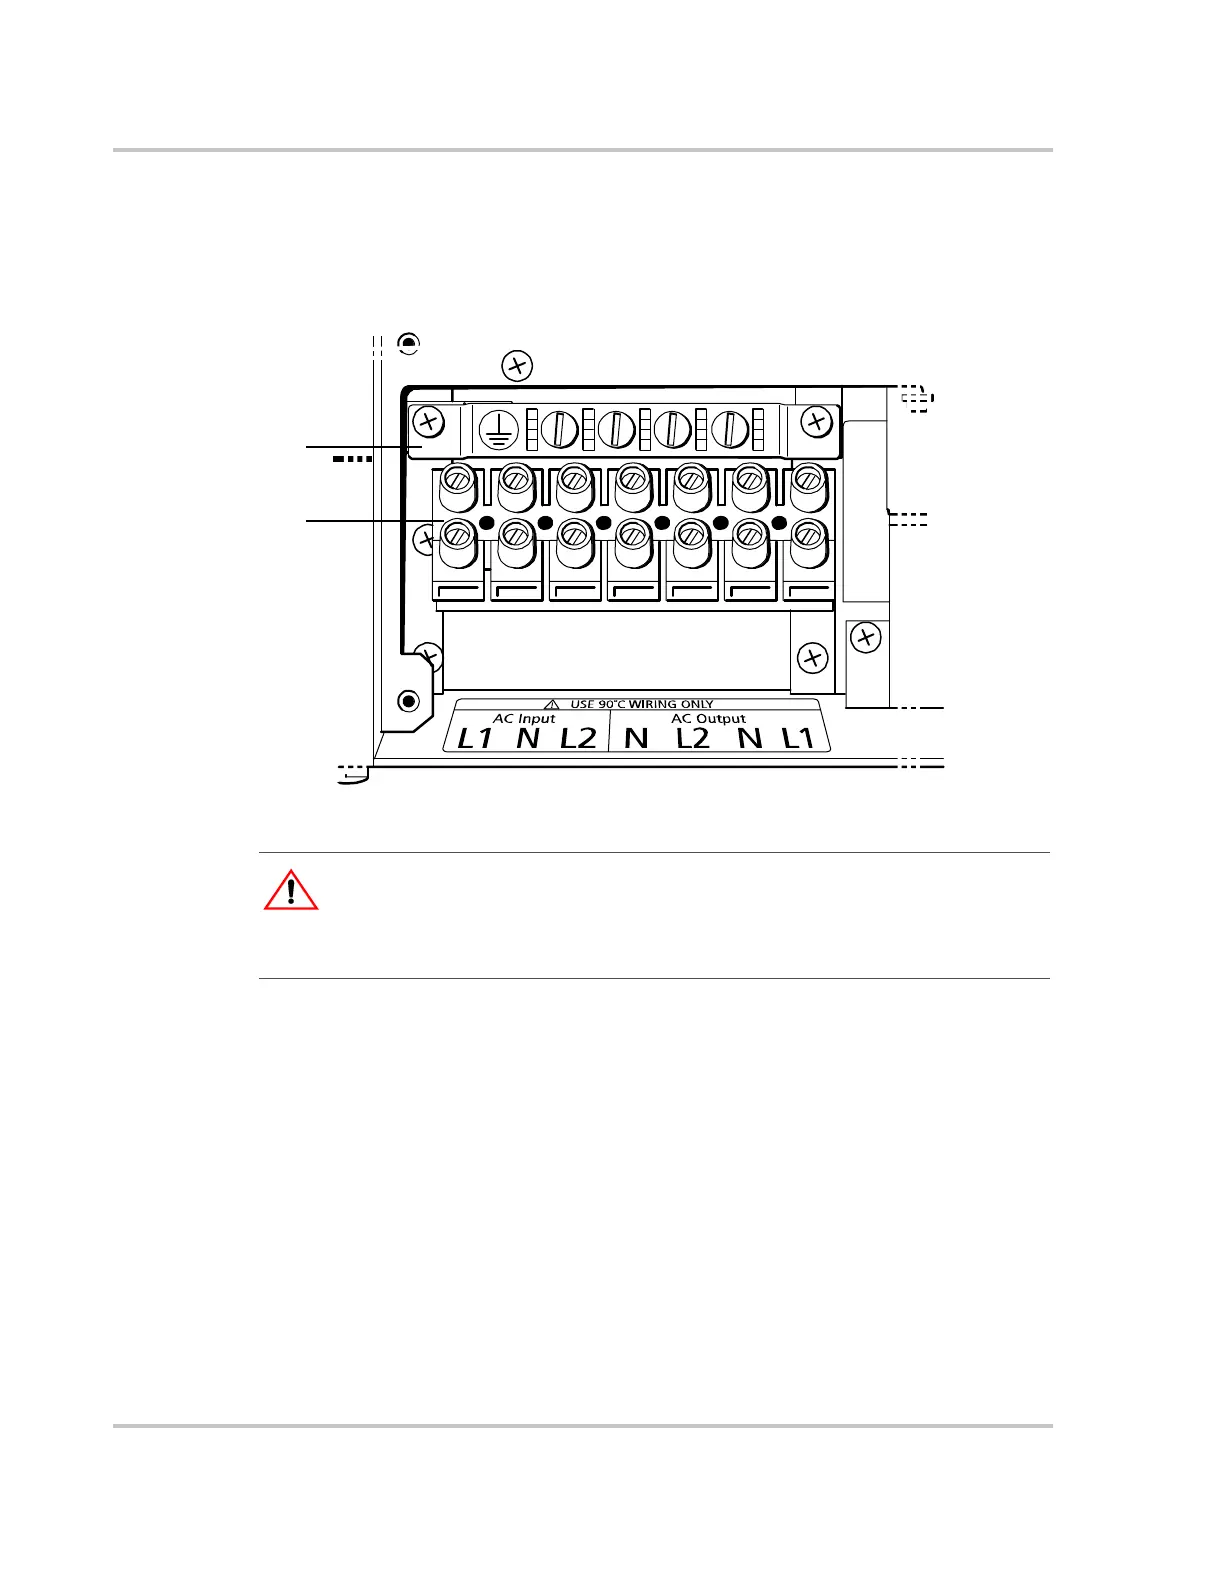
Figure 5 shows the wiring compartment, which contains a grounding bus (used to
wire the AC input and output gound wires) and a terminal block (used to wire the
AC input and AC output connections).
When making the AC input and AC output connections, observe the correct color
code for the appropriate AC wire, as described in Table 2 on page 11.
To make the AC input connections:
1. Locate the wiring compartment cover panel and remove the four screws.
2. Remove the cover panel from the unit to access the wiring compartment.
3. Remove one of the AC knockouts from the front or side of the unit. Do not
leave the knockout inside the wiring compartment.
4. Install a strain-relief clamp in the AC knockout.
5. Run the AC wiring through the strain-relief clamp.
6. Strip approximately 2 inches (50 mm) off the jacket from the AC cable and
separate the wires.
Figure 5
AC Wiring Compartment
CAUTION: Equipment damage
The terminal block is split into INPUT and OUTPUT sections. Damage may occur if the
unit is wired incorrectly.
Do not remove or loosen factory installed wiring.
Grounding bus
Terminal block
 Loading...