Installation and Setup Overview
Xerox
®
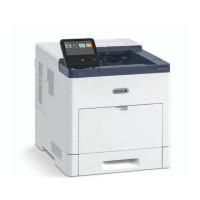
B210 Printer
User Guide
39
Installation and Setup Overview
Before you print, ensure that your computer and the printer are plugged in, powered on, and
connected.
For instructions on unpacking and installing your printer, refer to the Installation Guide packaged with
your printer. You can also access the Online Support Assistant at www.xerox.com/office/B210support.
When you configure the printer for the first time, complete the following tasks:
1. Connect your printer to a network using a wired or wireless connection, or to a computer using a
USB cable connection.
For a network installation, confirm that your network recognizes your printer. By default, the
printer receives an IP address from a DHCP server over a TCP/IP network. If you have a different
type of network, or want to assign a static IP address, refer to TCP/IP.
2. To view the new IP address and ensure that the connection is successful, print a Configuration
Report. For details, refer to Printing the Configuration Report.
3. Configure settings for your printer installation:
• For information about configuring General Setups, refer to General Setup.
• For information about configuring Network Connectivity settings, refer to Network
Connectivity.
• For information about configuring Security settings, refer to Security.
• For information about configuring Print settings, refer to Setting Up the Printing Service.
4. Install the print driver software and utilities on your computer. For details, refer to Installing Printer
Software.
Note: If the Software and Documentation disc is not available, download the latest drivers at
www.xerox.com/office/B210drivers.
 Loading...
