60 3 Print
3.7 Printing XPS Files
This printer supports printing XPS files created on Windows Vista or Windows Server 2008.
You can print XPS files in the following ways:
• Print XPS files directly from a Windows Vista or Windows Server 2008 application via an XPS driver.
• Use Fuji Xerox ContentsBridge Utility.
Note
• XPS stands for XML Paper Specification.
• To print XPS files via an XPS driver, refer to "A.4 Obtaining the Product Information" (P. 179) and access
our Web site to download the XPS driver. For information on using the XPS driver, refer to the Web page
where the driver is downloaded.
• To print XPS files using ContentsBridge Utility, refer to the documentation included in the Driver CD Kit
CD-ROM.
Setup for Printing XPS Files
Before printing XPS files with this printer, use the control panel to make the following
settings:
• WSD setting (Port Status)
• XPS setting (Print Ticket)
Operations on the Control Panel
Use the following procedure to configure WSD and XPS settings.
Note
• When the menu screen is left idle for 3 minutes, the display returns to the print screen. If any incomplete
setting on the menu screen is made before that, the setting is discarded.
• By default, a WSD port is set to [Enable]. If this setting is unchanged, you do not need to configure the
WSD setting.
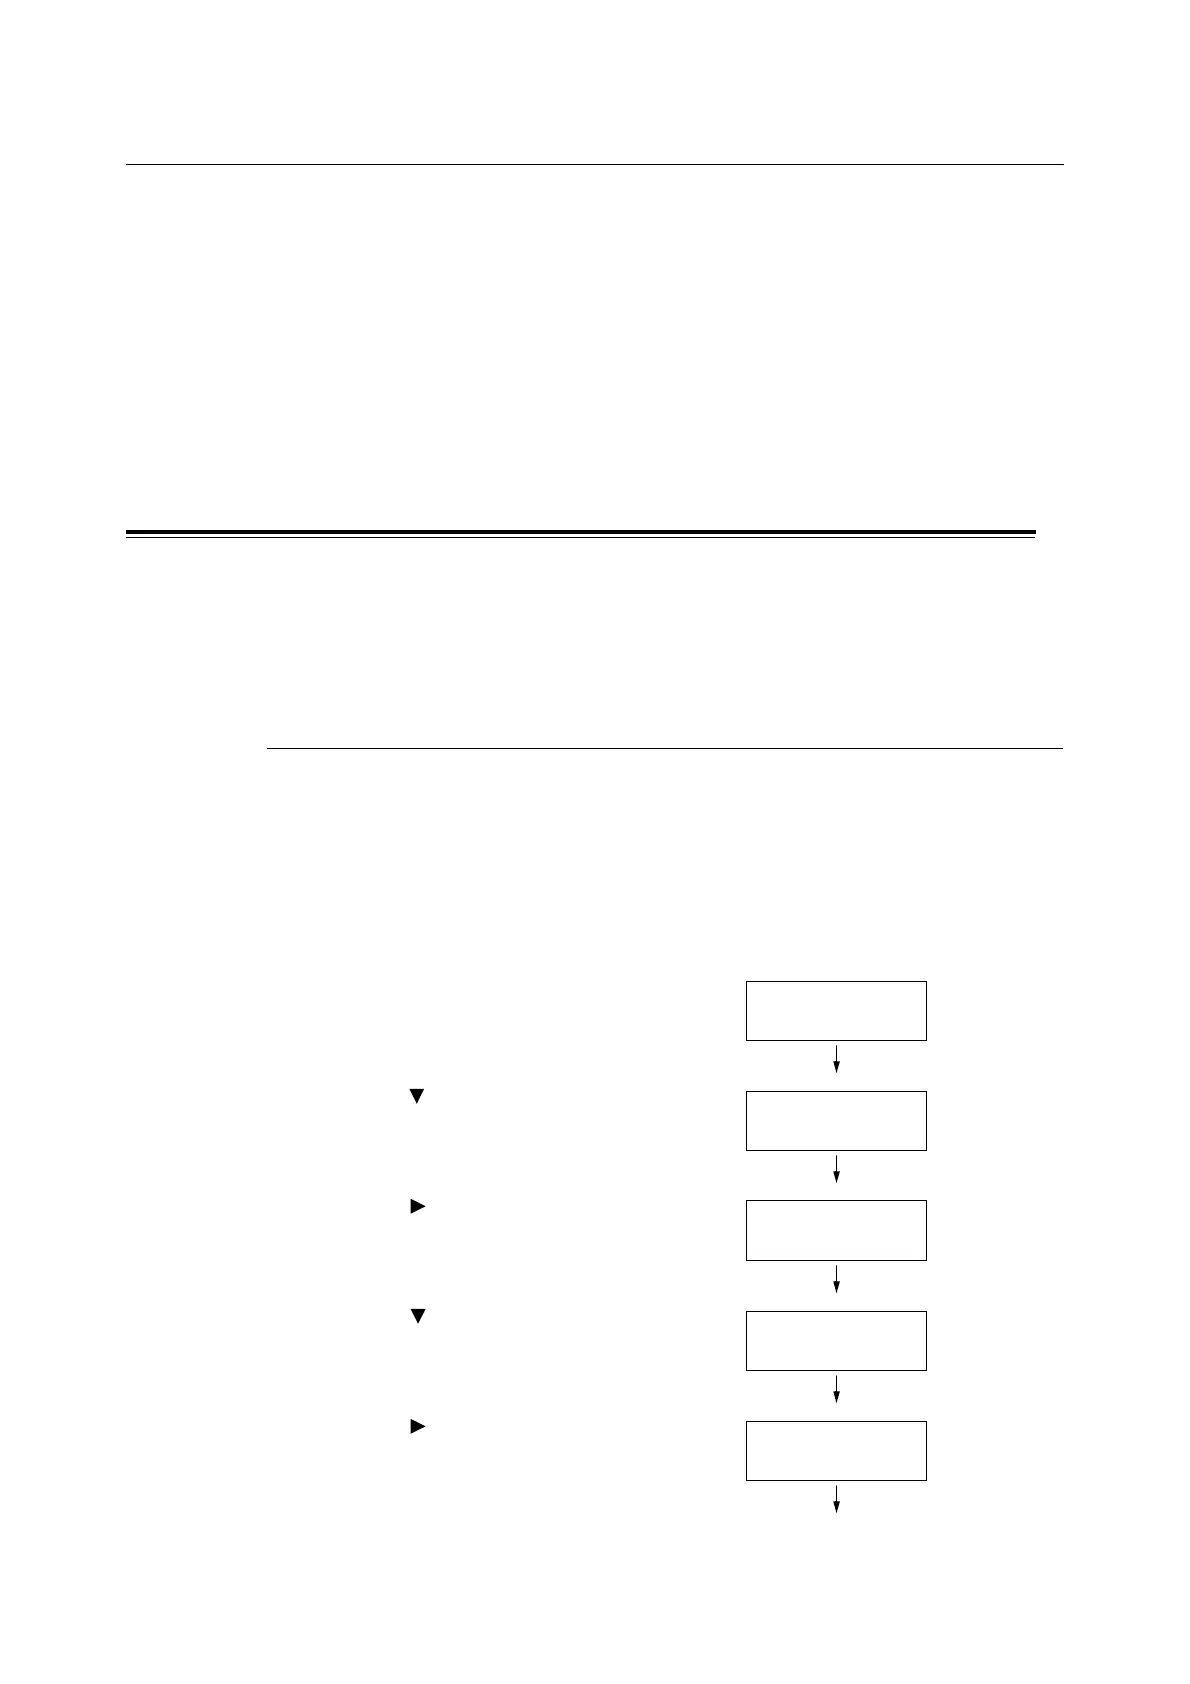
XPS Setting
1. Press the <Menu> button on the control
panel to display the menu screen.
2. Press the < > button until [Admin Menu] is
displayed.
3. Press the < > or <Eject/Set> button to
accept the selection.
[Wired Network] is displayed.
4. Press the < > button until [XPS] is
displayed.
5. Press the < > or <Eject/Set> button to
accept the selection.
[Print Ticket] is displayed.
Menu
Report / List
Menu
Admin Menu
Admin Menu
Wired Network
Admin Menu
XPS
XPS
Print Ticket
 Loading...


