Installing the Parallel Port 91
2. Unplug the power cord from the power outlet
and the printer.
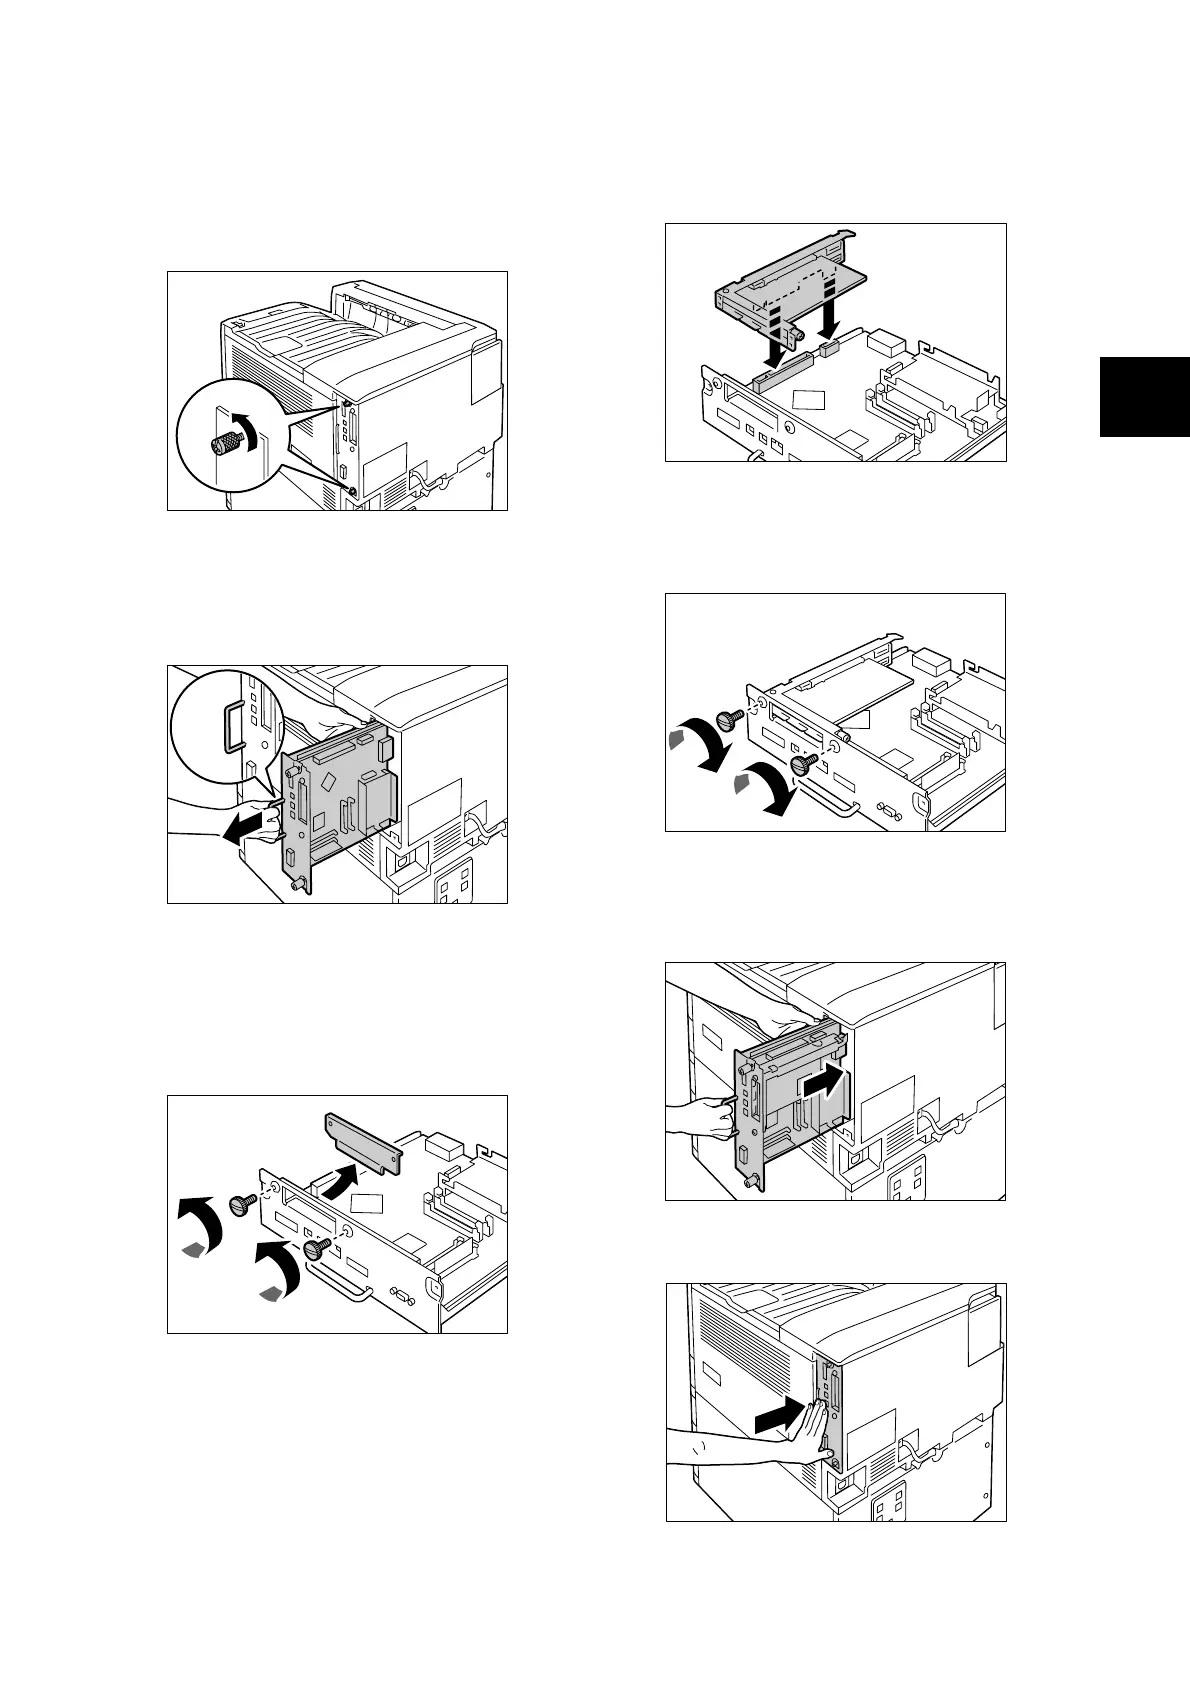
3. Loosen the two screws on the back right side
of the printer.
4. Pull out the handle on the control board and
then carefully pull the control board out of the
printer. Place the control board on a table top
or some other flat surface.
Important
• When pulling out the control board, hold it with both
hands so you do not drop it.
5. Remove the two screws on the control board
and then remove the dummy plate.
Note
• Note that you will need the screws you remove here in
step 7 of this procedure.
6. Aligning the Parallel Port (with frame) with
the control board connectors, insert the
Parallel Port from above into the connectors.
7. Use the screws you removed in step 5 to
secure the Parallel Port to the front plate of
the control board.
8. Reinsert the control board back into the
printer. Holding its handle, slide the control
board back into the printer.
Press the control board in as far as it will go.

 Loading...


