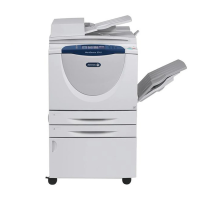
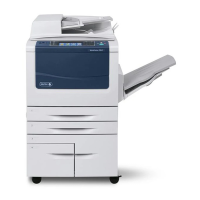
WorkCentre™ 5735/5740/5745/5755/5765/5775/5790
System Administrator Guide
229
2. In the Scan to Mailbox area, select either the [Default Public Folder] or your personal folder.
a. If you select the Default Public Folder, click on the [Modify Settings] button. If you select a
personal folder, enter the password for the folder in the [Folder Password] field.
b. Click on the [OK] button.
c. Click on the [Personalize Settings] button.
Workflow Scanning
To change the Workflow Scanning settings, in the Workflow Scanning area, click on the [Edit] button,
this will display the Workflow Scanning page.
1. In the Workflow Scanning area:
a. For [2-Sided Scanning], select one of the following:
• 1-Sided - the scan service will only scan one side of each page of the input document.
• 2- Sided - the scan service will scan both sides of each page of the input document.
• 2-Sided, Rotate Side 2 - the scan service will scan both sides of each page of the input
document and shall apply a 180 degrees rotation to the second side image such that the
orientation of all input images are the same.
b. The Content Type feature provides a convenient way to optimize the quality of your scanned
output images based on the content in your original documents. Each selection adjusts the
printer settings to compensate for the predominant attributes of the content that is being
scanned. Select one of the following:
• Photo & Text - this is best for documents that contain a mix of photographic images and
text.
• Photo - this is best for documents that contain photographic images and little or no text.
• Text - this is best for documents that contain mostly text.
c. Scan Presets feature provides a convenient way to optimize scan settings to match the
intended purpose of the scanned document. Select one of the following options:
• For Sharing & Printing - this setting is best for sharing files to be viewed on-screen and
for printing most standard business documents. Using this setting will result in small file
sizes and normal image quality.
• For OCR - this creates scanned images with clear, crisp lines and edges that provide the
best OCR interpretation.
• For Archival Record - this setting is best for standard business documents that will be
stored electronically for record keeping purposes. Using this setting will result in the
smallest file sizes and normal image quality.
• For High Quality Printing - this setting is best for business documents containing
detailed graphics and photos. Using this setting will result in large file sizes and the
highest image quality.
• Simple Scan - this provides faster scan processing by decreasing the overall quality of
the scanned images.
2. Click on the [Apply] button to return to the Settings screen.

 Loading...


