IMPORTANT! La puissance de 140W est uniquement disponibles avec le connecteur 6-broches (65 was à
parr de la source du connecteur PCIe 12V et 75 was à parr du connecteur AUX à 6-broches). 215W est
disponible avec le connecteur à 8-broches (65 was à parr de la source du connecteur PCIe 12V et 150 was
à parr du connecteur 8-broches).
WICHTIG! Mit dem 6-Pin-Anschluss stehen nur 140 W zur Verfügung (65 Wa vom PCIe-Anschluss mit 12 V-
Quelle und 75 Wa vom 6-Pin-Anschluss). 215W ist mit dem 8-Pin-Anschluss erhältlich (65 Wa von 12V-
PCIe-Anschluss und 150 Wa vom 8-Pin-Anschluss).
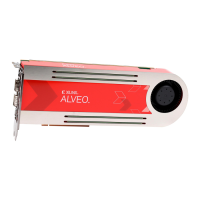
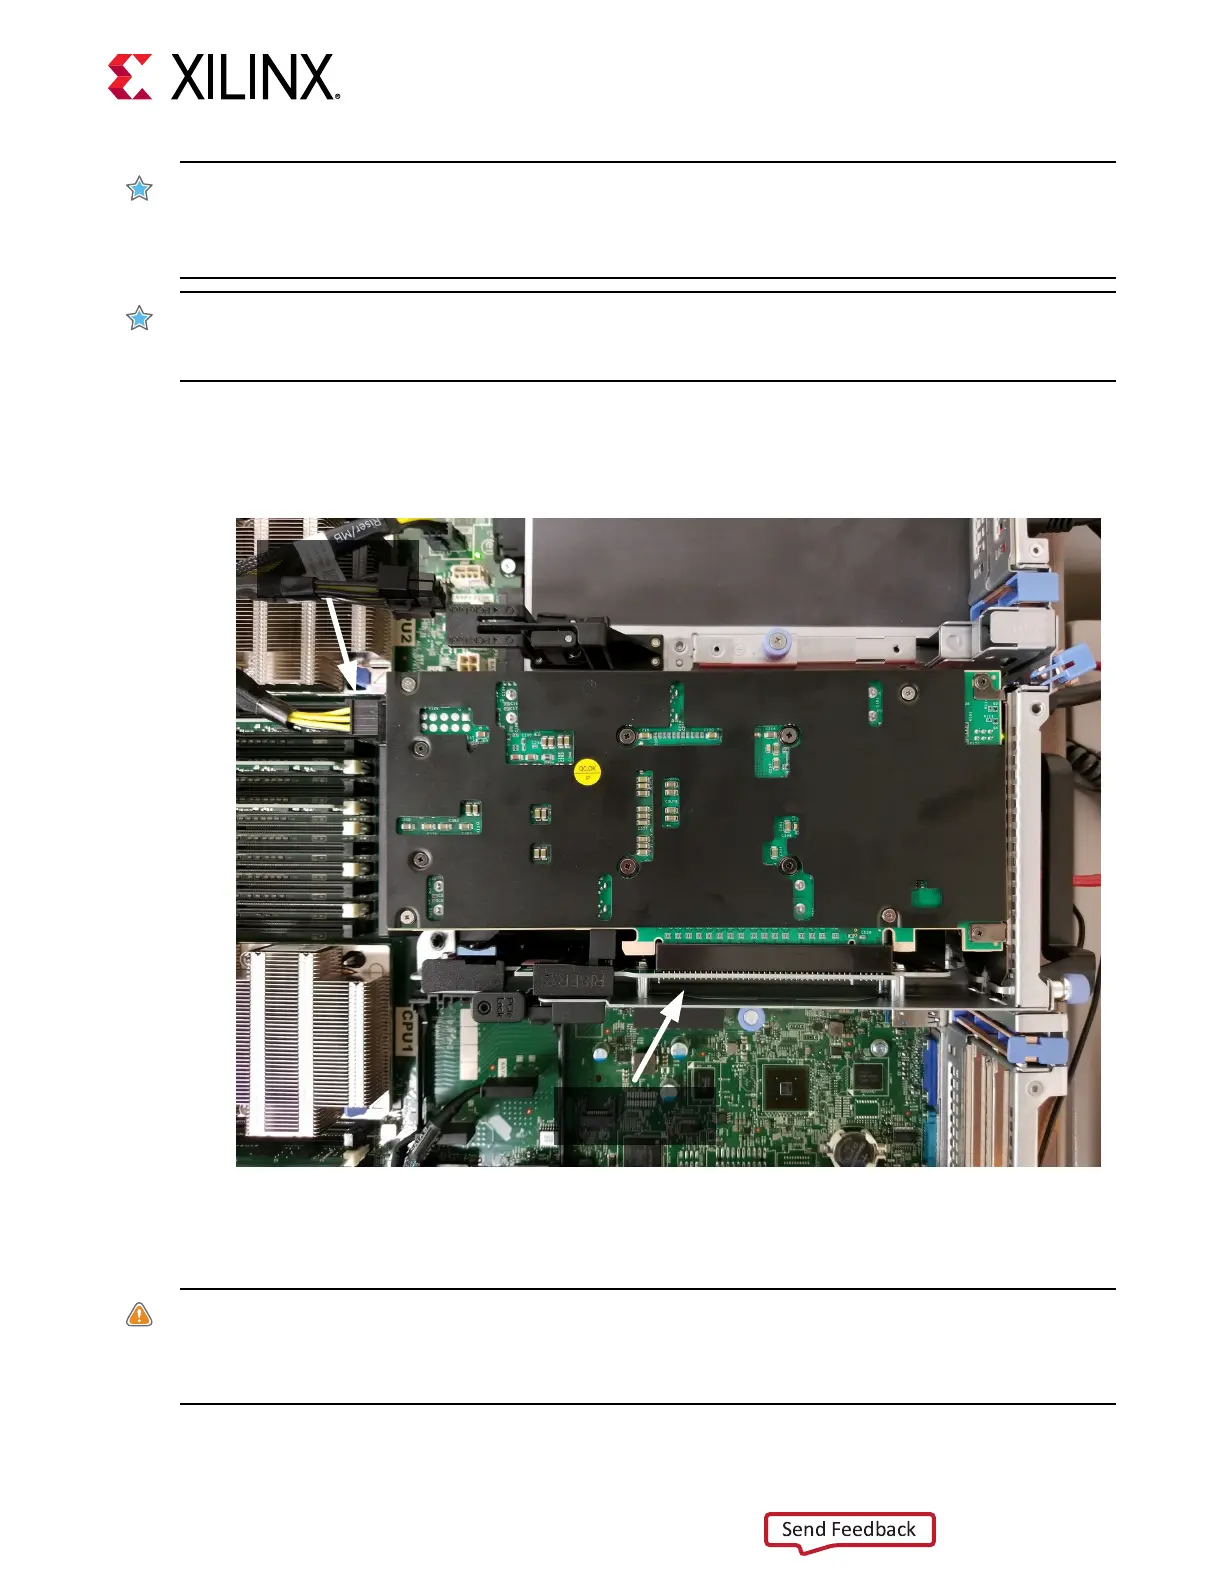
The following example shows a successfully installed acve conguraon Alveo card.
Figure 6: Installed Alveo Card
PCIe Edge
Connector
PCIe AUX
Power Cable
6. If you previously removed the computer casing, re-install the casing.
7. Connect the power cord and turn on the computer.
WARNING!
Do not power-on a passively cooled card without adequate forced airow across the card with
proper airow direcon, otherwise the card can be damaged. For more informaon, see Alveo U200 and U250
Data Center Accelerator Cards Data Sheet (DS962) and Alveo U280 Data Center Accelerator Cards Data Sheet
(DS963).
Chapter 3: Card Installation Procedures
UG1301 (v1.5) June 3, 2020 www.xilinx.com
Getting Started with Alveo Accelerator Cards 18
 Loading...