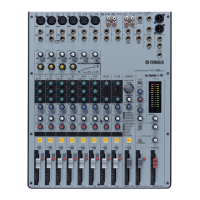
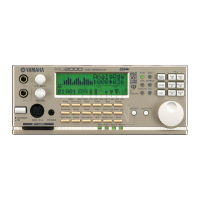
MG82CX/MG102C
16
[160]
[160]
[160]
Knob
(ノブ)
Knob
(ノブ)
Knob
(ノブ)
[160]
[160]
[A]
[163A]
[165]
Knob
(ノブ)
Top cover
(トップカバー)
Window level
(ウインドLEVEL)
Window level
(ウインドLEVEL)
Bottom case assembly
(ボトムケースAssy)
Screw tighten (1st)
(ネジ締め(1番))
Screw tighten (2nd)
(ネジ締め(2番))
(ネジ締め(最後))
Screw tighten (latest)
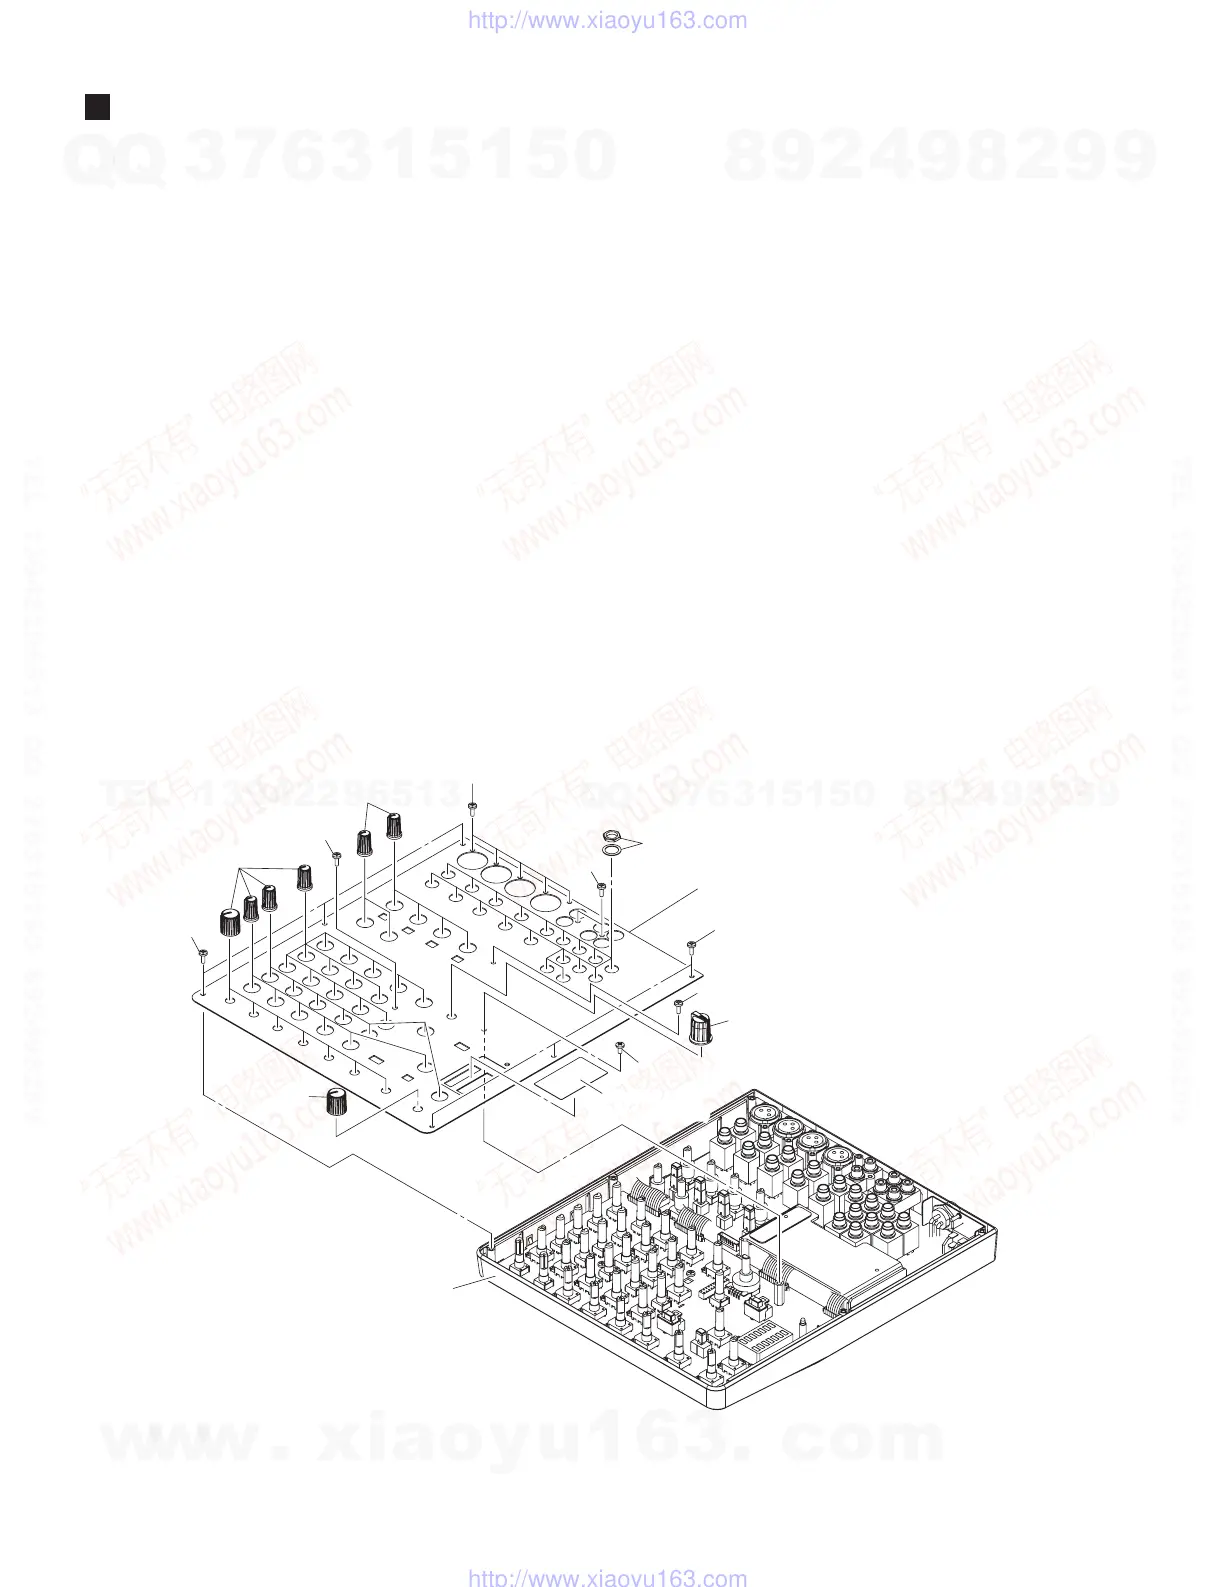
DISASSEMBLY PROCEDURE(分解手順)
1. トップカバー(所要時間:約 7 分)
1-1 本体からすべてのノブを外します。(図 1)
1-2 [160] のネジ 14 本と [163A] のネジ 1 本、[165] の
ネジ 1 本、[A] の六角ナットとワッシャー 19 個ず
つを外して、トップカバーを外します。(図 1)
※ ウインド LEVEL はトップカバーの構成部品では
ありません。トップカバーを交換する場合は、ウ
インド LEVEL を取り外して新しいトップカバー
に取り付けてください。(図 1)
※ トップカバーをボトムケース Ass'y へ取り付ける
ときは、図 1 で示した順序でネジ締めしてくださ
い。(図 1)
2. DSP シート、MAIN8 シート
(所要時間:各約 8 分)
2-1 トップカバーを外します。(1 項参照)
2-2 [100] のネジ 2 本と [163B] のネジ 1 本を外して、
MAIN8 シートを外します。(図 2)
Fig.1( 図 1)
• MG82CX
[160]:BindHeadTappingScrew-B(B タイト+ BIND)3.0X8MFZN2B3(WE774400)
[163]:BindHeadTappingScrew-B(B タイト+ BIND)3.0X8MFZN2B3(WE774400)
[165]:BindHeadScrew(小ネジ+ BIND)3.0X6MFZN2B3(WE878300)
1. Top Cover (Time required: About 7 minutes)
1-1 Remove all knobs. (Fig. 1)
1-2 Remove the fourteen (14) screws marked [160],
the screw marked [163A], the screw marked
[165], and nineteen (19) each hexagonal nuts and
washers marked [A]. The top cover can then be
removed. (Fig. 1)
* The window level is not a component of the
top cover. When replacing the top cover, re-
move the window level and install it to the new
top cover. (Fig. 1)
* When installing the top cover on the bottom
case assembly, tighten the screws in the order
shown in Fig. 1. (Fig. 1)
2. DSP Circuit Board, MAIN8 Circuit Board
(Time required: About 8 minutes each)
2-1 Remove the top cover. (See procedure 1)
2-2 Remove the two (2) screws marked [100] and the
screw marked [163B]. The MAIN8 circuit board
can then be removed. (Fig. 2)
w
w
w
.
x
i
a
o
y
u
1
6
3
.
c
o
m
Q
Q
3
7
6
3
1
5
1
5
0
9
9
2
8
9
4
2
9
8
T
E
L
1
3
9
4
2
2
9
6
5
1
3
9
9
2
8
9
4
2
9
8
0
5
1
5
1
3
6
7
3
Q
Q
TEL 13942296513 QQ 376315150 892498299
TEL 13942296513 QQ 376315150 892498299
http://www.xiaoyu163.com
http://www.xiaoyu163.com
 Loading...